Living Room Update: August 2016

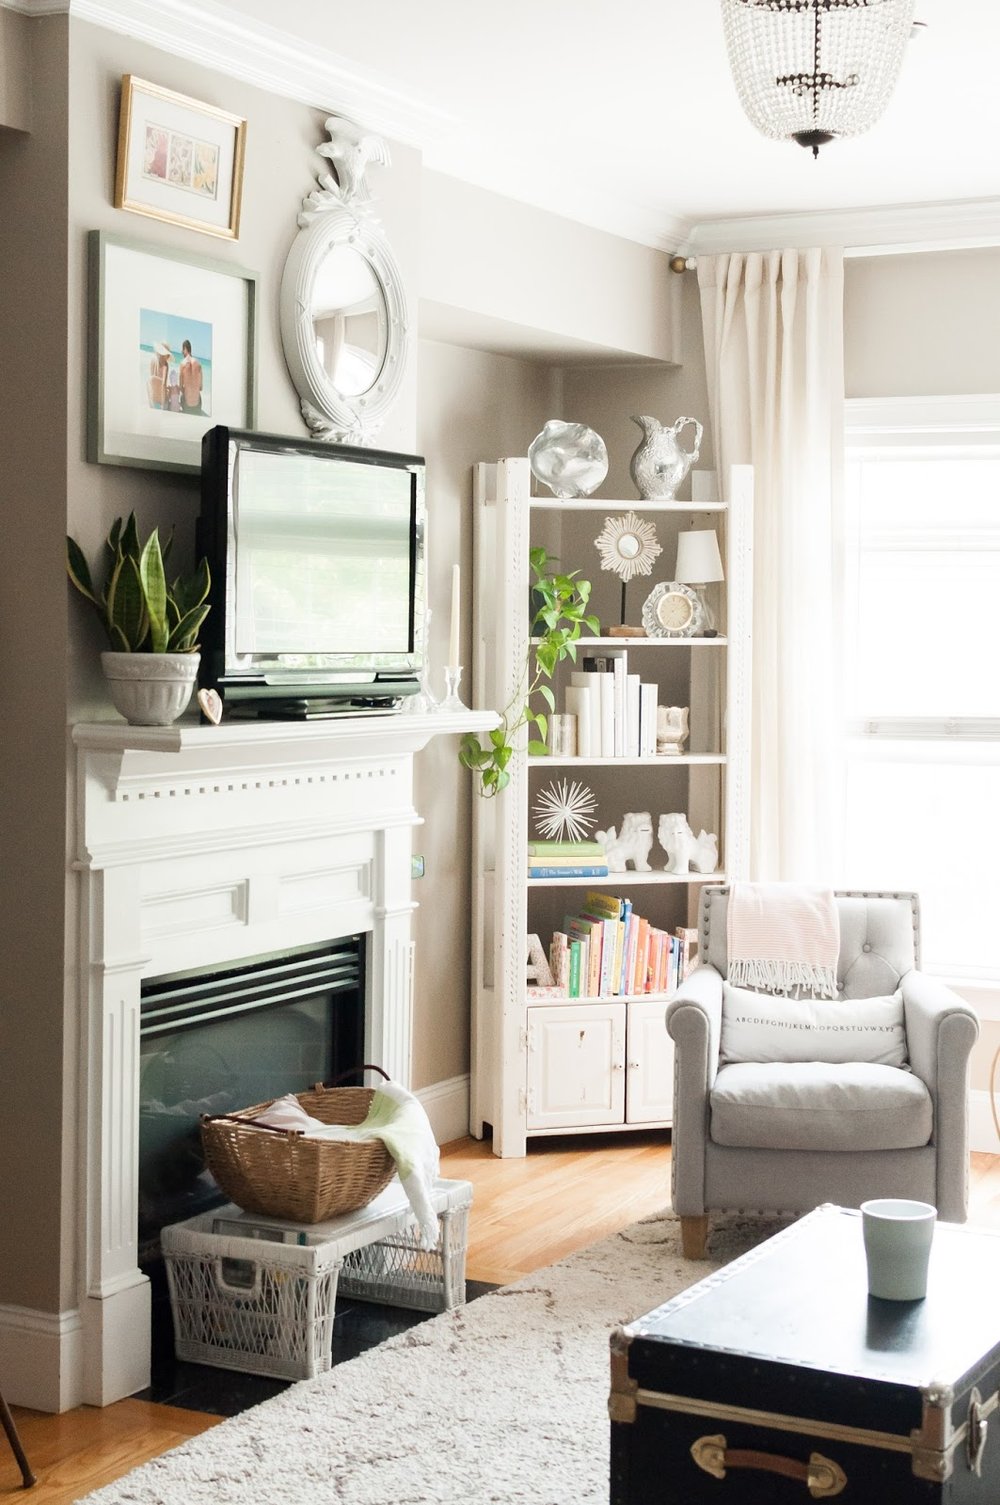
After our two week vacation on the cape, I returned home feeling refreshed and inspired. I wanted to channel all the sun and lightness from the summer into my home. It didn't take much - just some rearranging of all things white, adding some live greenery, and more reflective mirror action.

After a trip to T.J. Maxx and Marshall's, a climb into my attic and some shifting of throw pillows; my refresh was complete (for now, let's be honest). Nate Berkus suggests taking everything out of a space, and then putting it all back together when you are needing a refresher not a re-do. Even just moving a potted plant from the floor to the mantel can give it a whole new life! details below...
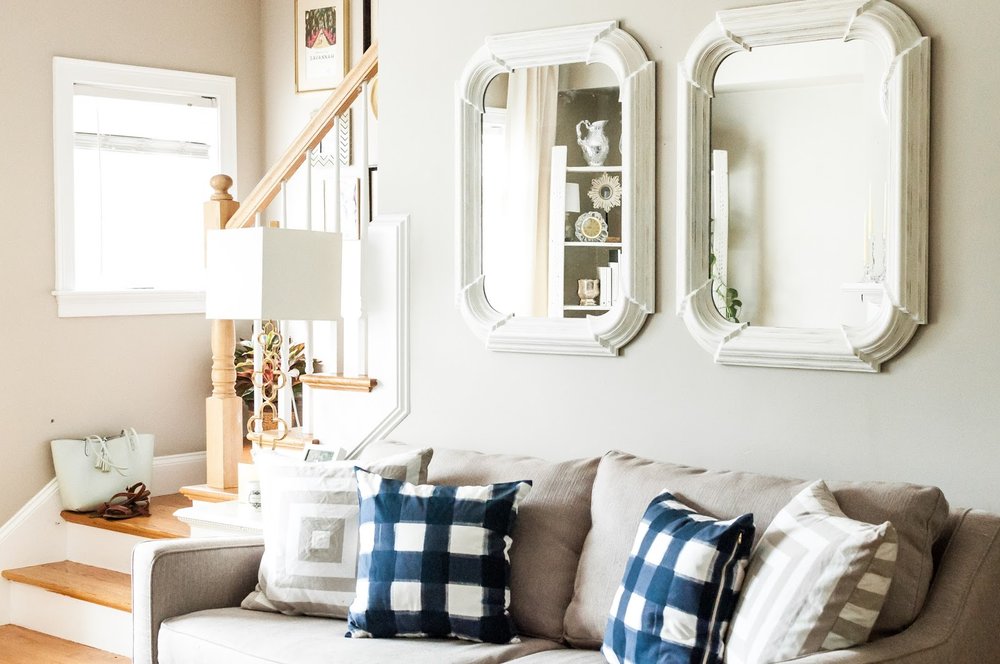
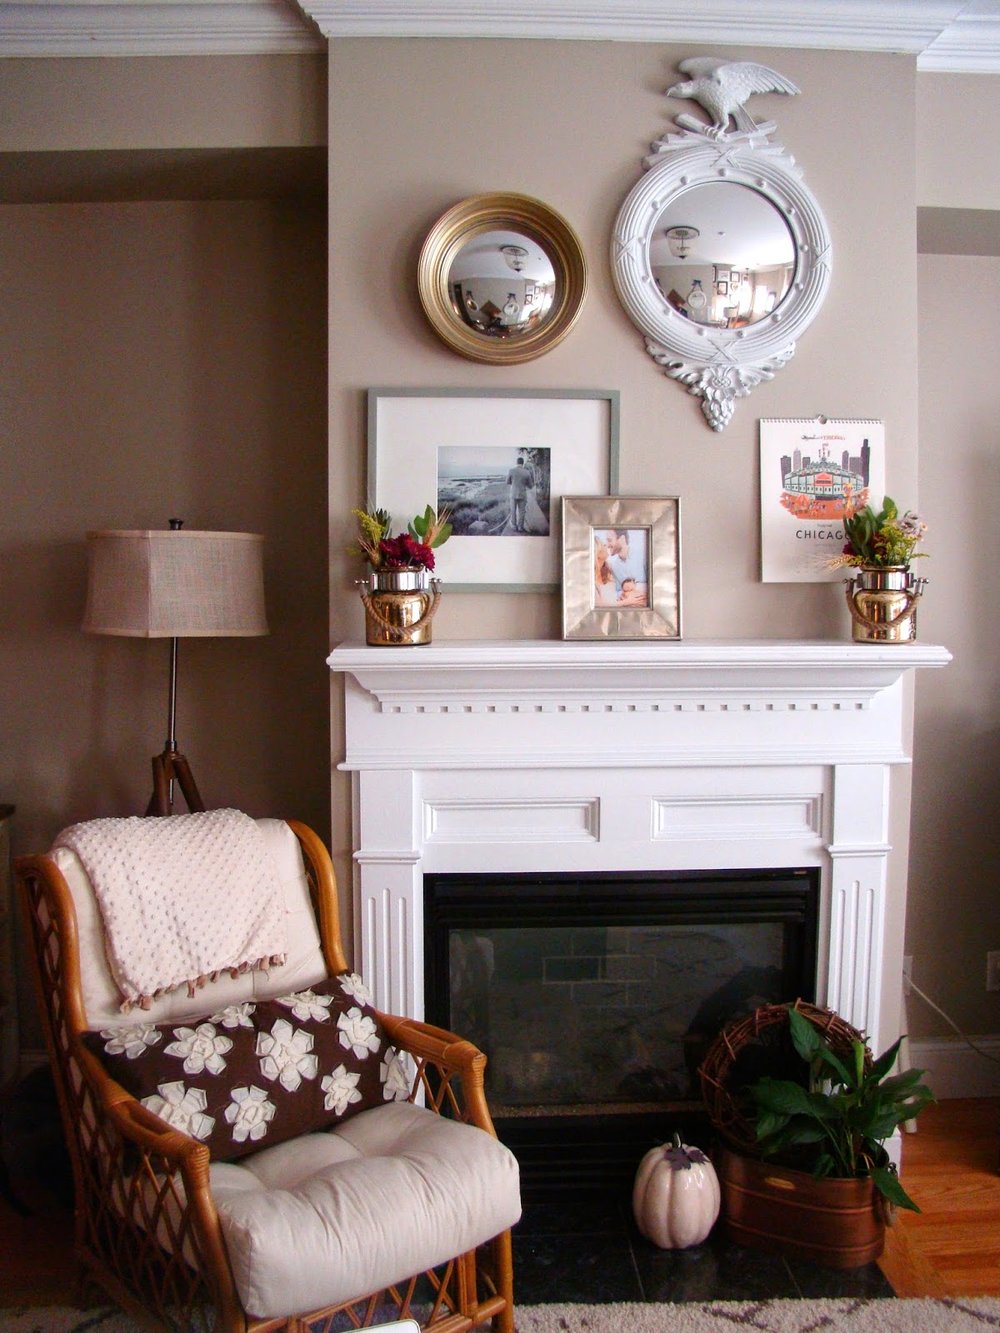
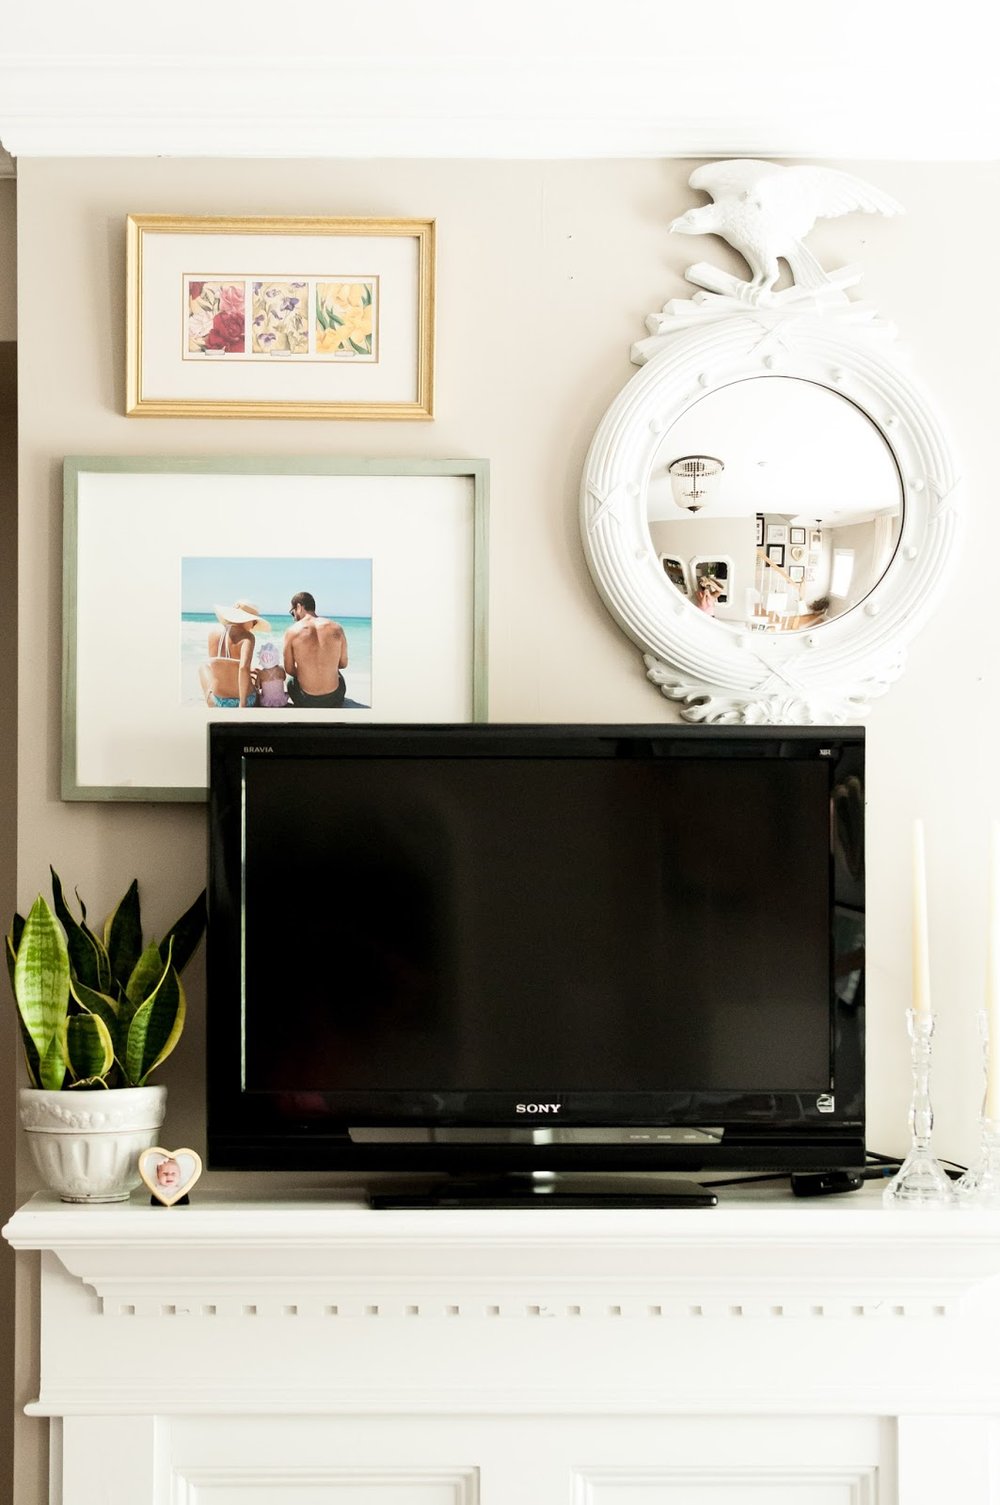
I replaced the large statement clock above the couch with two mirrors. The original plan was to find one long, large, rectangle mirror but when I spotted this pair at T.J. Maxx, I decided a pair would be more interesting but still give the same reflective effect desired. Three mirrors would be ideal, unfortunately a third wouldn't fit on the wall.


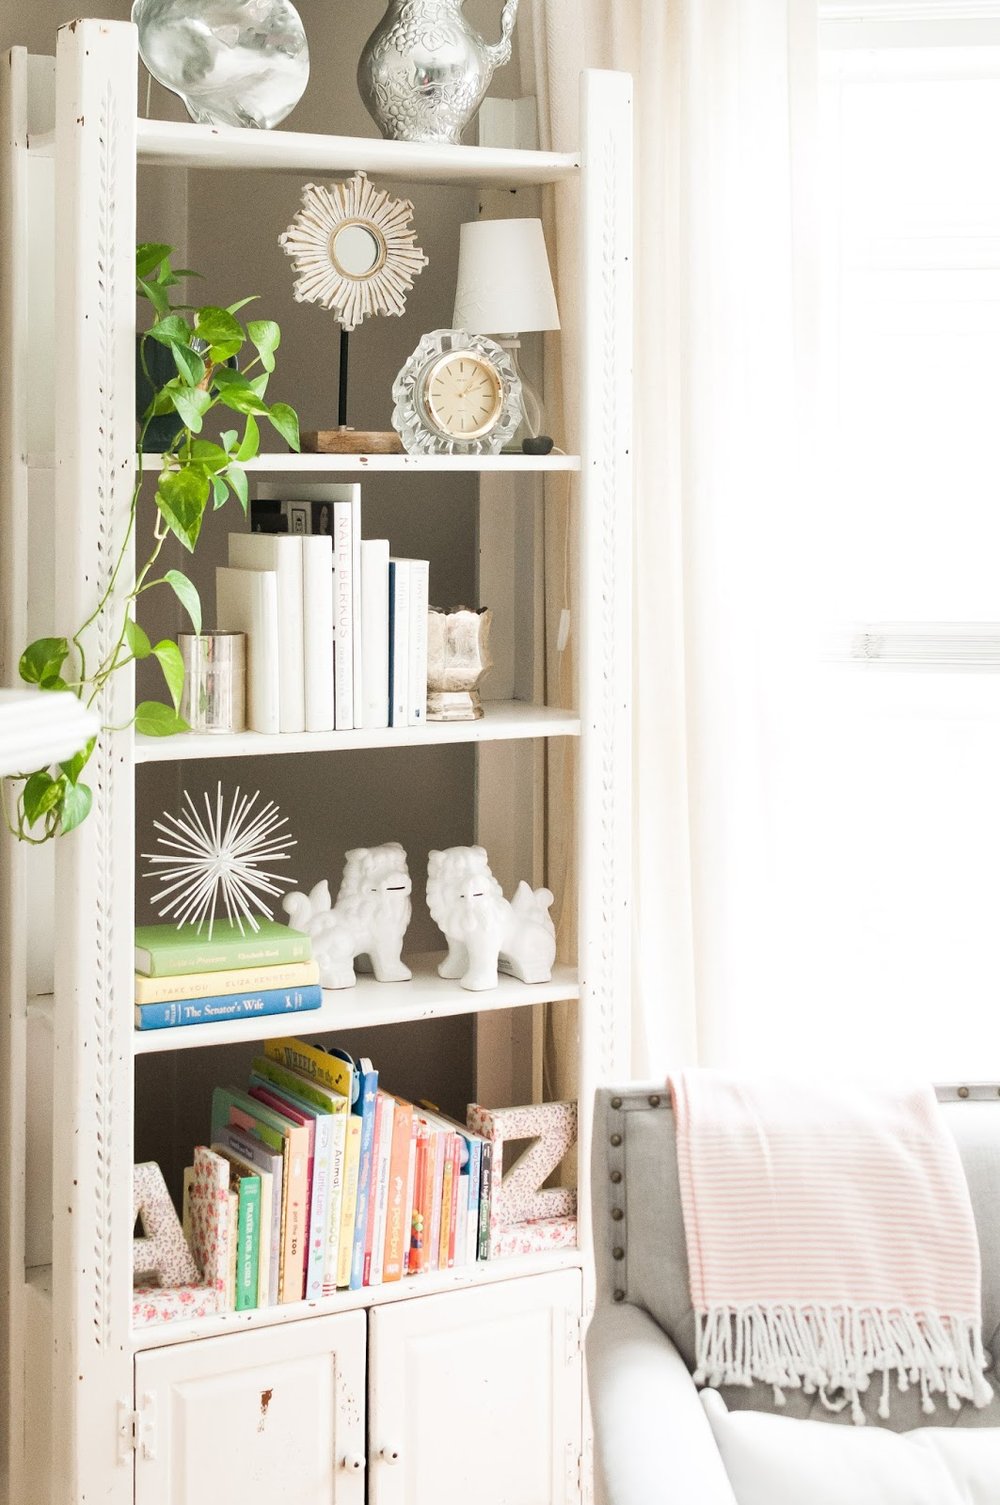
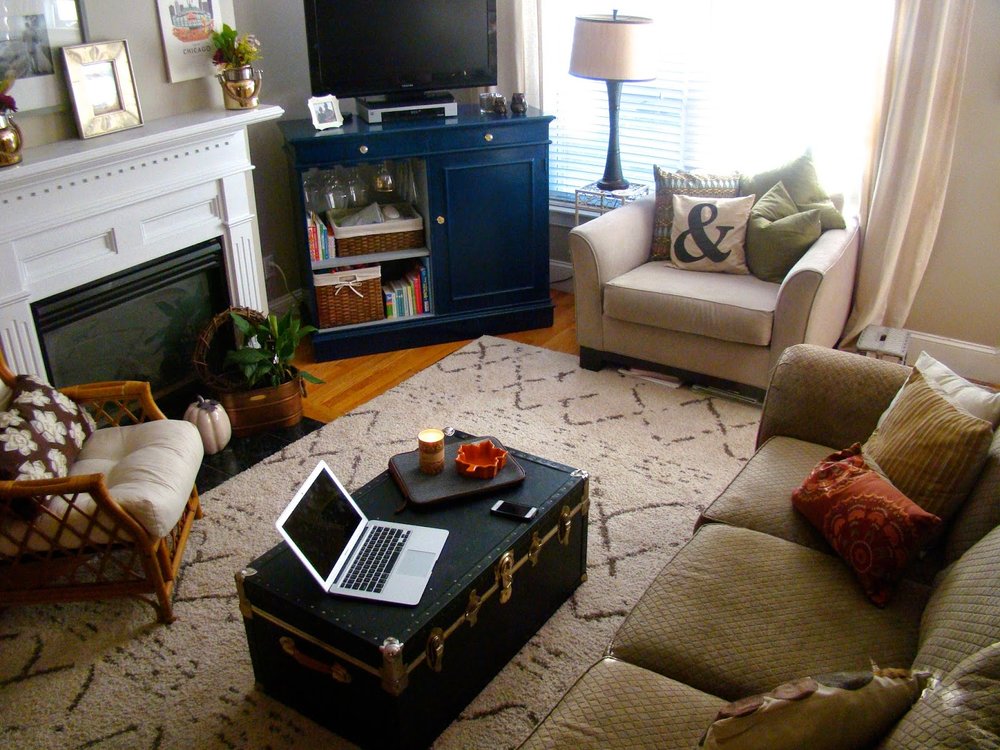
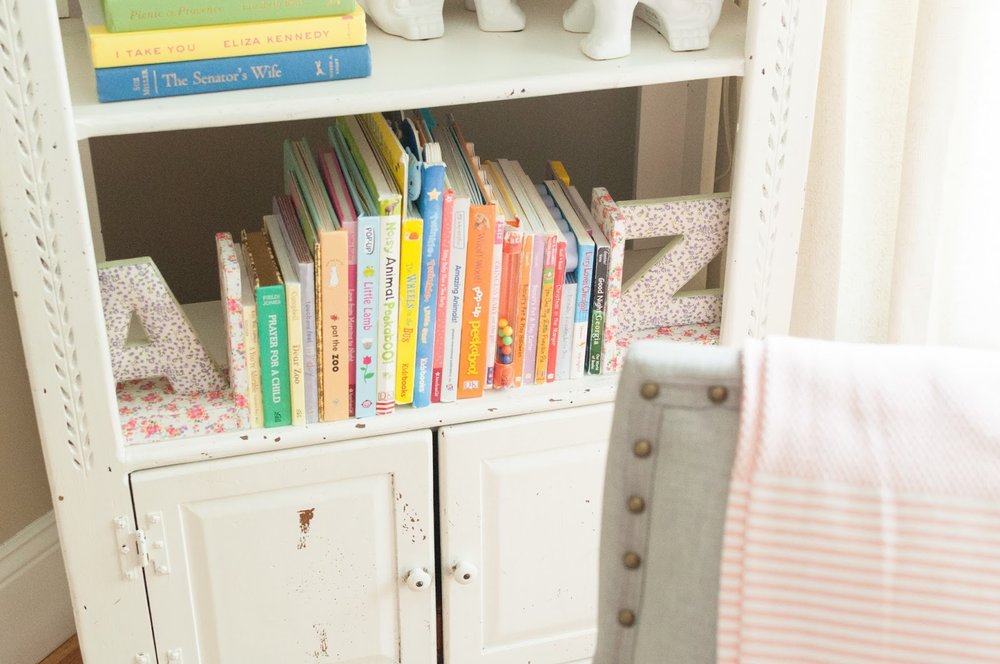
I've been having so much fun with this bookshelf ever since I moved it to the living room (read last year's update here). After studying Emily Henderson's instagram pictures and reading her new book - she is my new blogger/designer crush - I realized what my style was missing: greenery! Live plants to be more specific. I had them around the house in corners, but I've never displayed them before. When placed strategically, plants add immediate sophistication and beauty. I'm planning to add some interesting cacti asap.
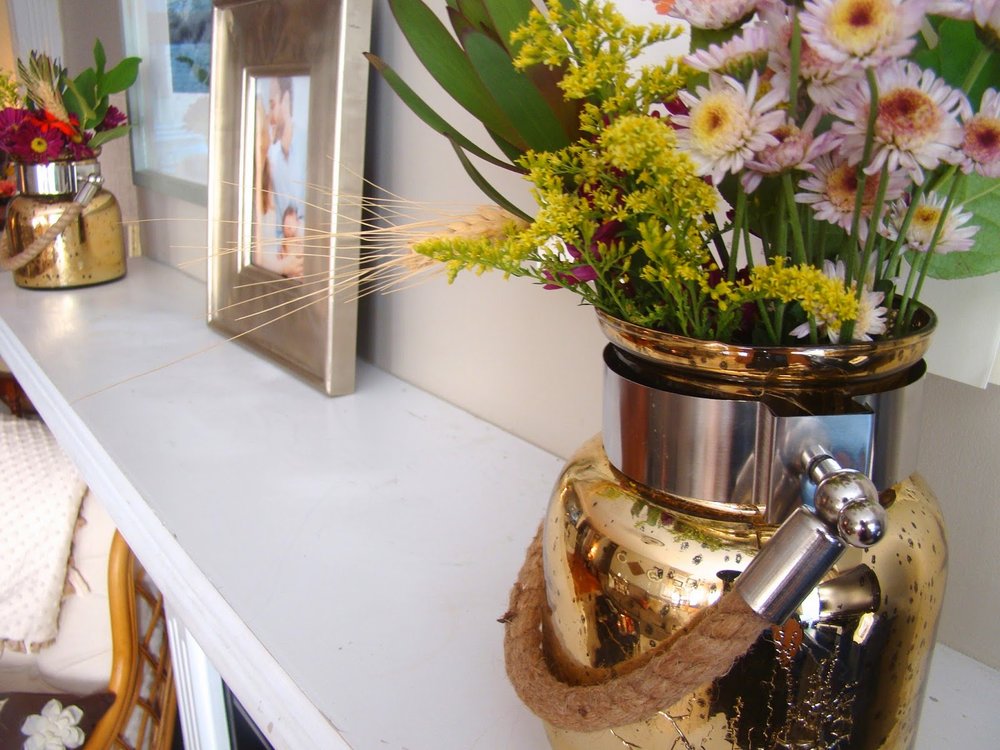
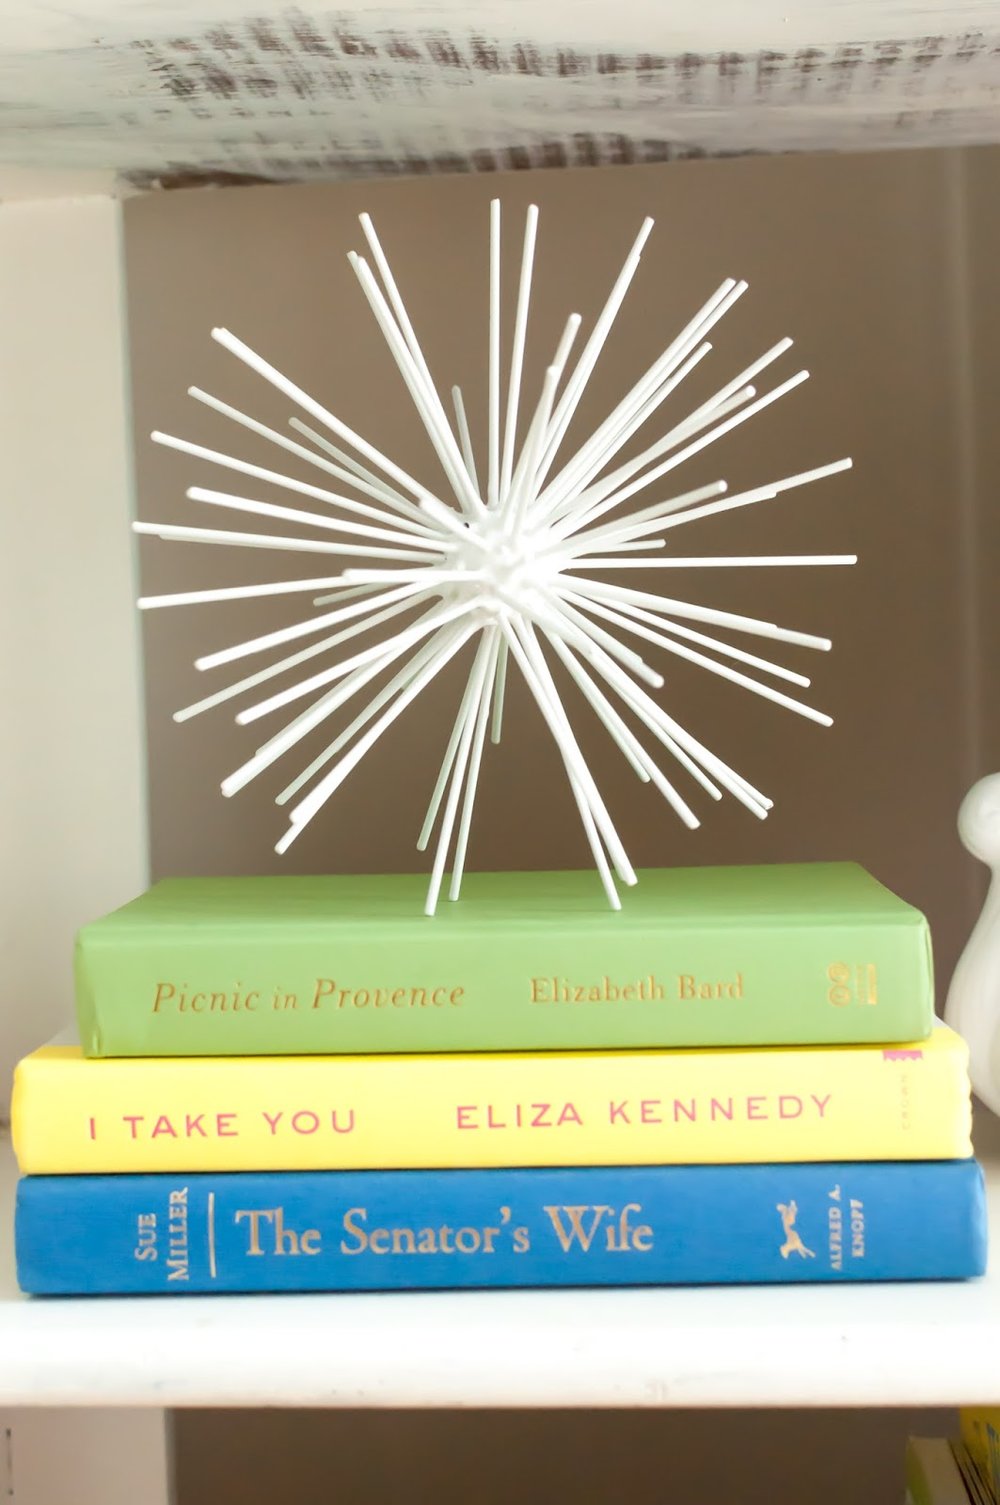
My new favorite thing is to take off a hardcover book's sleeve. So many books have unusable covers when styling but underneath you will find a beautiful book. When I go thrifting or to yard-sales, I'm constantly peeking behind old book sleeves hoping to find a color I can use in my home. I found all of these white books, pictured above, right here in the house! I scored the silver-plated vases during Paul's parents move. After some polishing, the silver came through brightly adding a nice balance to all the gold I tend to gravitate towards.

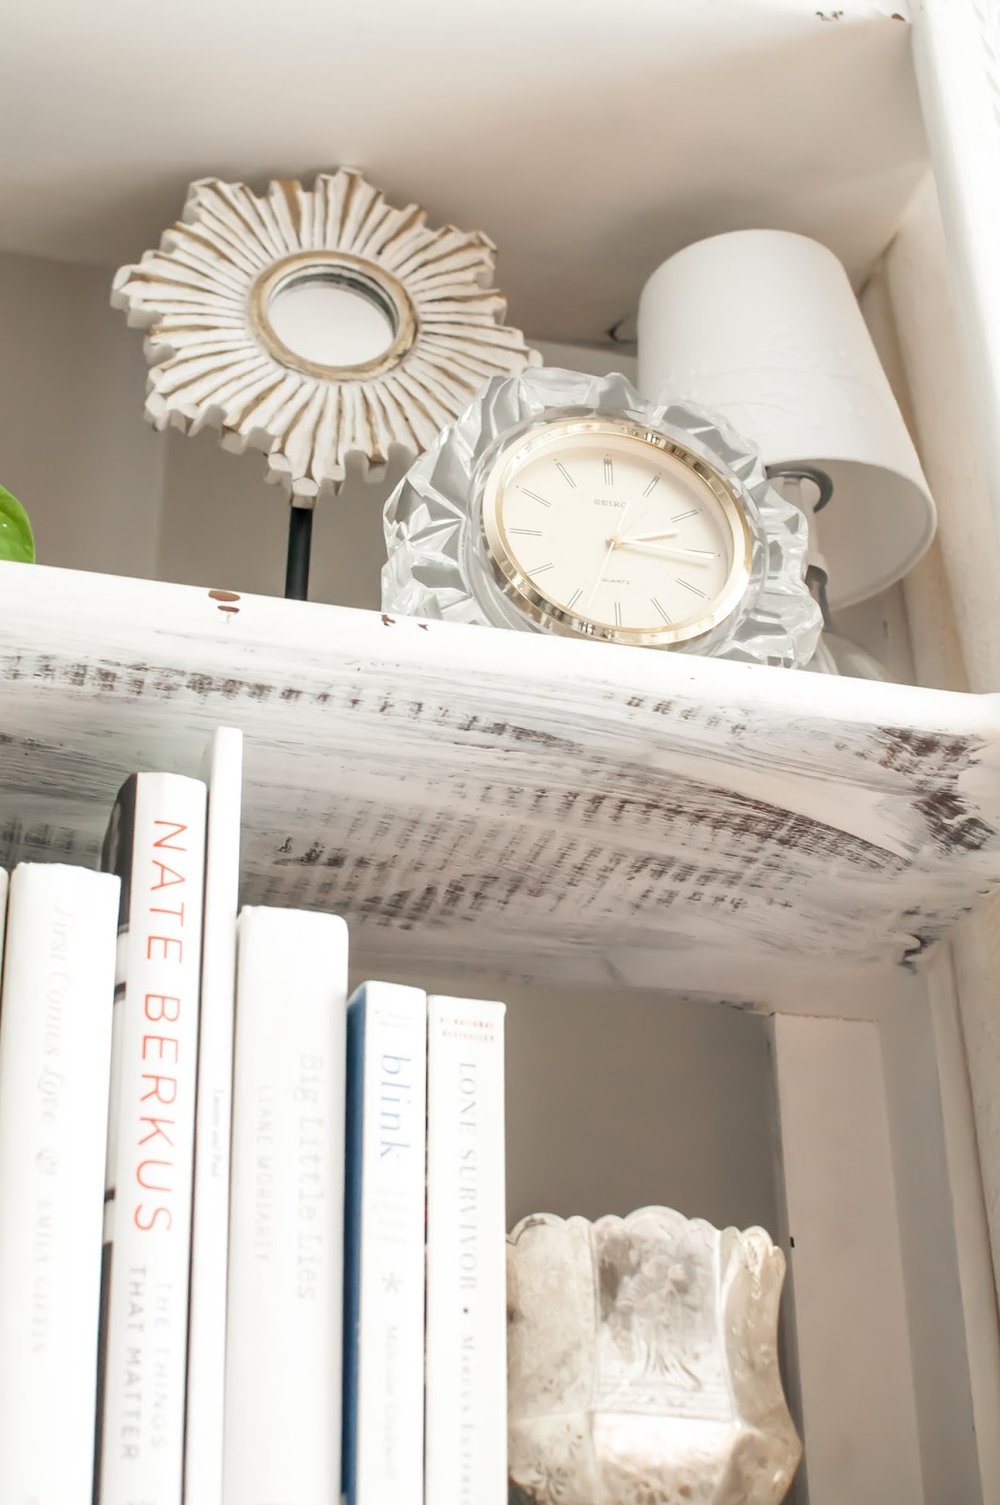
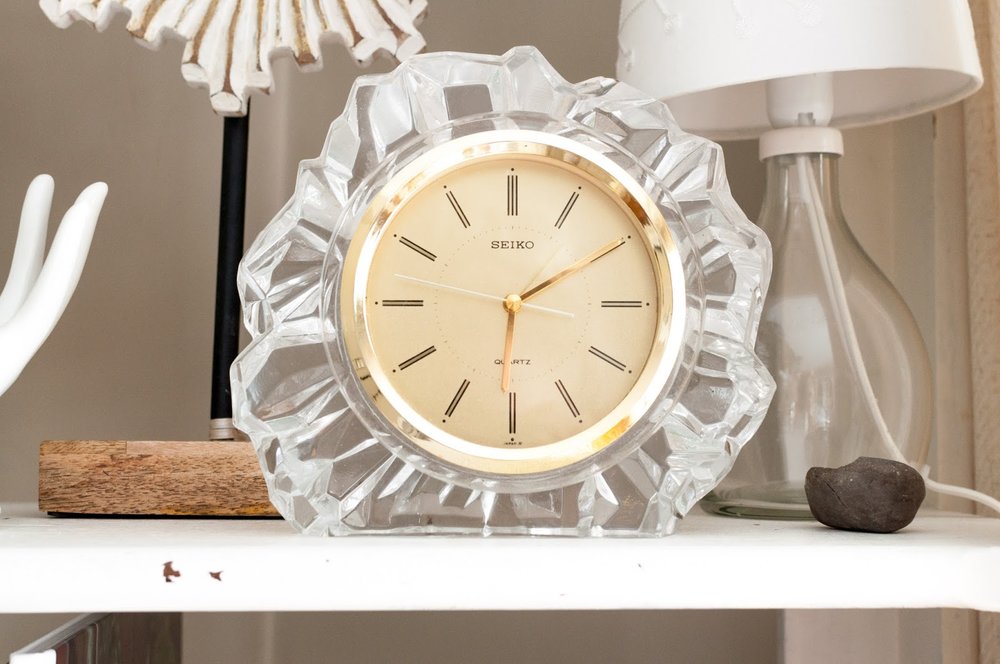
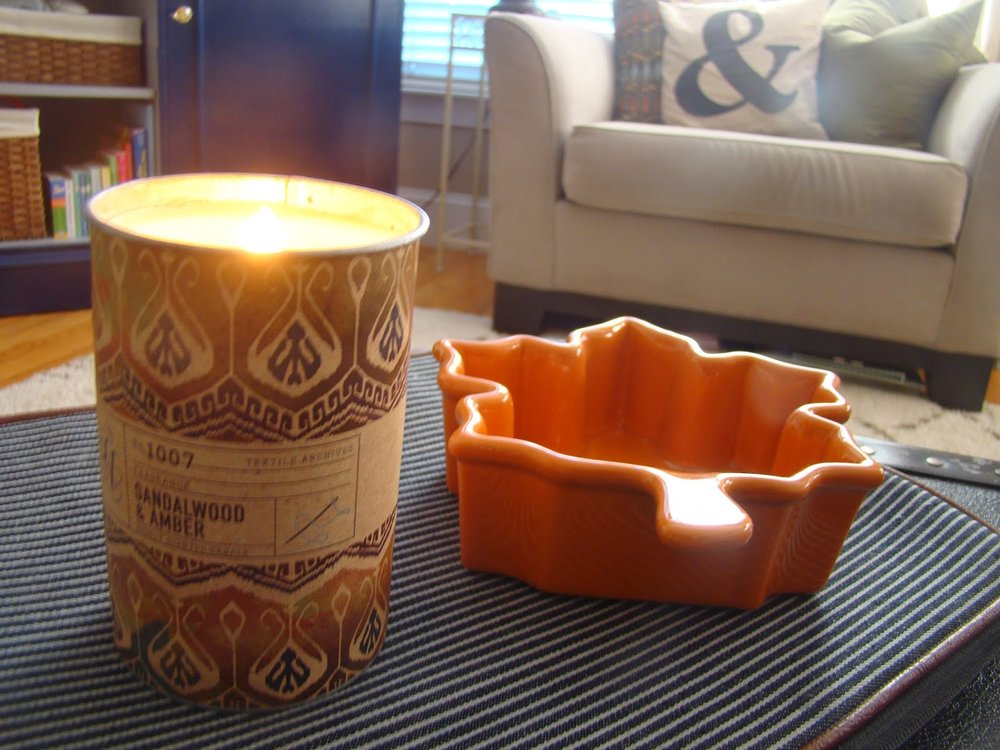
Your styled shelf, vignette, dresser, etc should always have personal elements to it. A picture is a great solution but heirloom pieces, travel souvenirs, or memorable gifts take the space to another level. Above is a clock I found in my mom's basement. It was a wedding gift to my parents from a close friend of my Dad's. While it isn't my mom's style anymore, it is certainly mine!! I love that I have a little piece of my parents story in my living room.
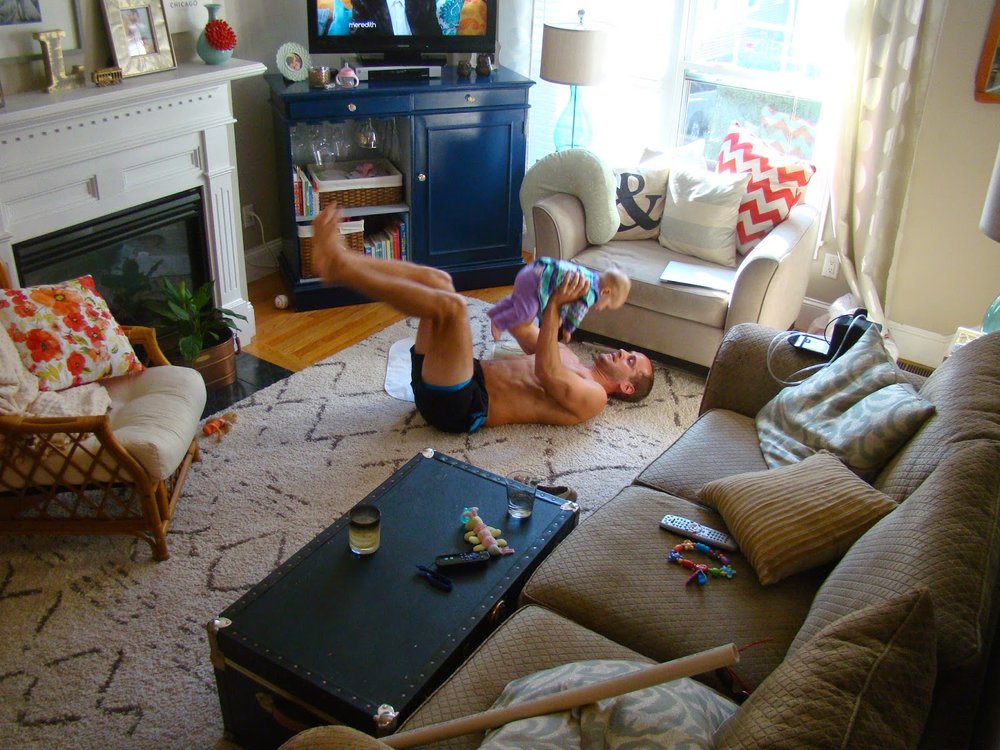
Last year, I moved the TV over the fire place. It makes so much sense in our little living room but gosh I missed the gallery above the mantel. Enter: TV gallery. I've seen a few bloggers doing this and thought it was a great solution, especially since we have the smallest flat screen ever. I chose large pieces that can be appreciated without being fully visible.

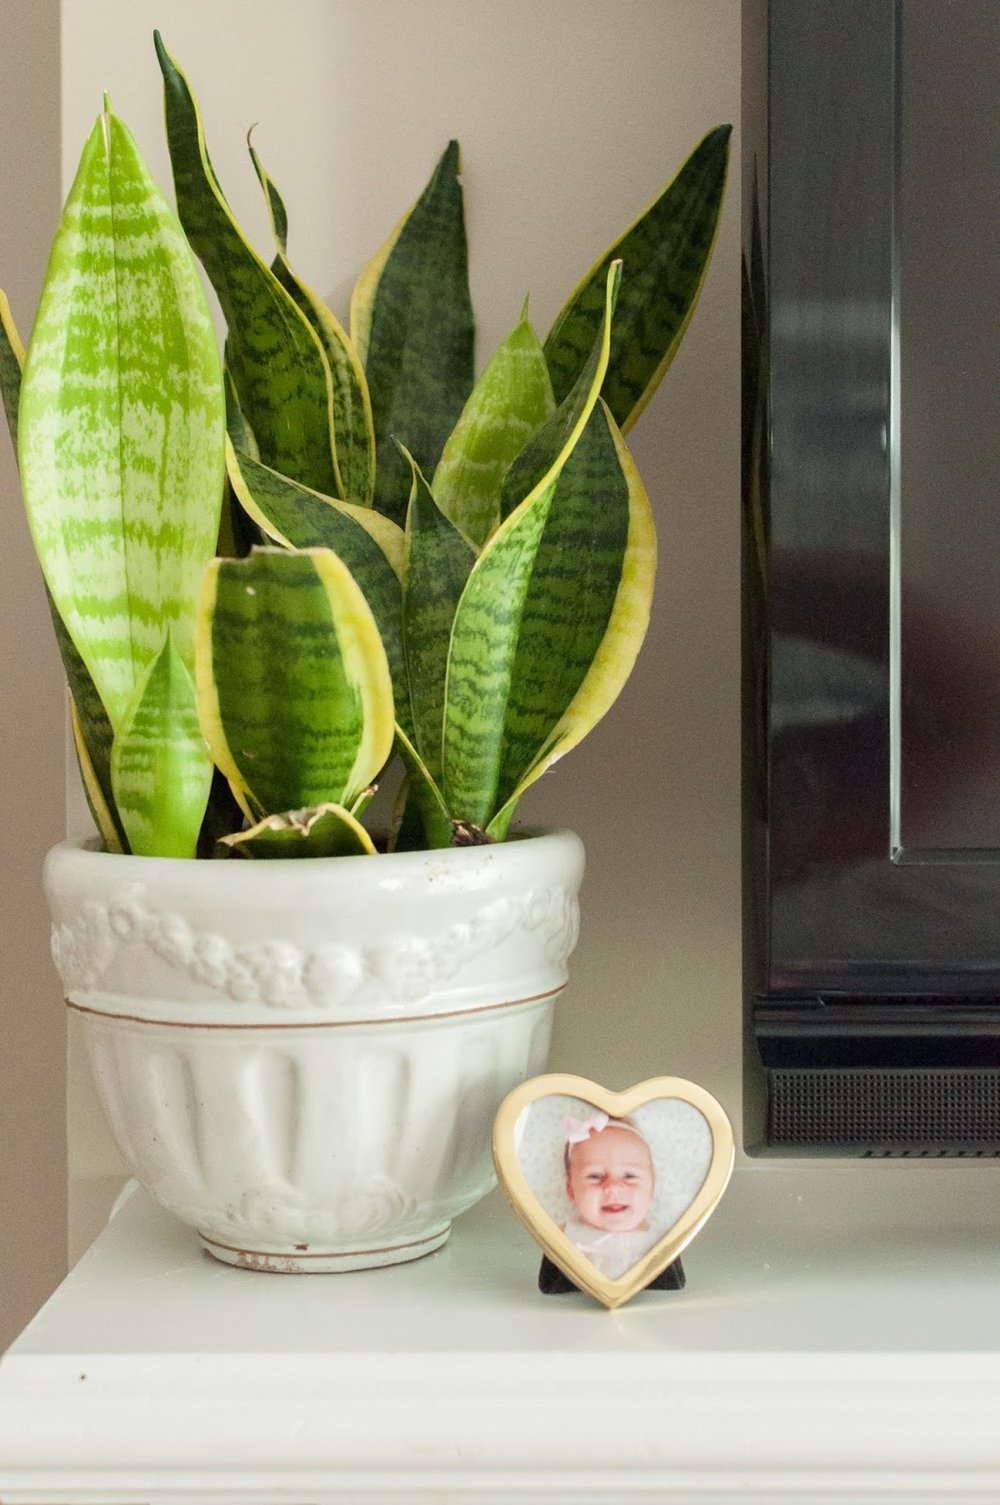
This plant was sitting in a corner, unappreciated. It was promoted and is thriving high up on our mantel. The sweet little frame is a thrift find and I will never replace the 4-month old picture of Roswelle.
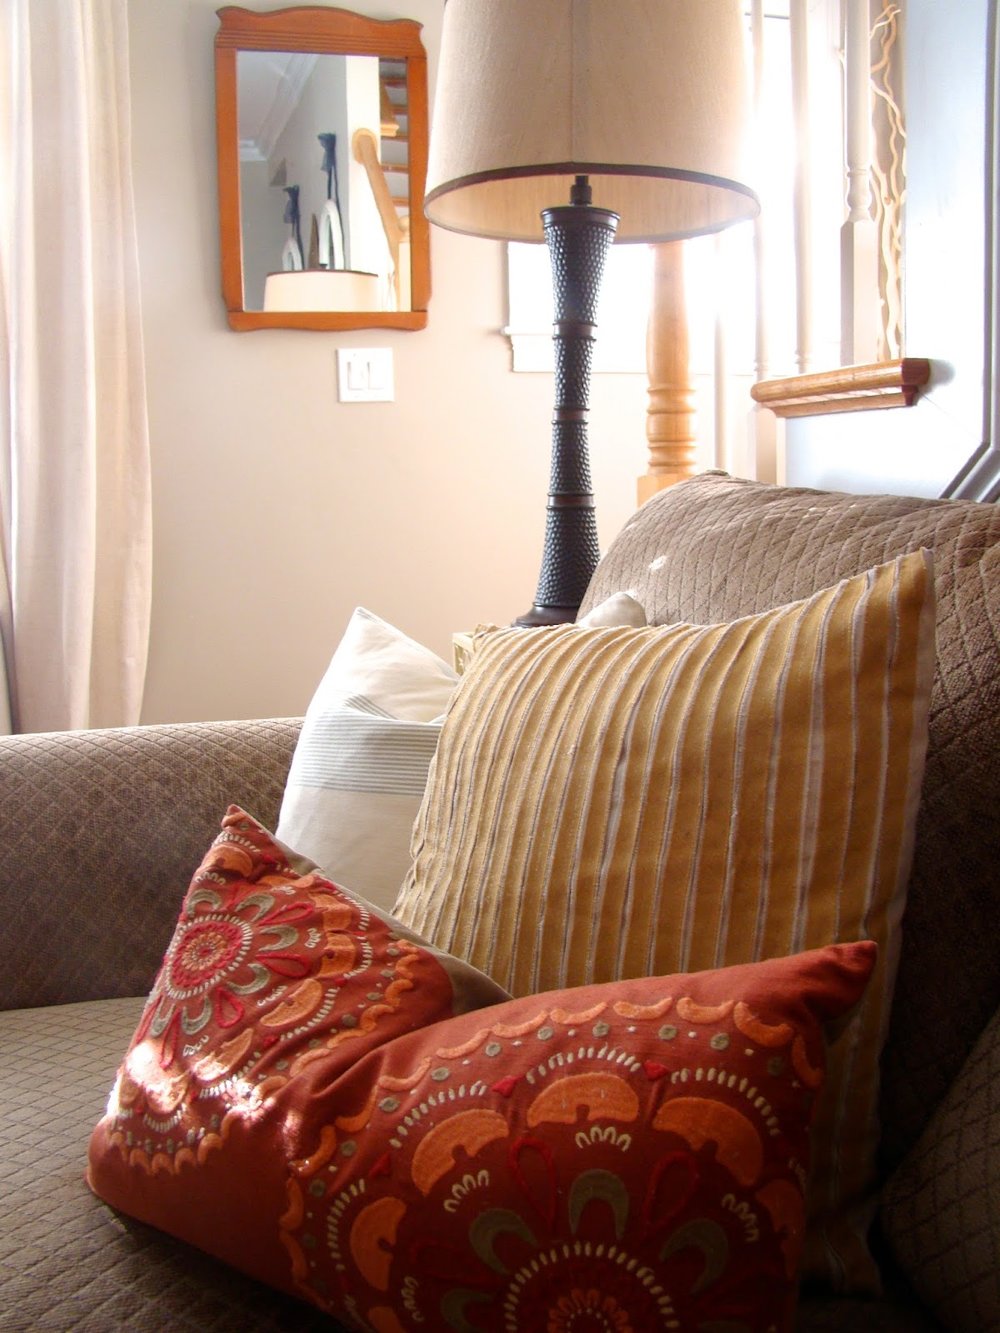
These candle sticks were a wedding gift and were up in the attic because I used to think I could only use them during fancy dinners. But they are the PERFECT solution to balance out the other side of the mantel. Also, I love that they are crystal, which compliments the clock and is a nice change from the typical brass I see so much.
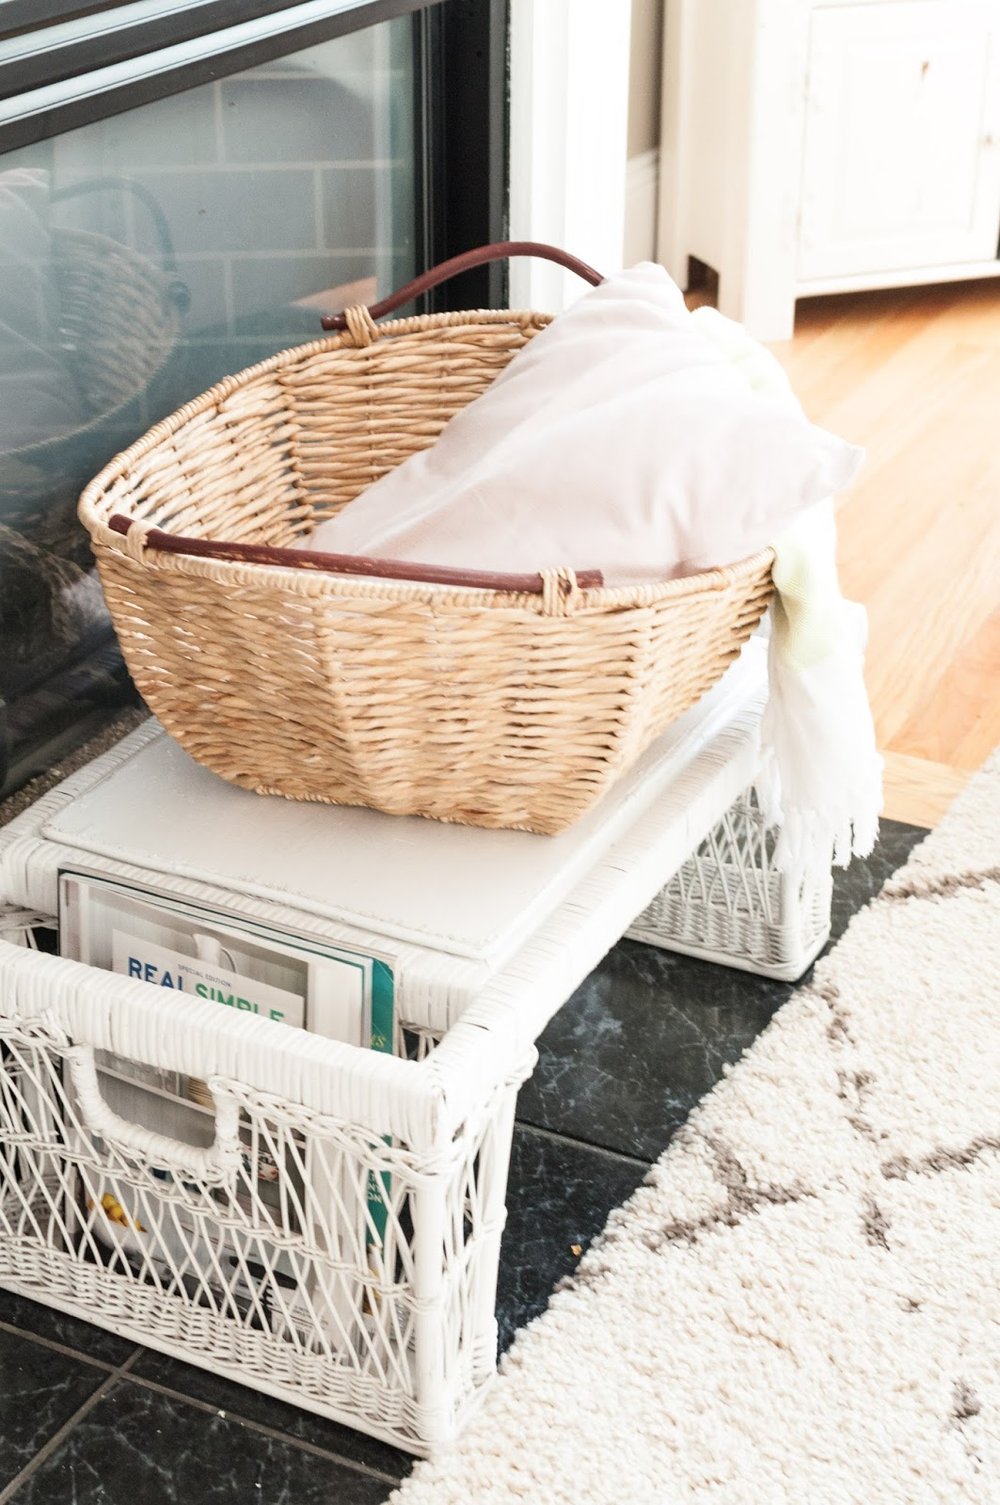
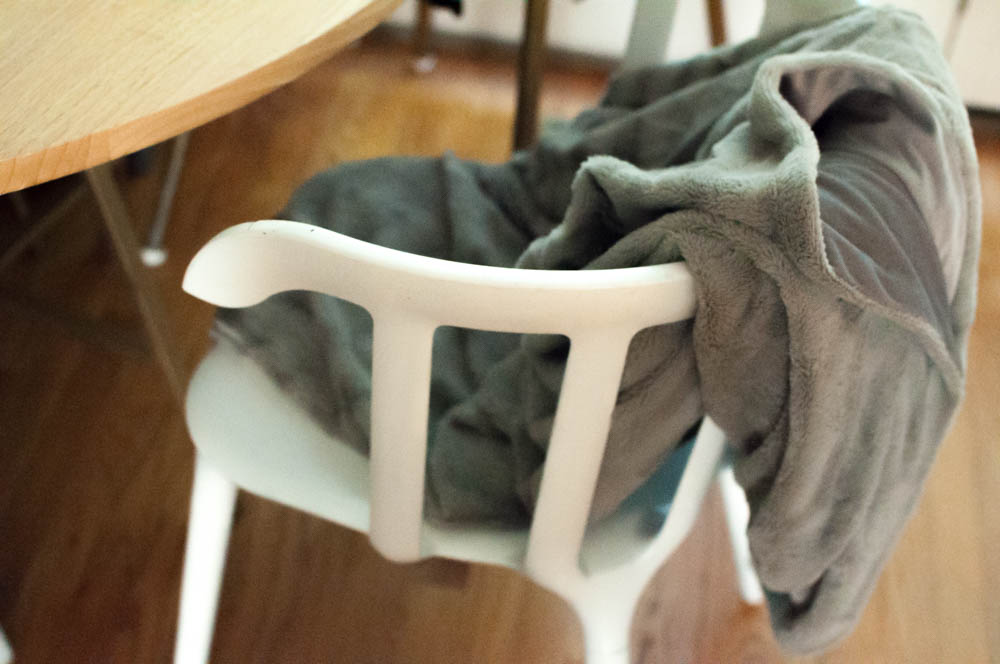
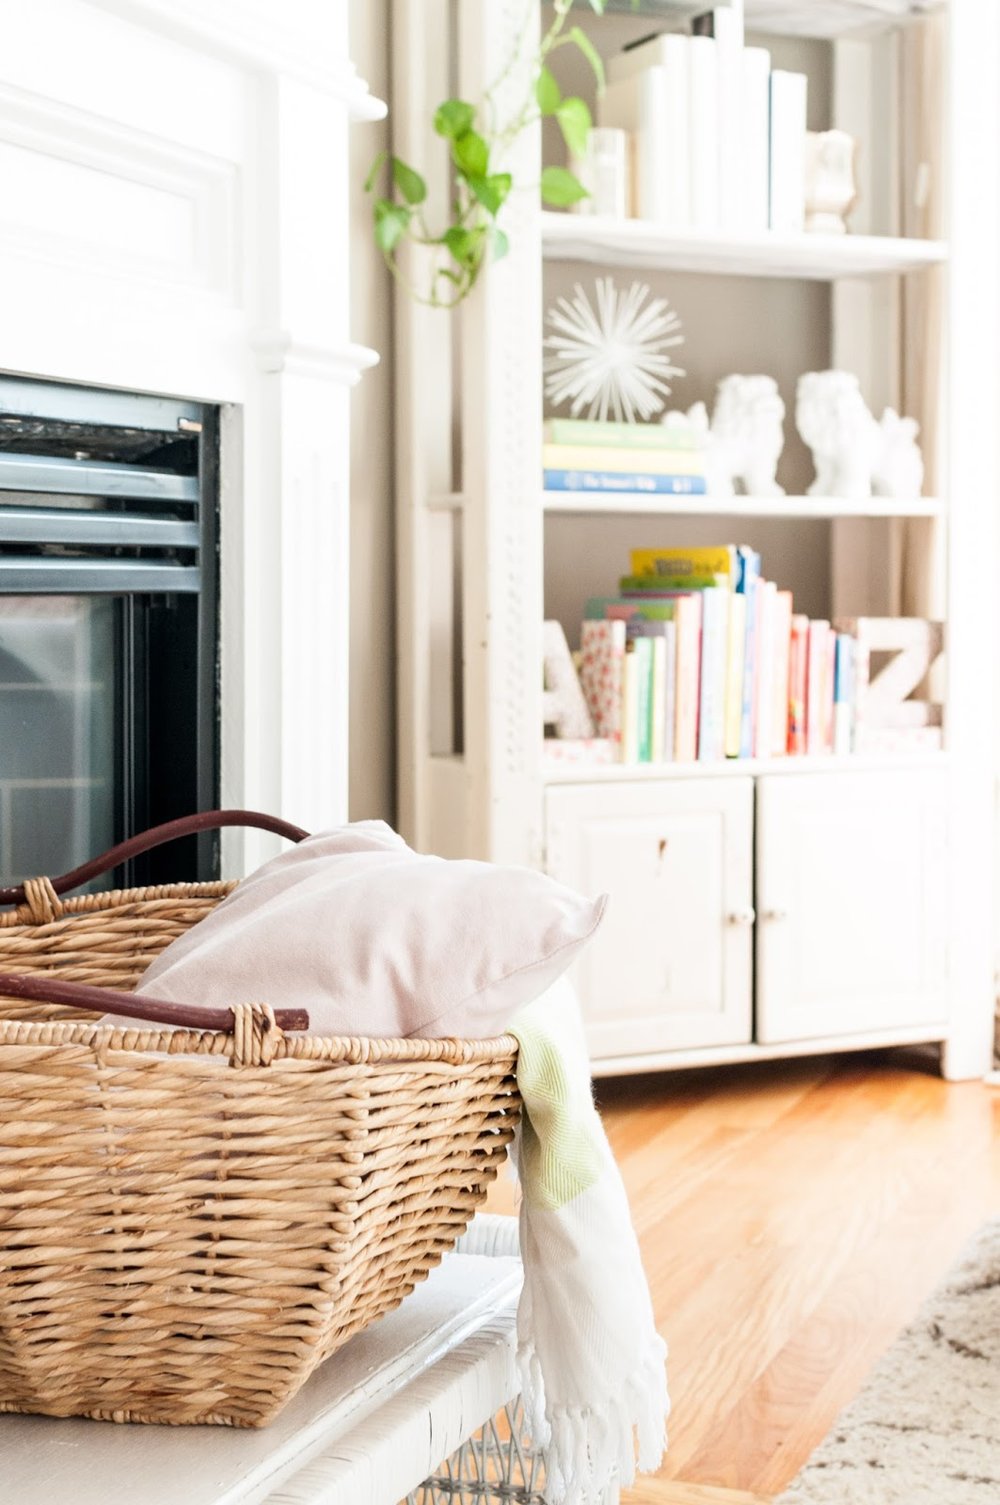
We use our gas fireplace every night in the winter, but in the warmer months it is just an eyesore. I picked up this white whicker breakfast tray on the side of the road two years ago. It has been in my guest room since then but was mostly getting in the way. It's the perfect height for in front of the fireplace and provides storage for current magazines and a basket full of throw pillows and blankets. 

That's all y'all! Hope you enjoyed the tour and found some inspiration for your spaces! 

Be sure to check back this week for newborn pictures of sweet baby boy, Declan Rock! (Instagram preview)


<3 Lauren

Itsy-bitsy Back Patio


I've lived in our Dorchester townhouse for 4 years and I can't believe it has taken me this long to make use of our back patio.  It is super small but it is such a game changer in the warmer months.

This past Mother's day all I wanted was to fix up the teeny space. One Ikea trip, one amazon purchase, and one trip to Home Depot; we were set. I've detailed the items with source links at the end. When we set this up in the beginning of May, we were coming out of a very chilly, gray "spring" so I added lots of color to the space; hence the variety of selections in flowers. I'm looking forward to changing the style of the flower boxes in the different seasons.

Every morning I have the same routine.  Paul gets Roswelle up (mostly because she literally wakes up calling out for "da-da") and while they say their good mornings, I go downstairs to flip on the coffee, open the blinds/windows, and open our kitchen door to our little back patio. We have a screen door that keeps any pests out but lets the cool morning air in and opens up our kitchen for a breezy, feel good start to our day. I will grab my cup of coffee and spend some time outside clipping any dead leaves and checking on the soil. Roswelle loves the task of watering the plants. Even if it is only a few minutes, it can be a really meditative way start the day.

To really appreciate the update, I feel that before pictures are in order.

And now onto the details...
Lucky for me, my mom, who has a wonderful green thumb, was in town to help.  I was clueless!
{line any baskets with some strong plastic to help with water absorption. We cut up a large trash bag and it has worked well}

{make sure to poke the lining with skewers or a knife to allow healthy draining}
{start with one layer of soil before adding your plants}
{look outsdie the box and up to hanging baskets! repurposing the flowers to boxes is a great option}
{break up the rooted soil before re-planting}
{thank goodness for IKEA when decorating city spaces}


1. Amazon Flower Boxes  (comes with coconut liner)
2. Ikea outdoor rug
3. Ikea Table and Chair set 
4. Potting Soil
5. Miracle Grow Quick Start
6. All flowers were from Home Depot


Kitchen Cabinets Update


Now that I'm home more with less travel, I've been busy making changes.  I love changing things up in the house, probably because I know I can just change it back if I'm not happy with the result. There is no need to be afraid to repaint, rearrange, re-hang etc...you can always have a professional come fix it.  

Painting our kitchen cabinets was the first home project I did after we were married. I was impulsive and excited. After 3 or so years, I was not happy with the paint color anymore. I had been hinting to Paul that I wanted to repaint them and would only receive a groan in response. One night I went into the basement, found a white we already had (Benjamin Moore Acadia White, which we used in Roswelle's nursery) and got the courage to get started.  

I'm really happy with the way it turned out on the top and I'm currently repainting the lower cabinets. Because the base colors are two different colors, I think I will need 3 coats to get the cabinets to match.  I cleaned the cabinets and just got started, since I'm painting over paint, I didn't feel the need to sand them down to the bone this time.  

See below for the progression of the kitchen and some future projects that are being planned! Thank goodness Paul allows me to be creative and try, try again.


{please excuse the quality of the picture above, I was too lazy to get my wide angle lens, I'll take better pictures once I'm completely done!}

{2012-2015}


{the bachelor kitchen...}

Another before and after of the kitchen with the slight color change to Acadia white. (wall color is BM Tyler Gray)
{after}
{before}

Over the next two weeks we are going to be adding shiplap to the kitchen.  I guess is Joanna Gaines from Fixer Upper says it enough, people will start catchin' on, including me!


I'm Alive and Well! (Fall 2015)


I'm alive (and well!) y'all!! I basically fell off the web unintentionally 3 weeks ago. After returning home to Boston from my brother's beautiful North Carolina wedding on September 21st, I dialed things wayyyy down. As an introverted home-body, the past few months were quite a challenge. Between Memorial Day weekend and Mid-September, we were home ONE weekend. One. one!!! I don't mean to sound ungrateful for wonderful places to go and being with the people we love. But I really, really love my home, too! 

I have spent the last few weeks going on walks with Roswelle in our neighborhood, having slow mornings in our living room, and re-watching seasons 1-5 of Game of Thrones. You read that right...every night Paul would come up from his garage gym and groan as he heard the GOT theme song kick back up. I didn't prepare a blog post for the next day, nope, I watched the Stark family get murdered one by one (for a second time). Side note: John Snow is not dead! 

I've also been tinkering around the house, putting out Fall decor and warming up our house with colors and textures...because, "Winter is Coming." :P


DIY roped vase


I was recently gifted a beautiful arrangement in a large glass vase.  I loved the arrangement in the purple hue vase, but once the flowers had wilted, the vase became a DIY project waiting to happen.  I purchased 18ft of rope from home depot, pulled out my hot glue gun and in less than 10 minutes I had a vase with texture and color that matched my style and home.  It made me think, what else can I add rope to for a quick enhancement? Perhaps a lamp post or an ugly trash pail.  


A Fall Refresher

First - thank you so much for reaching out to me yesterday.  The facebook comments, messages, and texts really impacted me.  It's scary to put feelings out there, especially in a culture that puts on a perfect front, so thank you for making me feel supported. We are all going through something so we might as well come together and hold each others hands through it.  

As promised - a little post on a simple Fall update! I love changing the house to match the seasons.  A few weeks ago, on the first day of Fall, I went up to the attic and grabbed my Fall themed throw pillows (I forgot the blankets!) and started from there.  

The pictures aren't perfect (argghhhh I need to get my camera fixed!!) but they'll do.  Most of this change-up was free.  I switch curtains and lamps around the house, found throw pillows that I had stored from last year and added just a few Fall accessories.  When you have clean, neutral items and colors in a room, it is easy to transform the room with just a smidge of color.

our Fall-ish mantel: 
A brown bolster throw pillow, gold/mercury containers with rope detail and fall colored flowers.  My only plant in the house (still alive!), a ceramic cream pumpkin, and a simple twig wreath.


Above: our living room before I did the Fall refresher


The updated room: 
I switched out the curtains from Roswelle's room.  I was sick of the 2yr old polka dot Ikea ones that didn't reach the floor in our living room.  I switched the lamps from our bedroom.  New pillows to add some fall colors.  And the easiest way to change the feel of a room - a scented candle and coffee table accessories.


I'm debating on whether to fill the leaf dish with candy-corn (a personal favorite) or a healthier option such as pistachios... it's still empty 2 weeks later. 


  Curtain advice from my fav blogger Erin Gates of Elements of Style is to hang curtains as close to the ceiling as possible and to have the hem of the curtain gather slightly on the floor.  It draws the eye up, giving the illusion of taller ceilings and adds some drama.