Itsy-bitsy Back Patio


I've lived in our Dorchester townhouse for 4 years and I can't believe it has taken me this long to make use of our back patio.  It is super small but it is such a game changer in the warmer months.

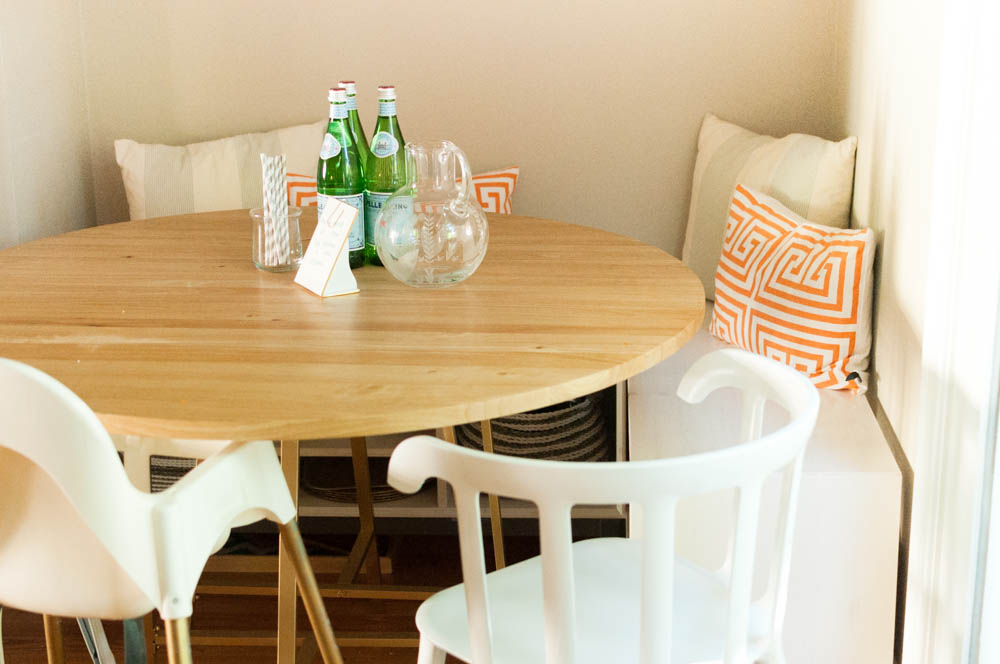
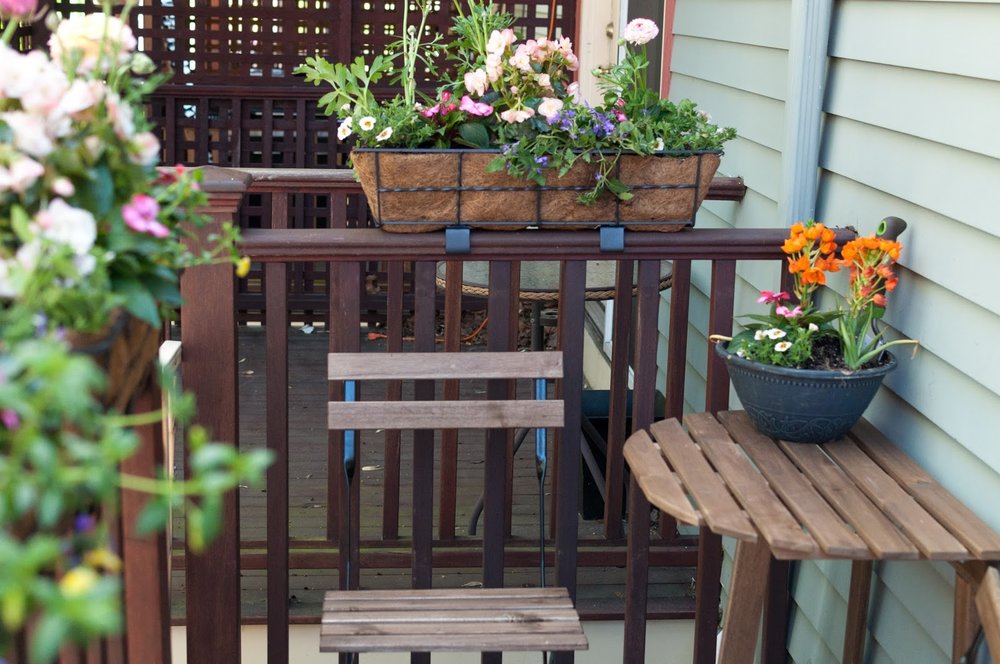
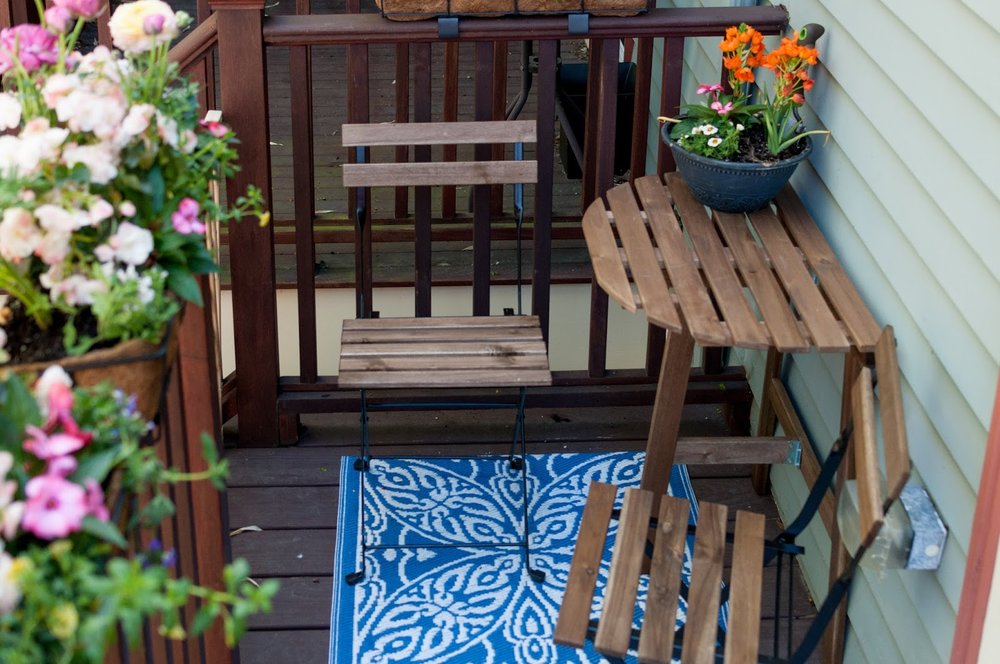
This past Mother's day all I wanted was to fix up the teeny space. One Ikea trip, one amazon purchase, and one trip to Home Depot; we were set. I've detailed the items with source links at the end. When we set this up in the beginning of May, we were coming out of a very chilly, gray "spring" so I added lots of color to the space; hence the variety of selections in flowers. I'm looking forward to changing the style of the flower boxes in the different seasons.

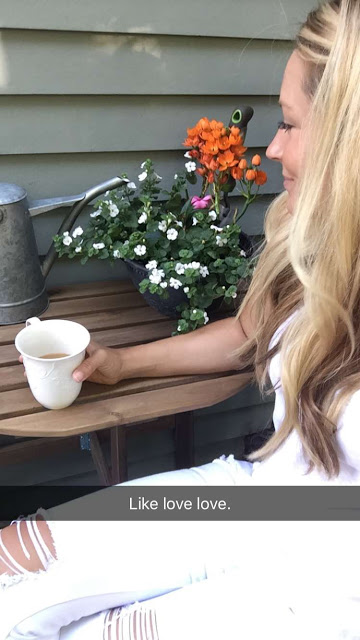
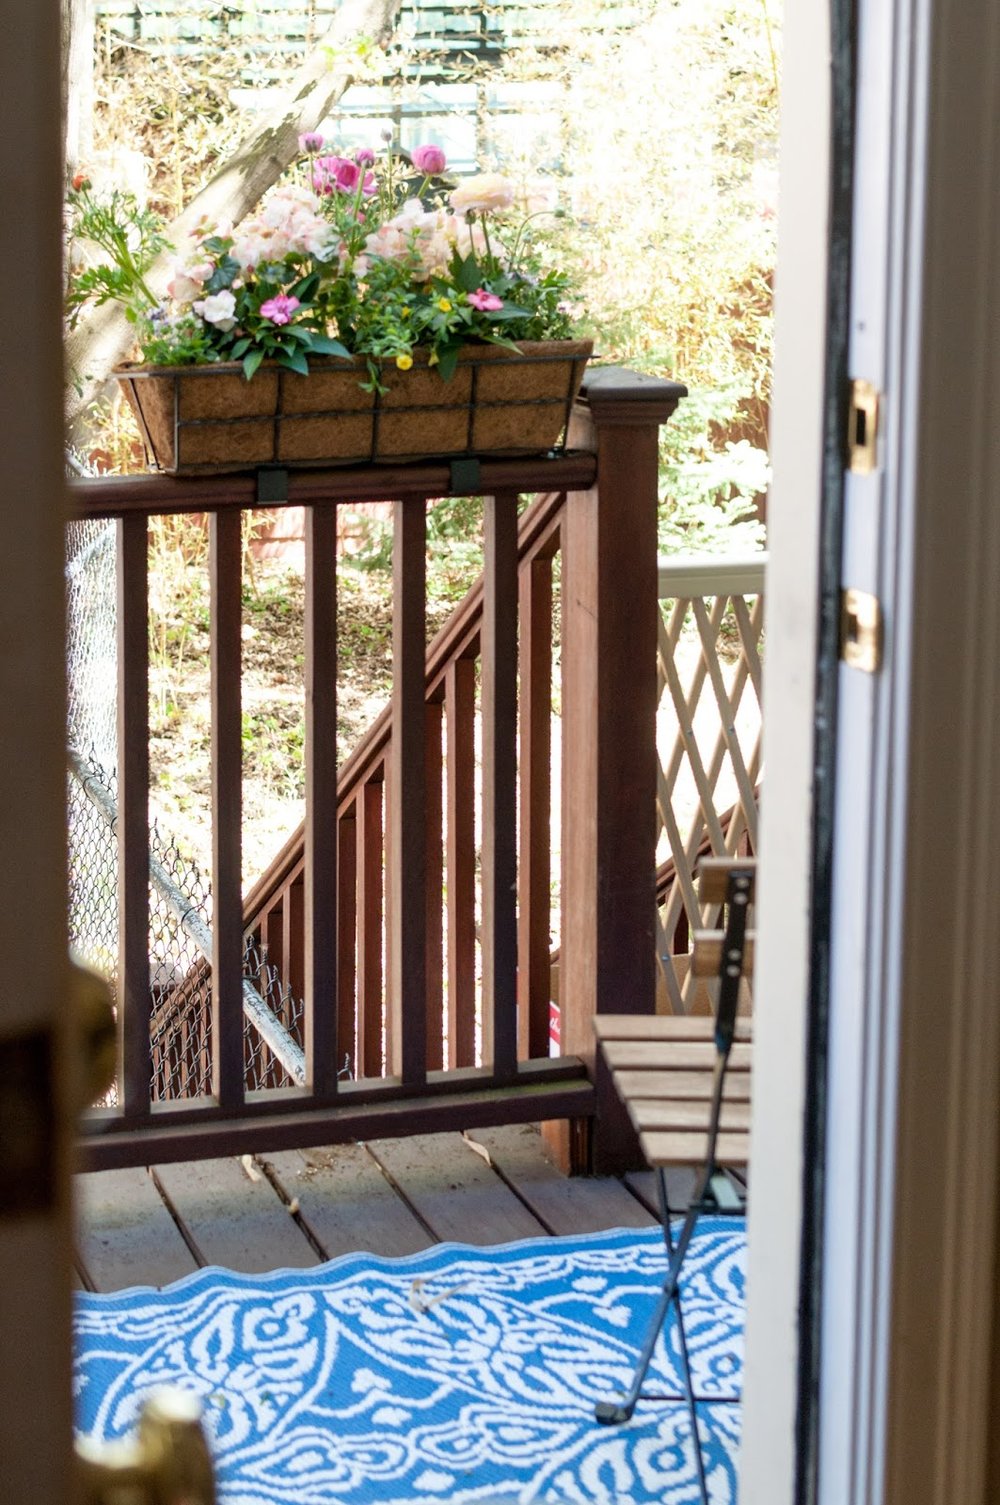
Every morning I have the same routine.  Paul gets Roswelle up (mostly because she literally wakes up calling out for "da-da") and while they say their good mornings, I go downstairs to flip on the coffee, open the blinds/windows, and open our kitchen door to our little back patio. We have a screen door that keeps any pests out but lets the cool morning air in and opens up our kitchen for a breezy, feel good start to our day. I will grab my cup of coffee and spend some time outside clipping any dead leaves and checking on the soil. Roswelle loves the task of watering the plants. Even if it is only a few minutes, it can be a really meditative way start the day.

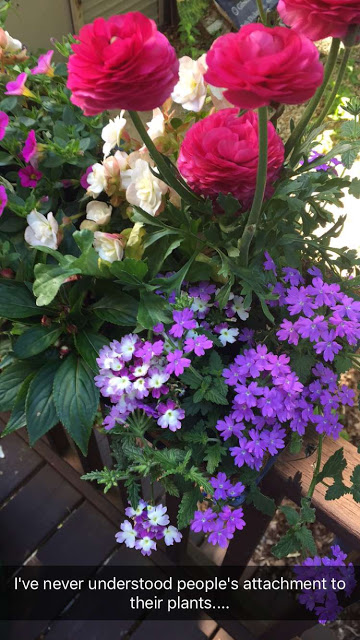
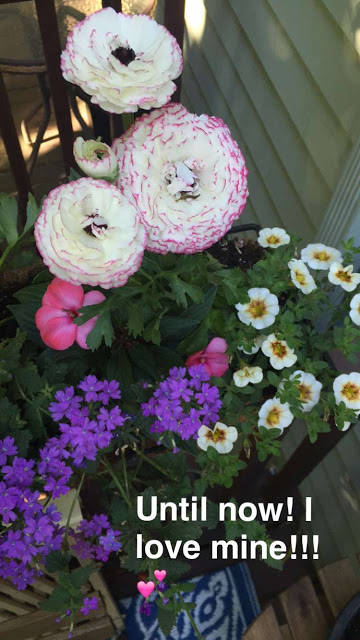
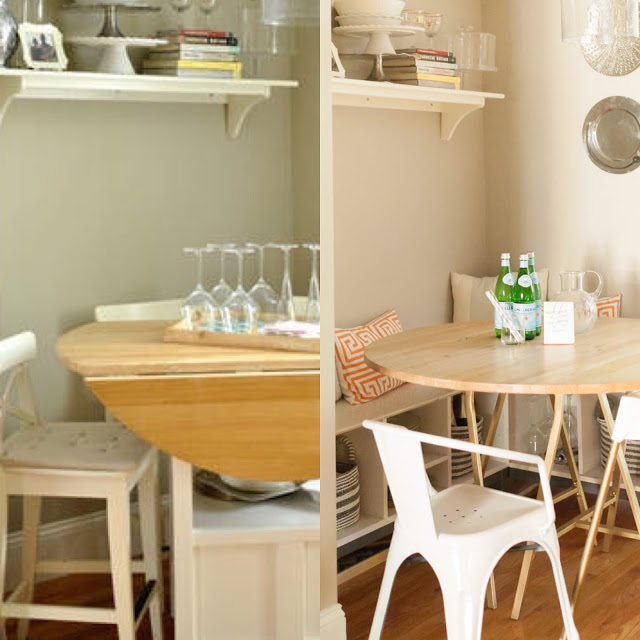
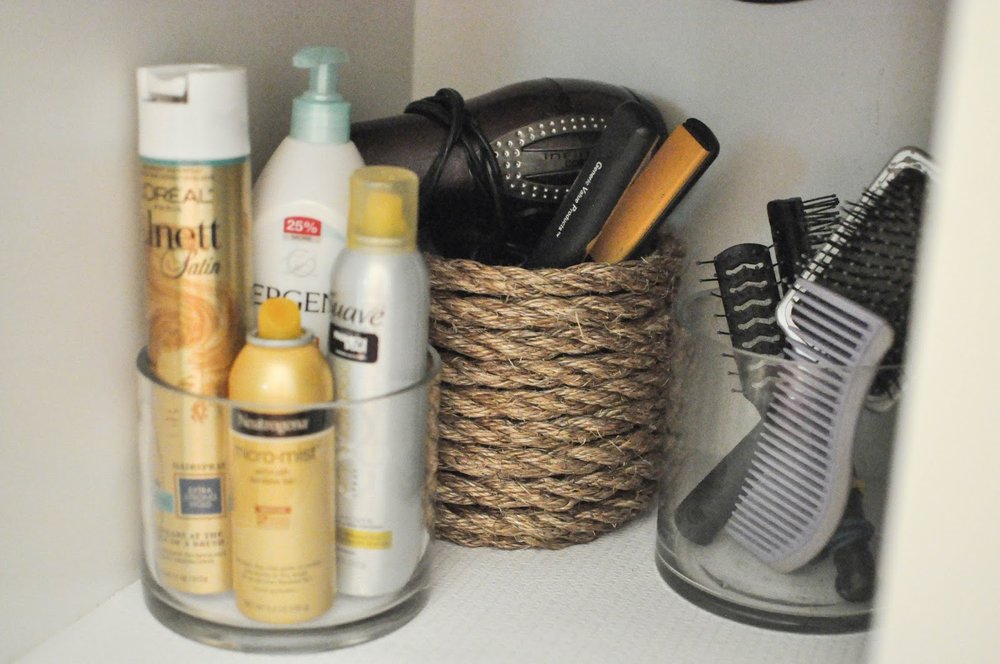
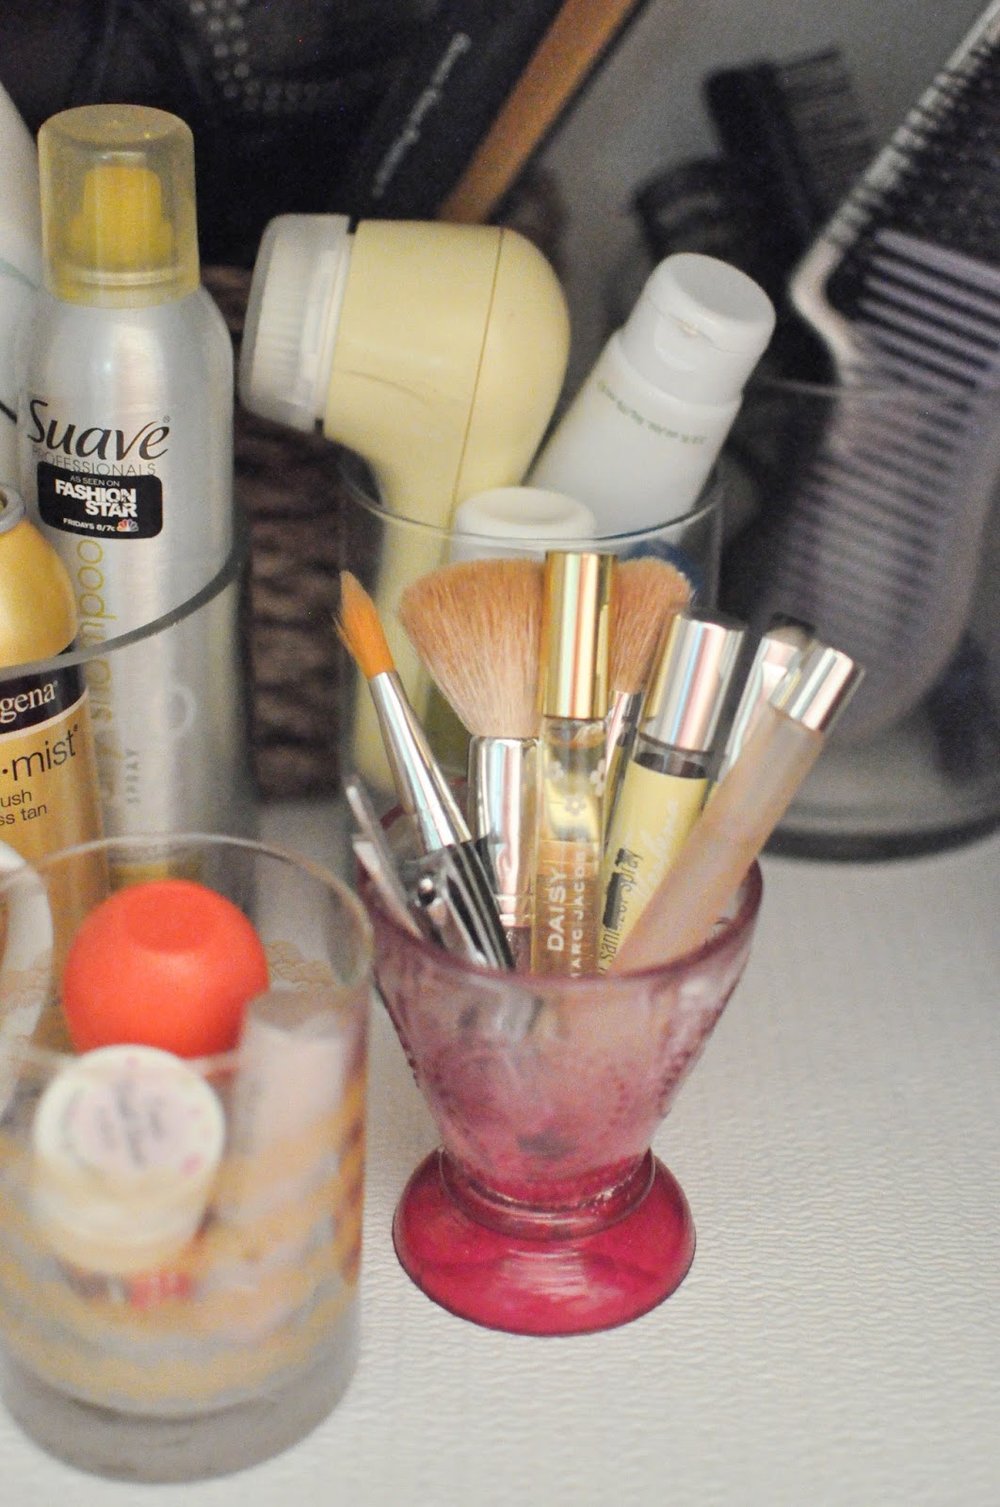
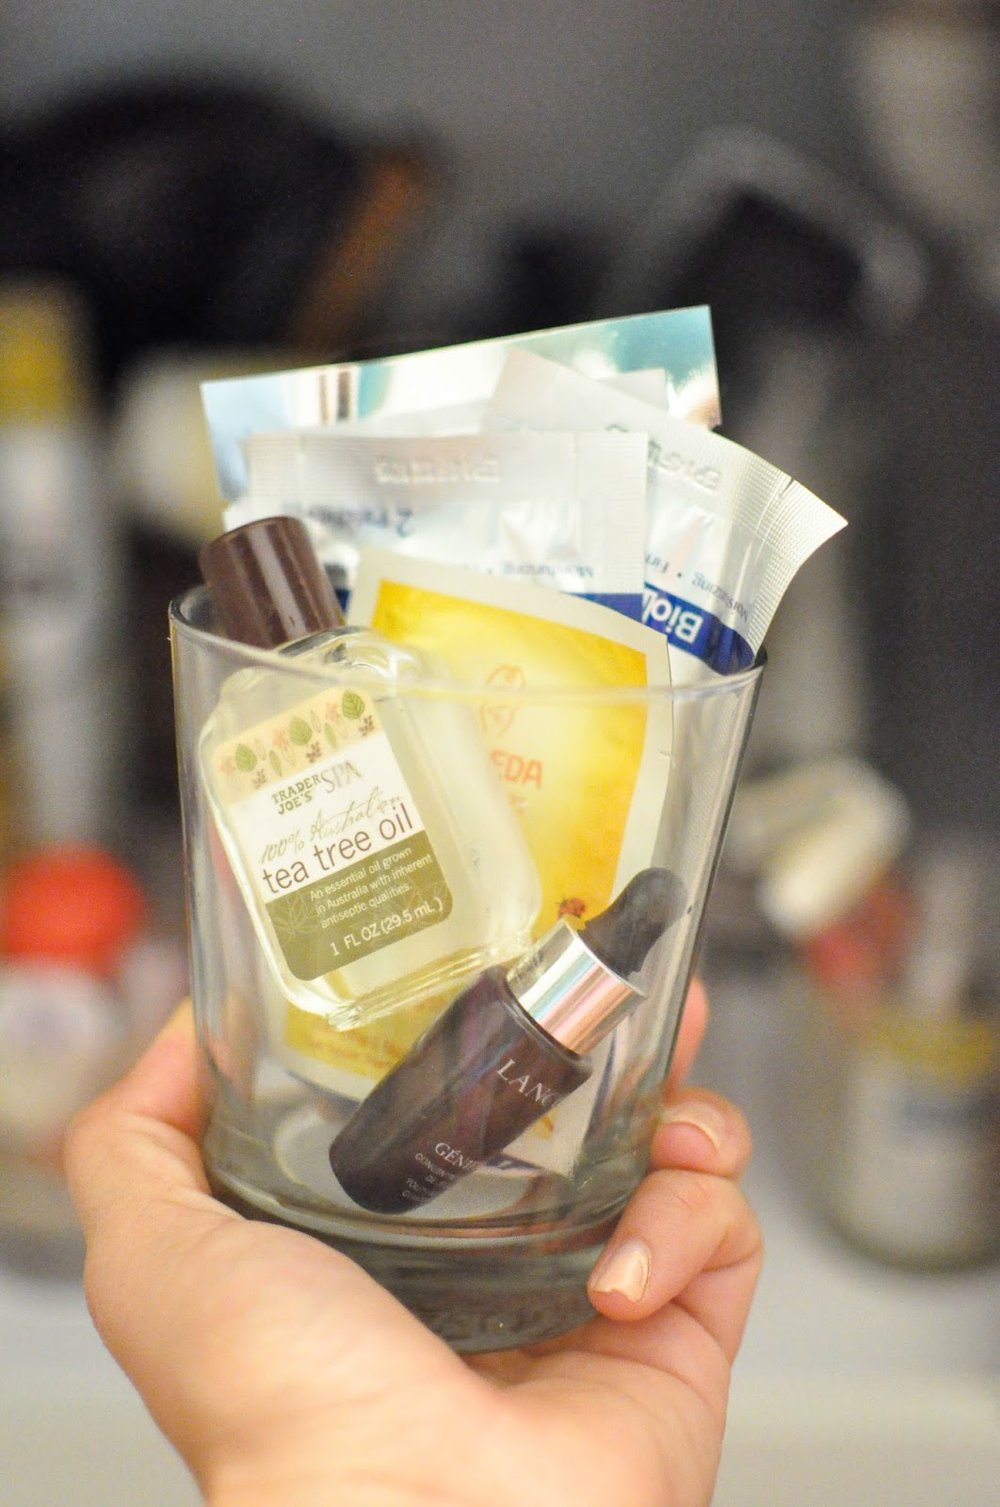
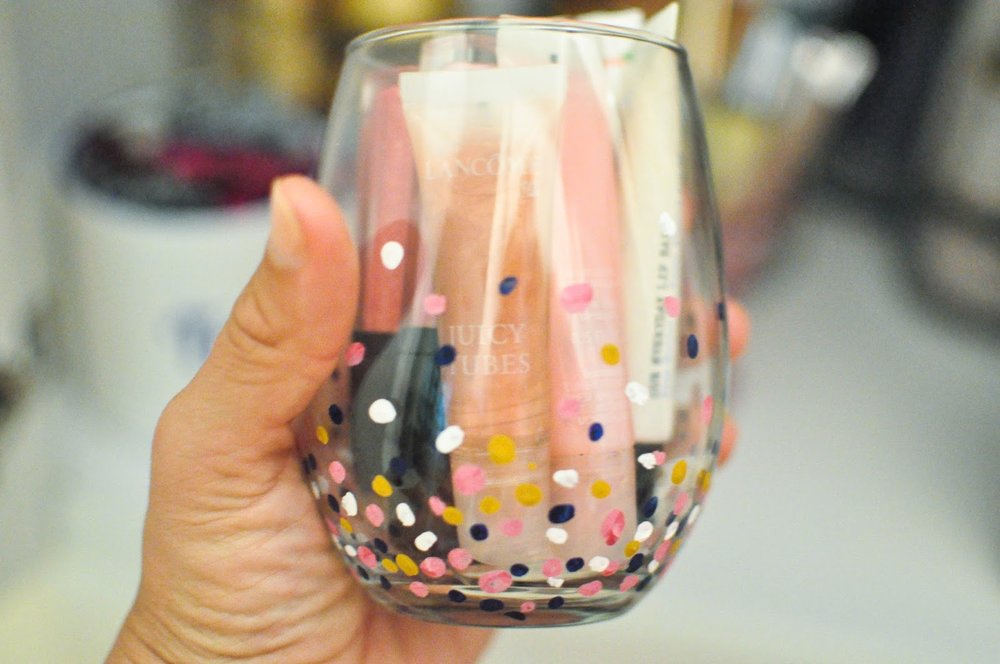
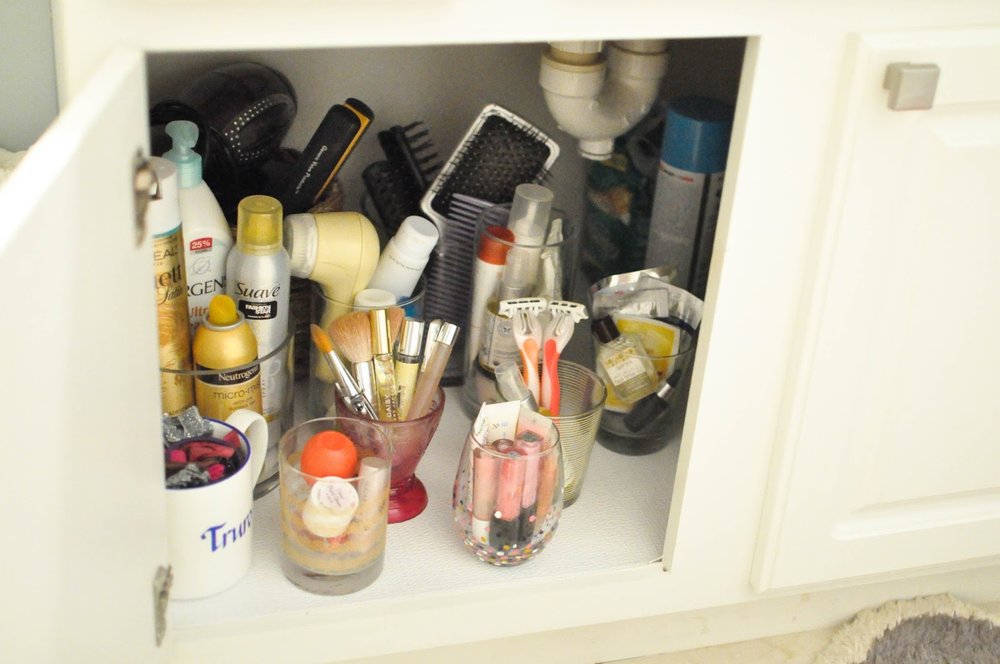
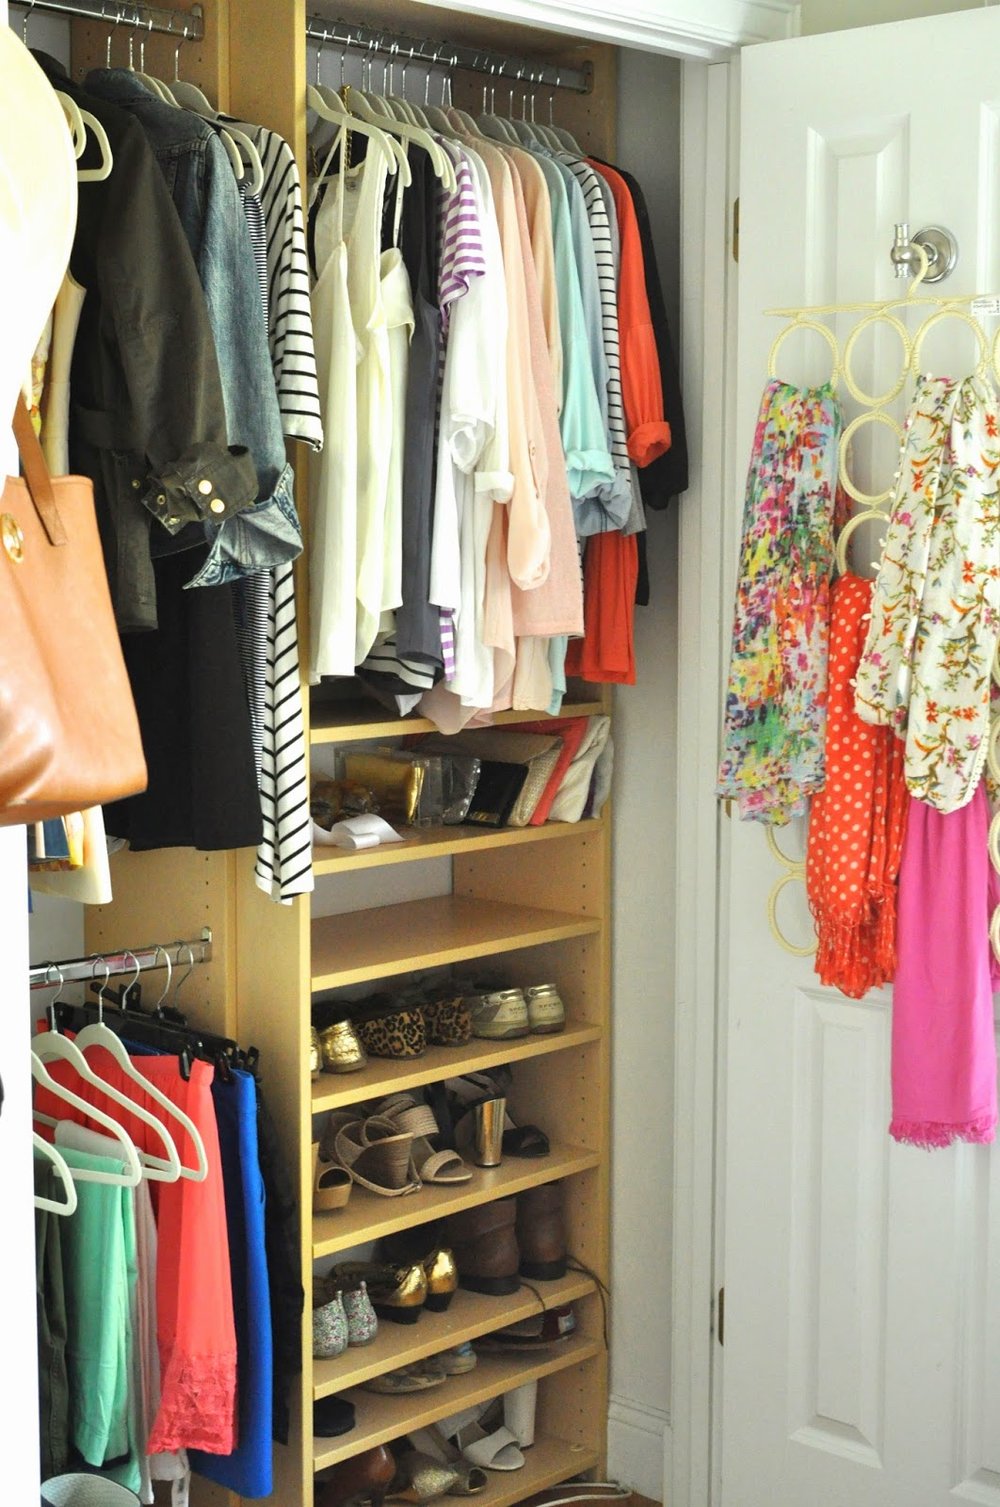
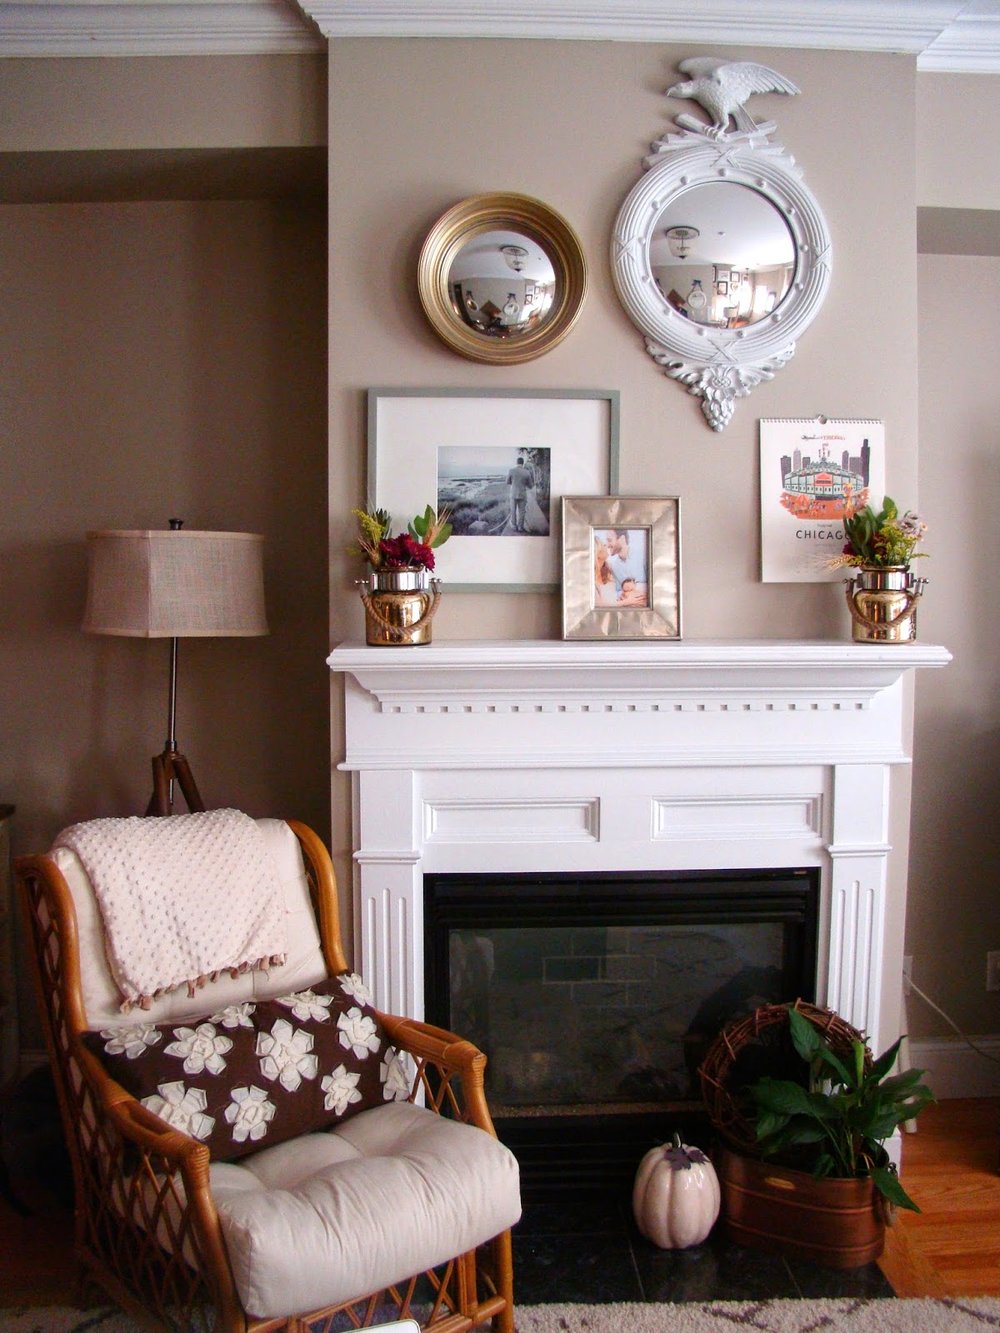
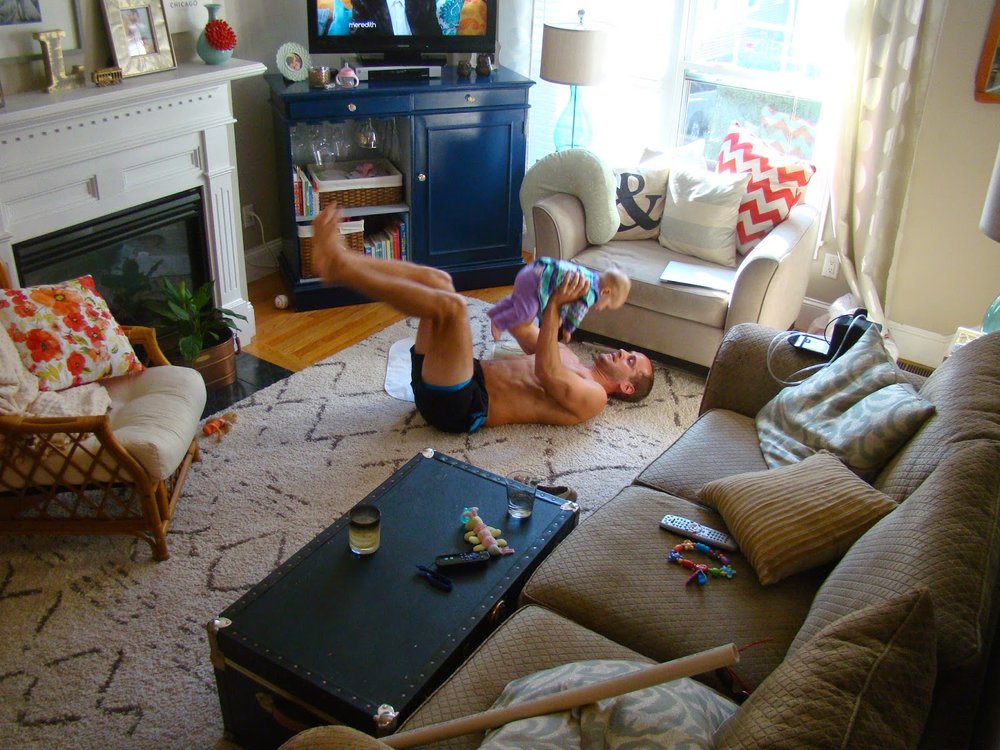
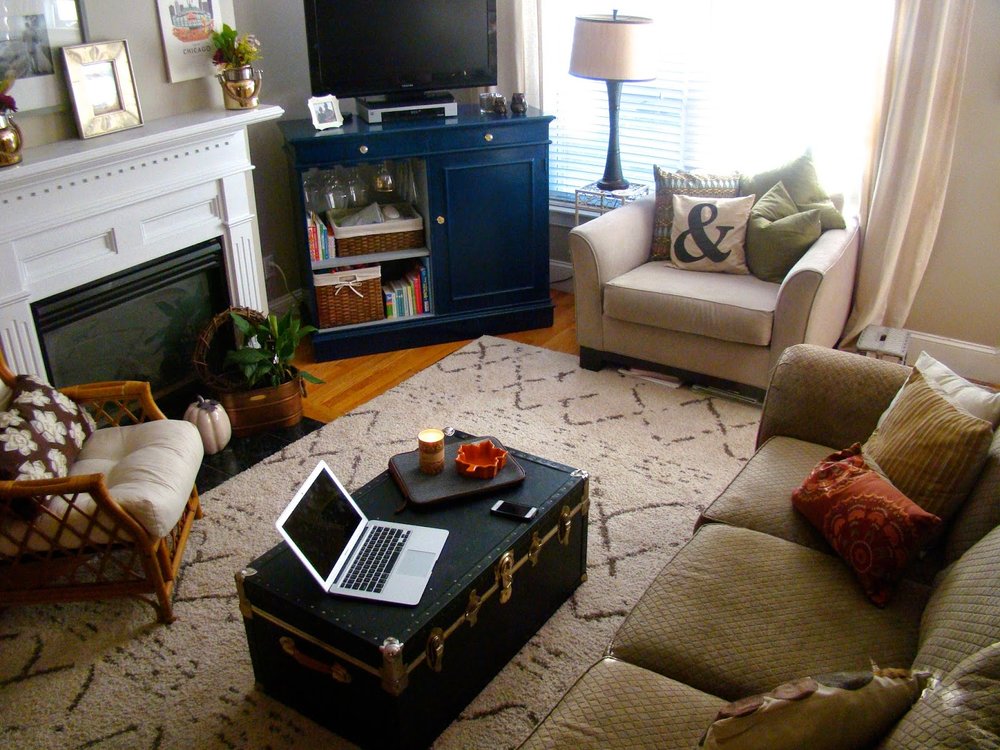
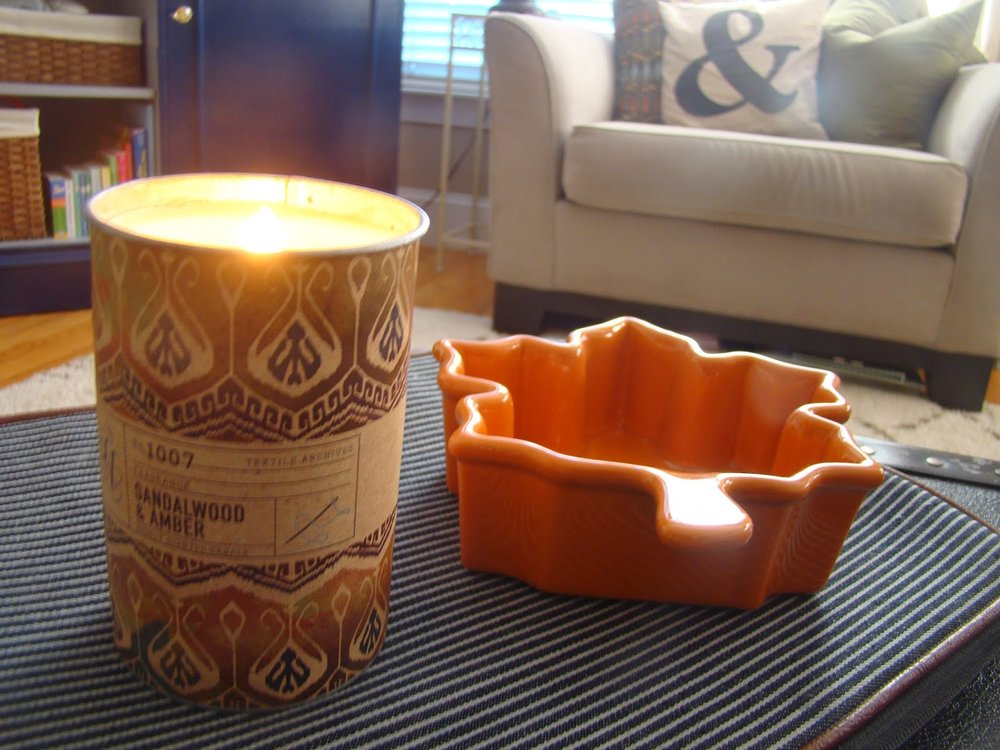
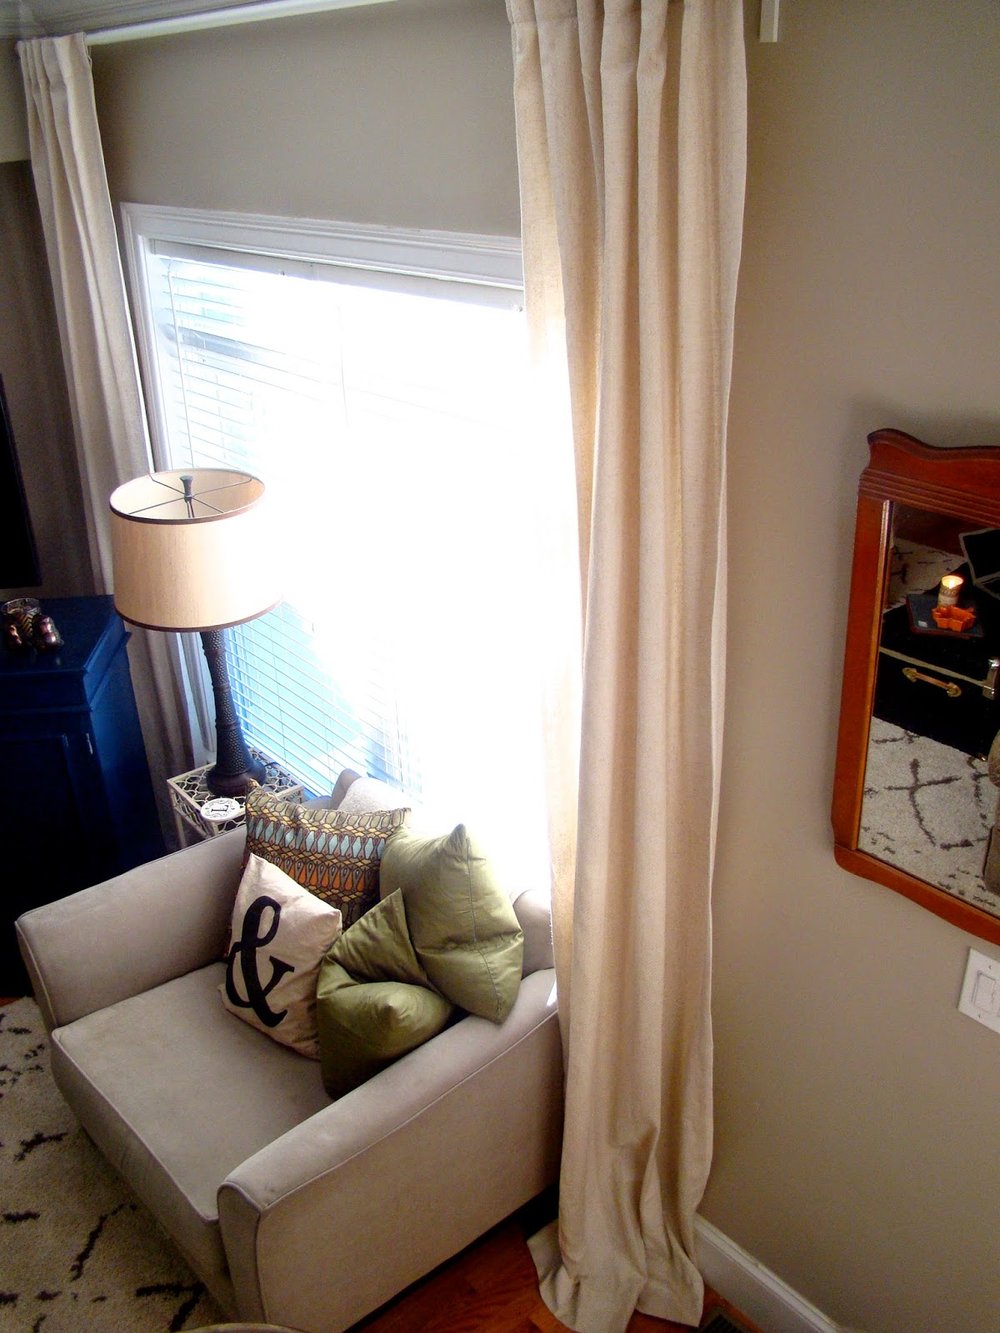
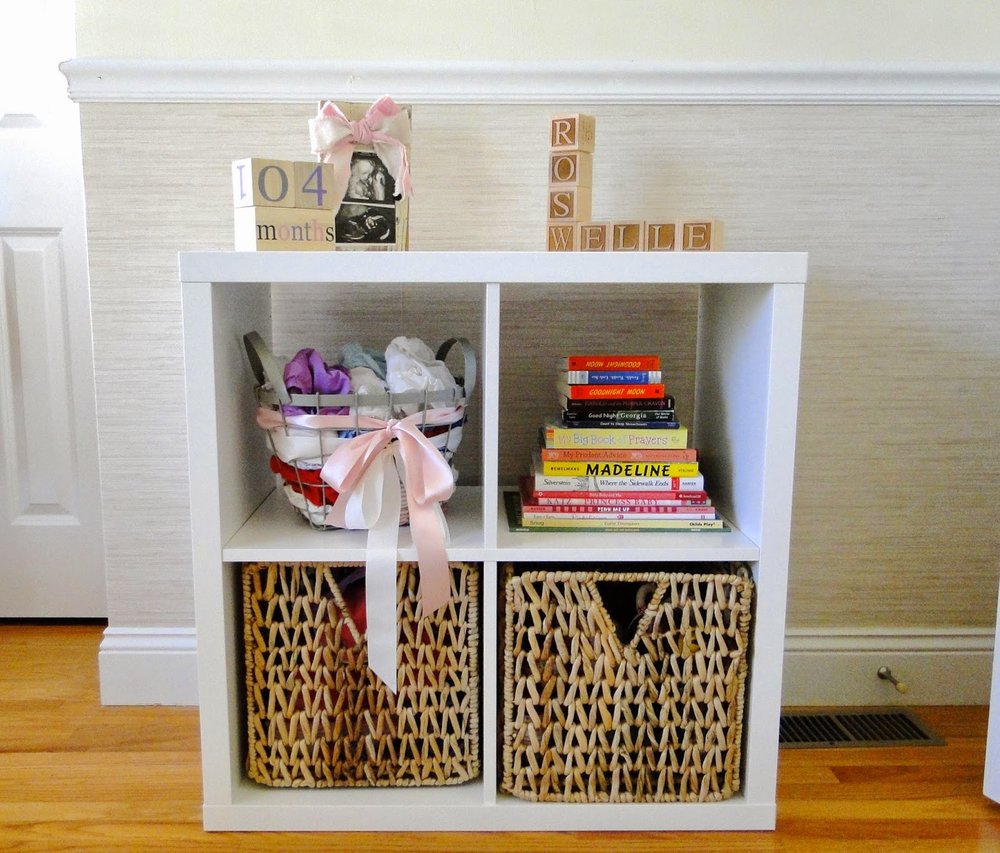
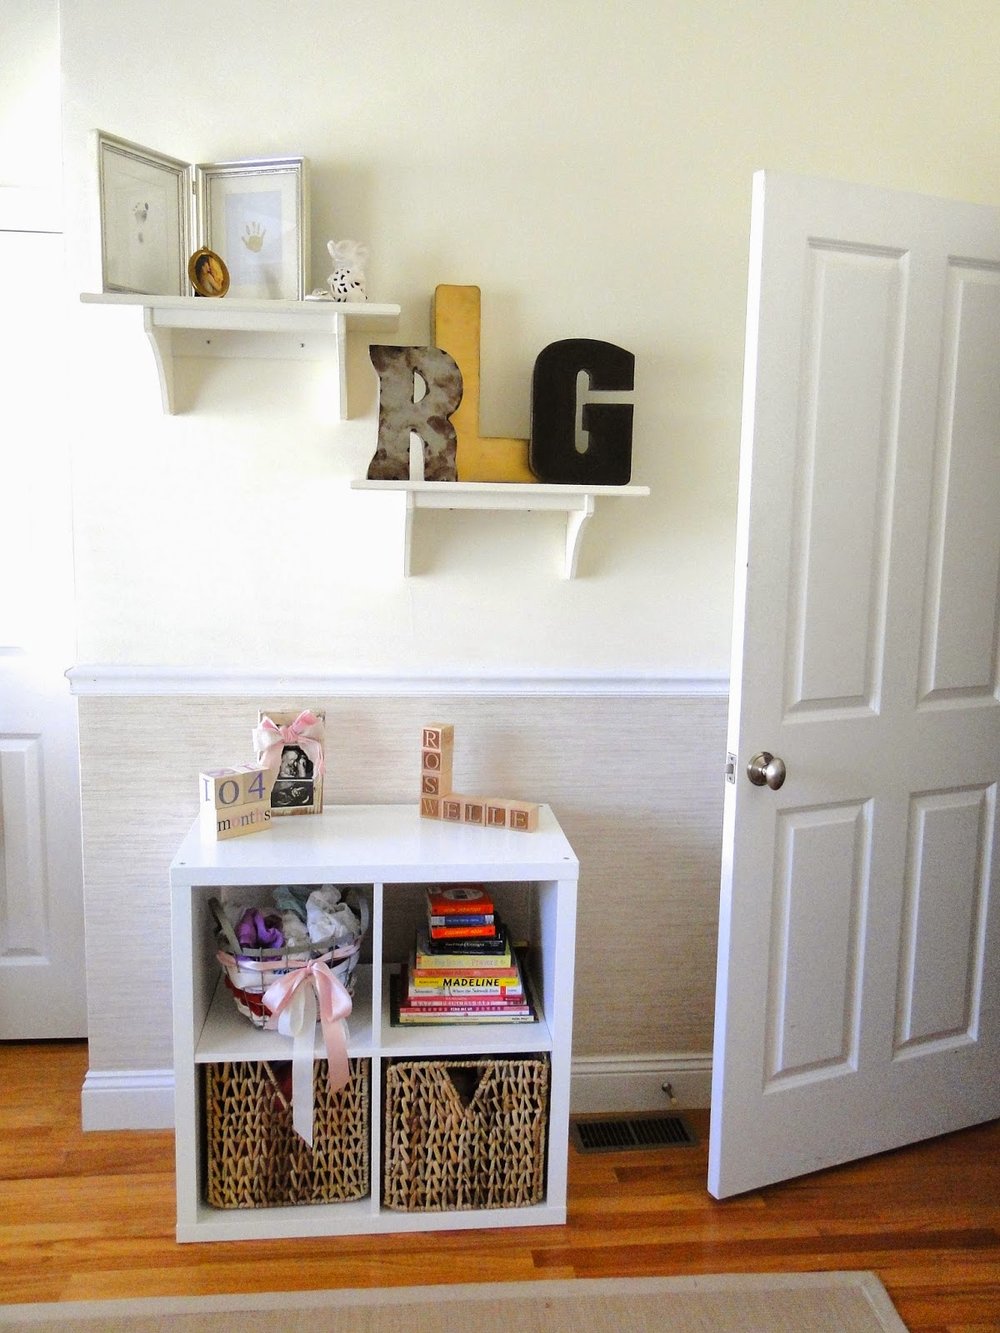
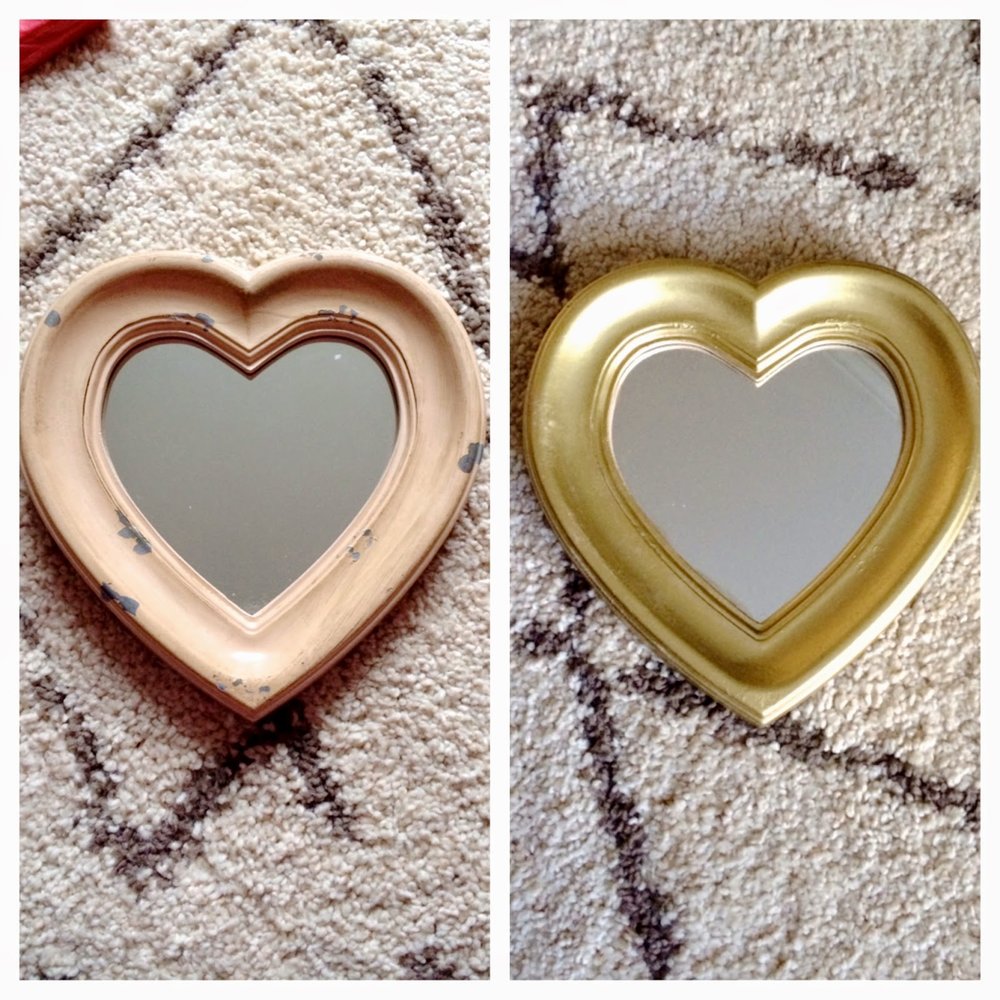
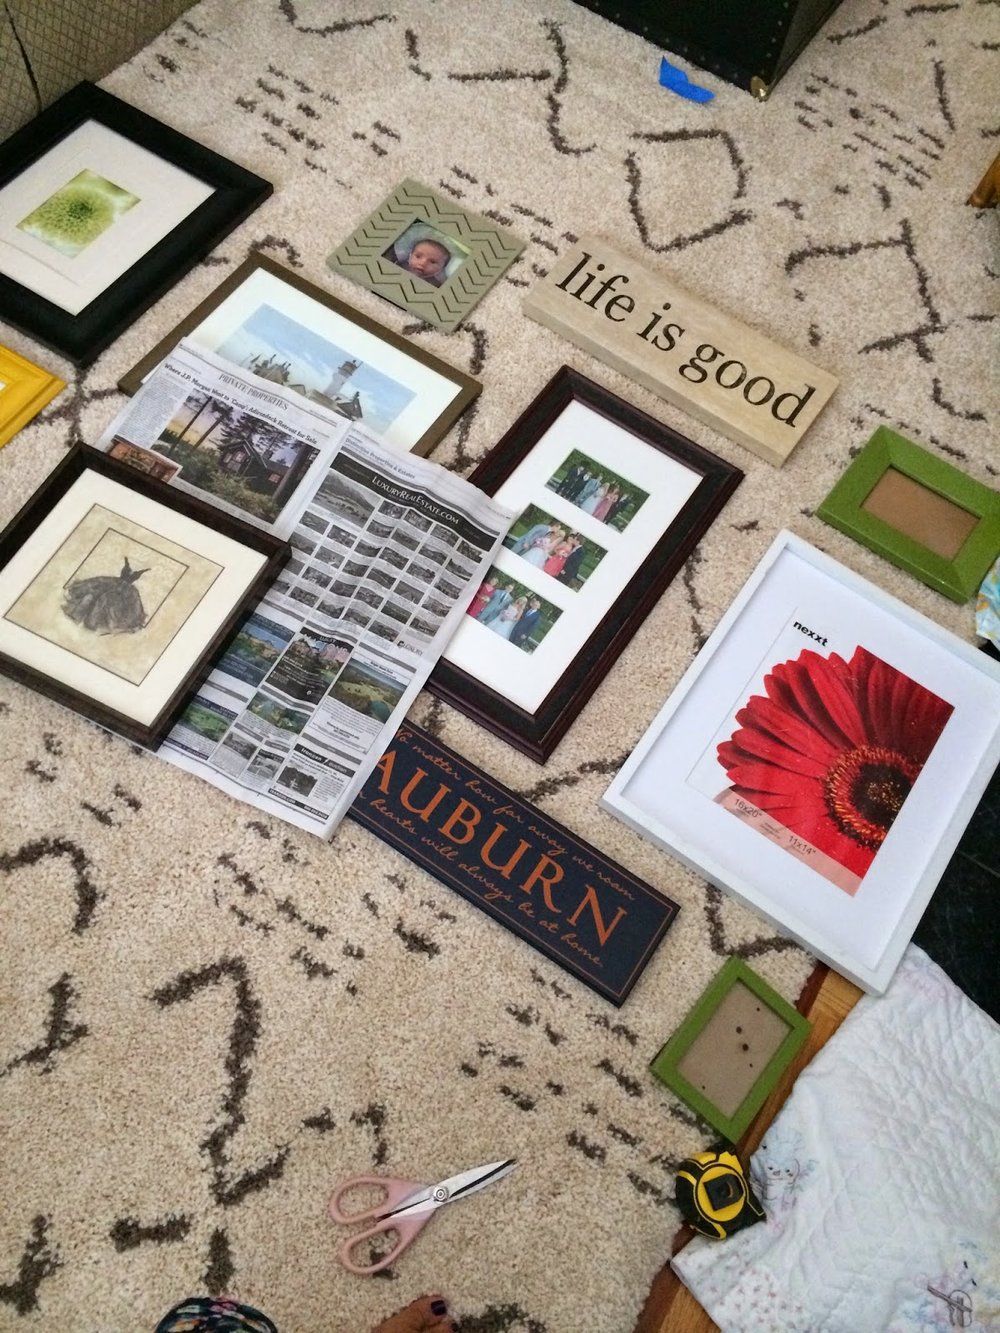
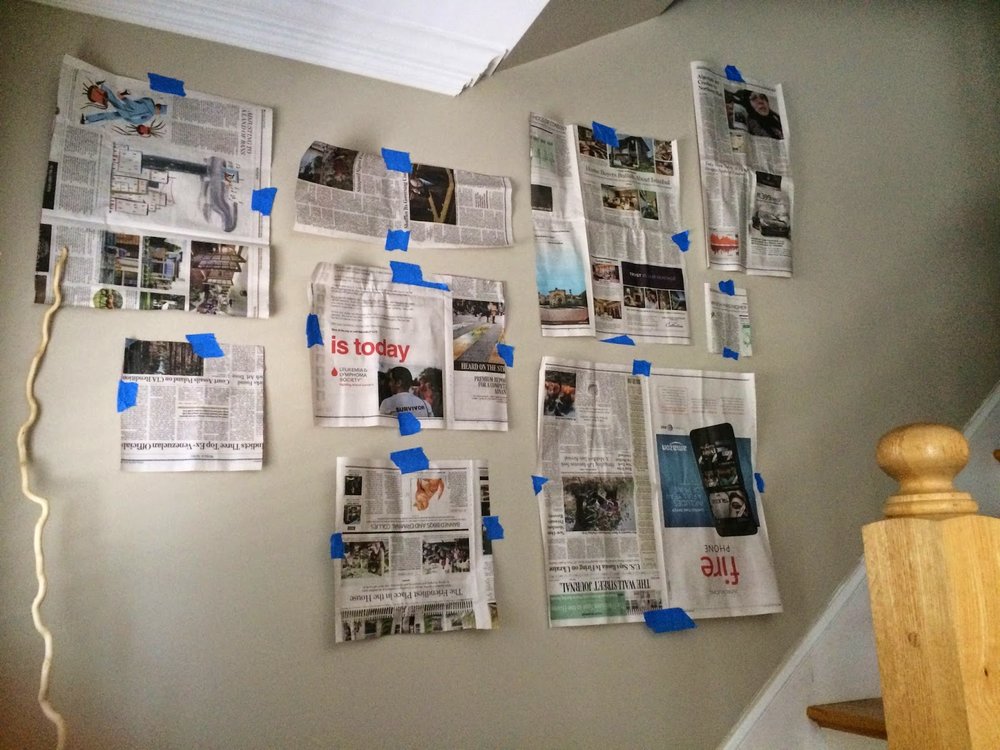
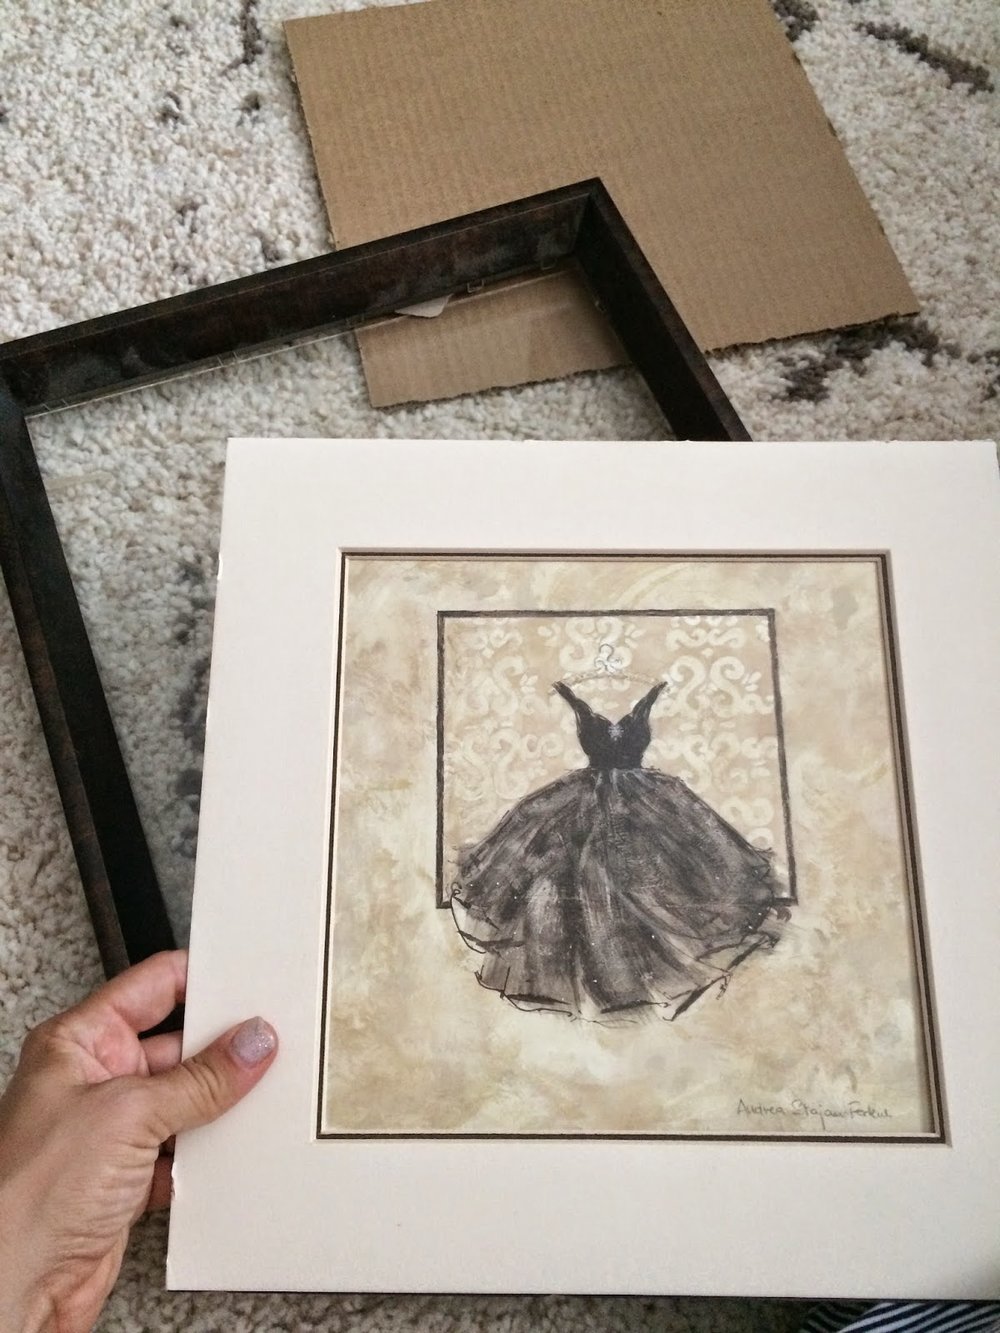
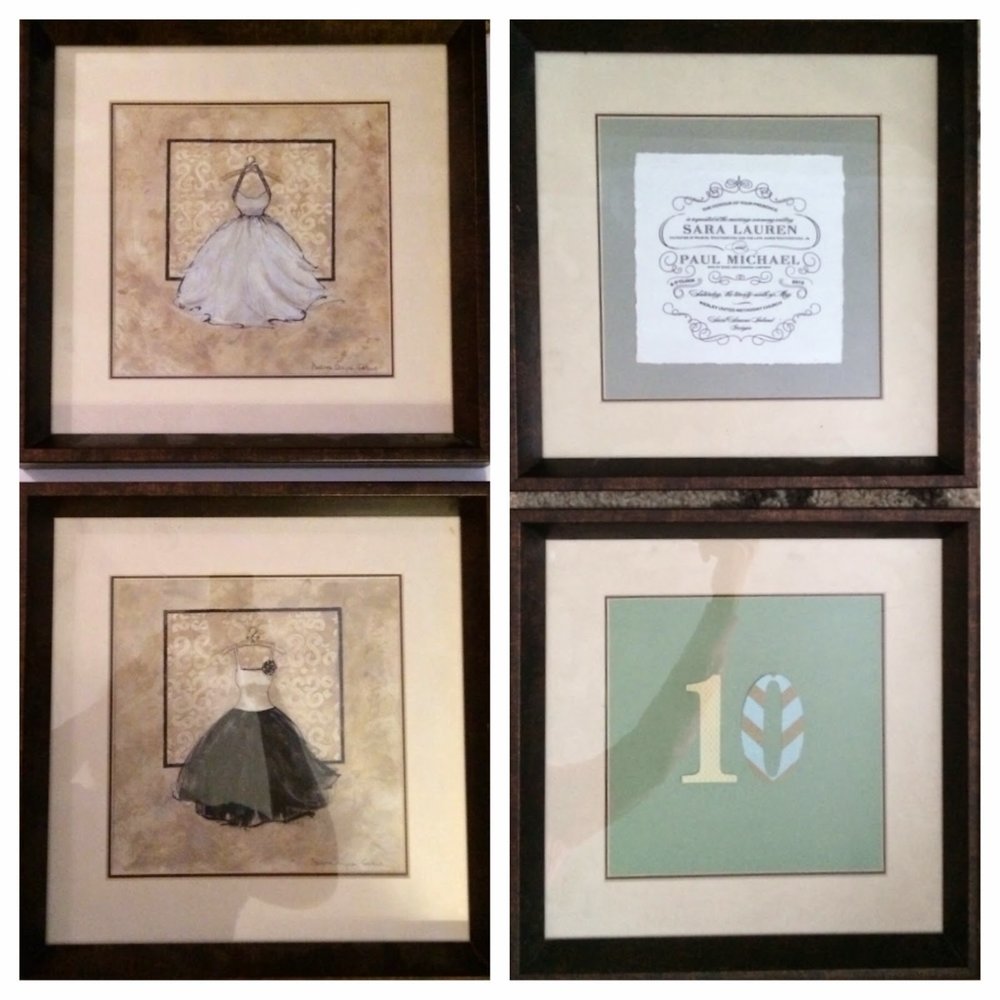
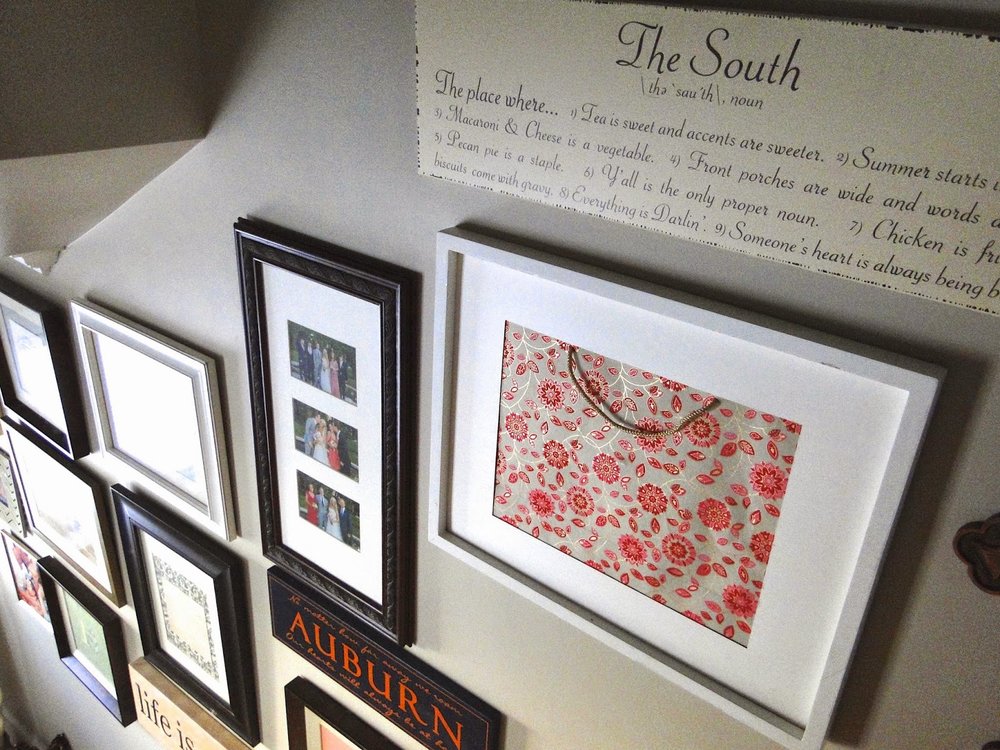
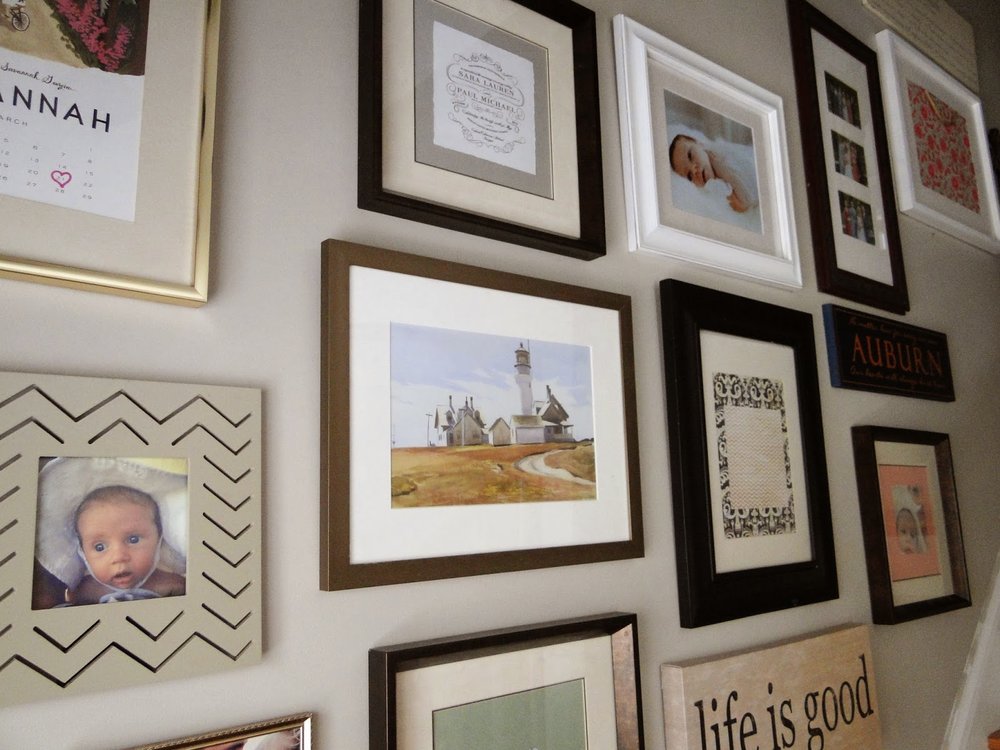
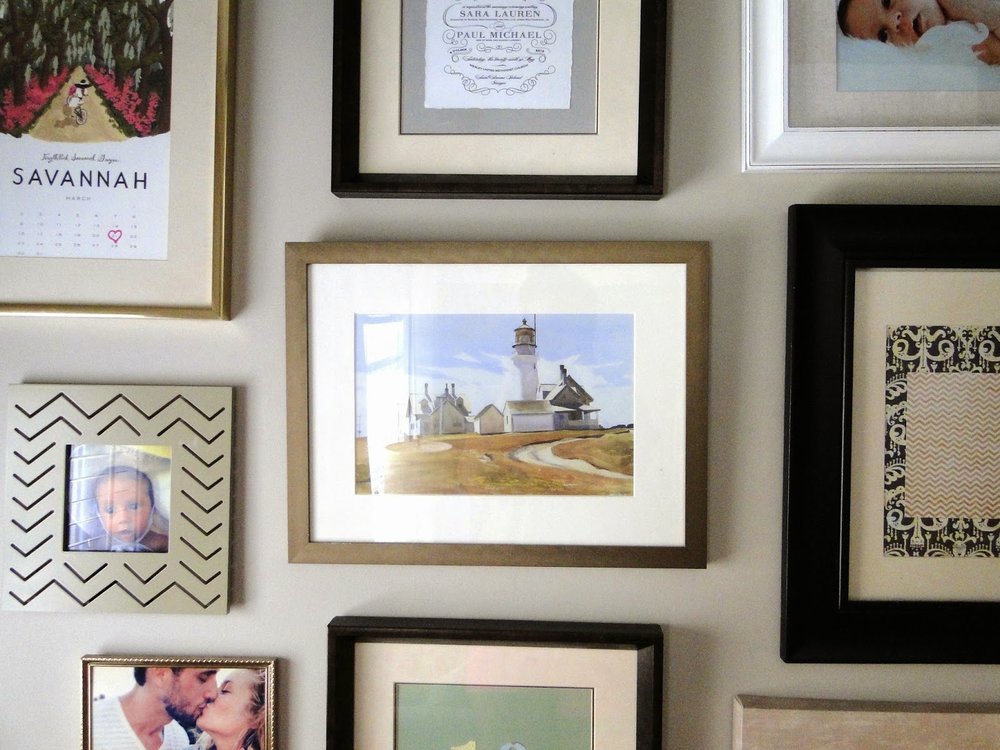
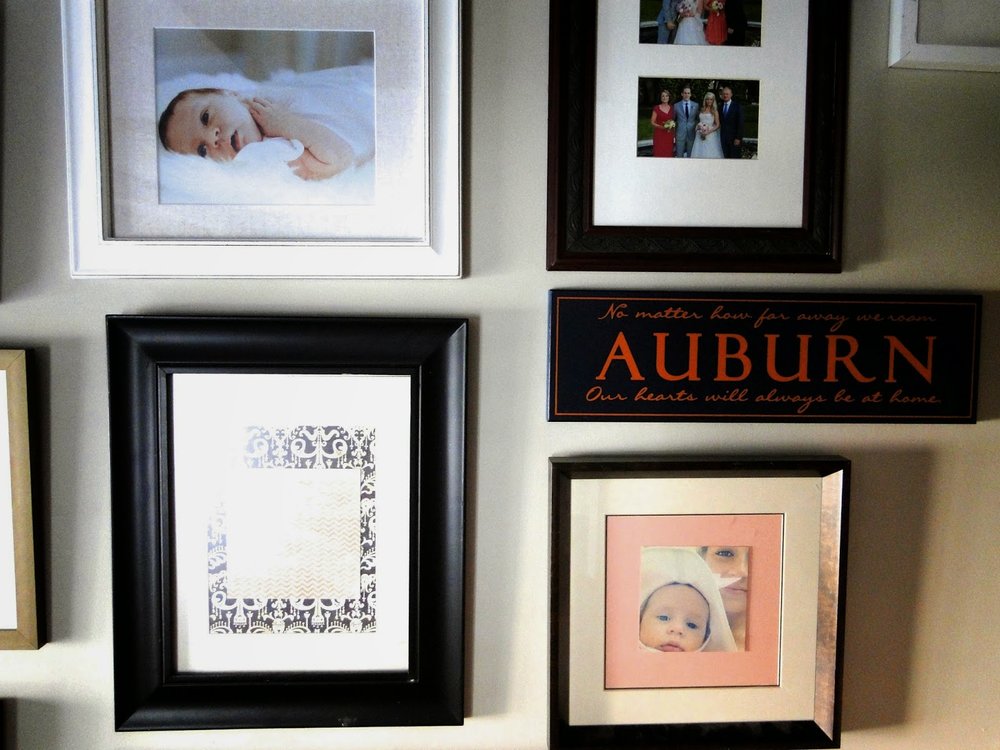
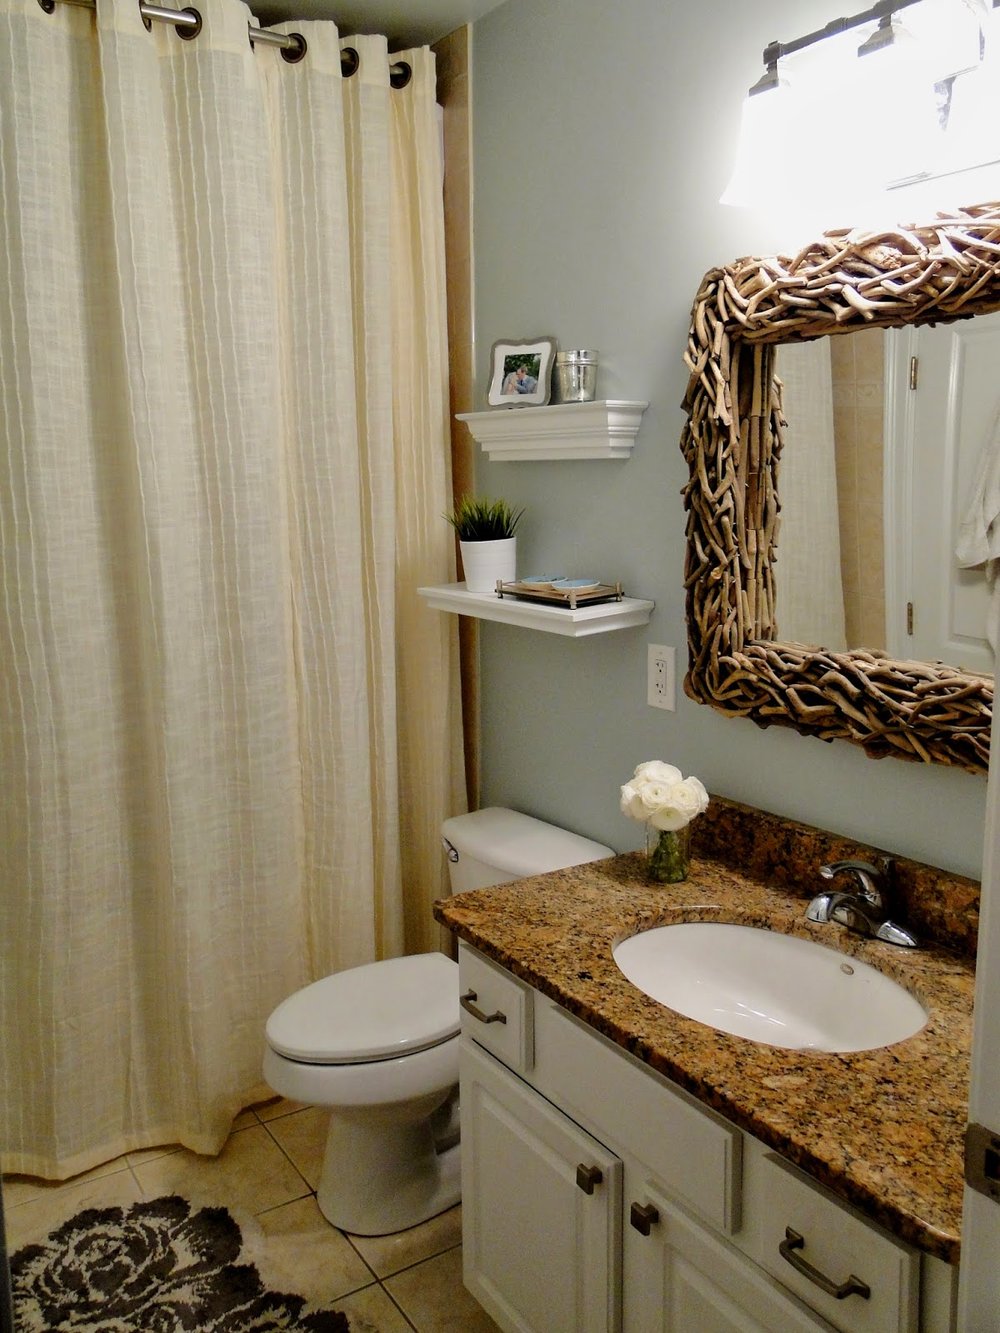
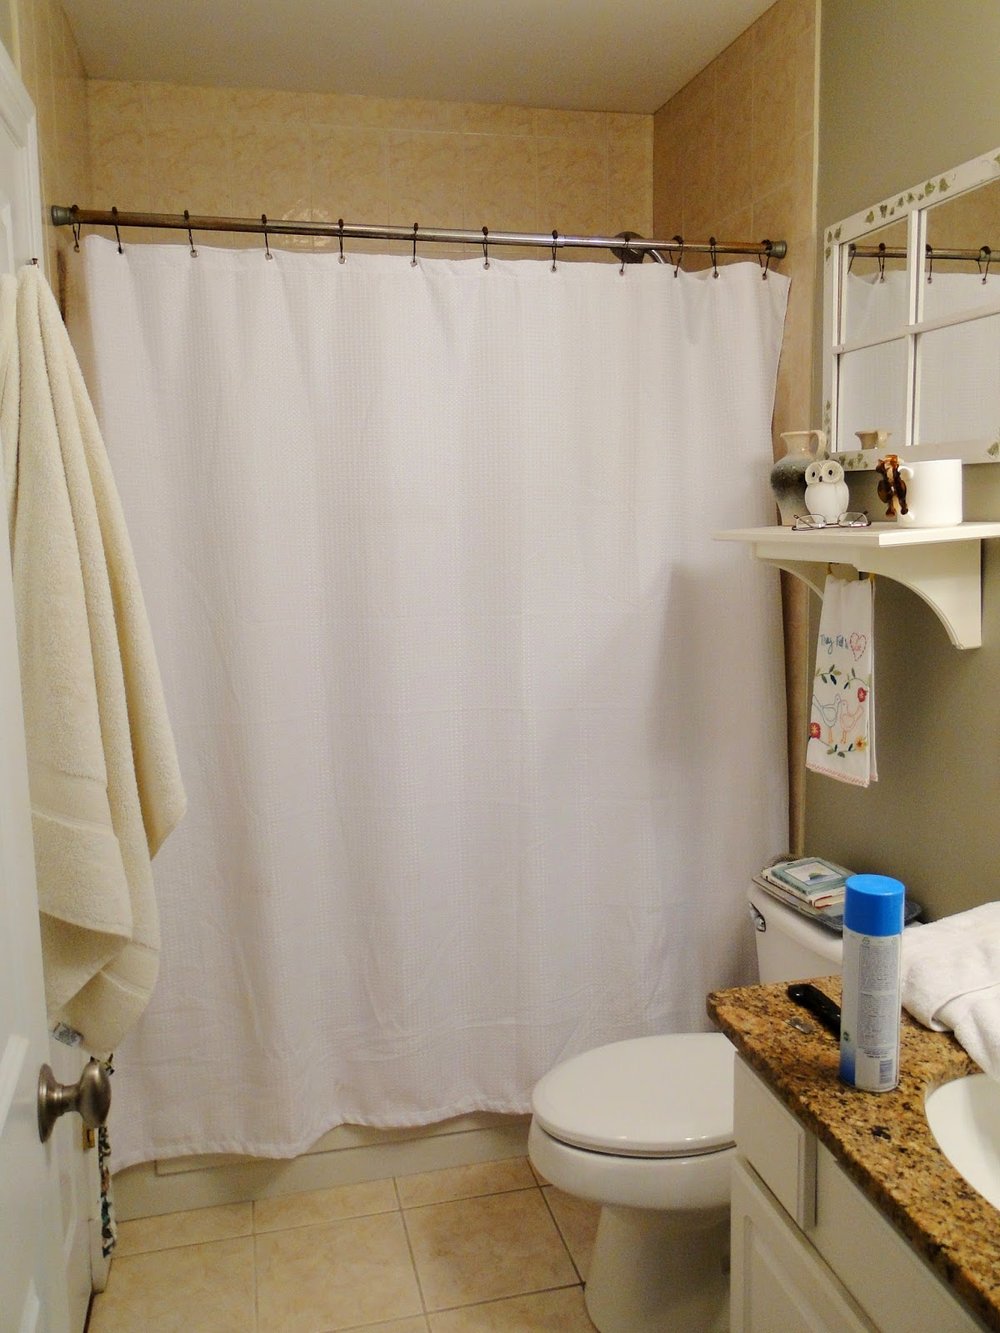
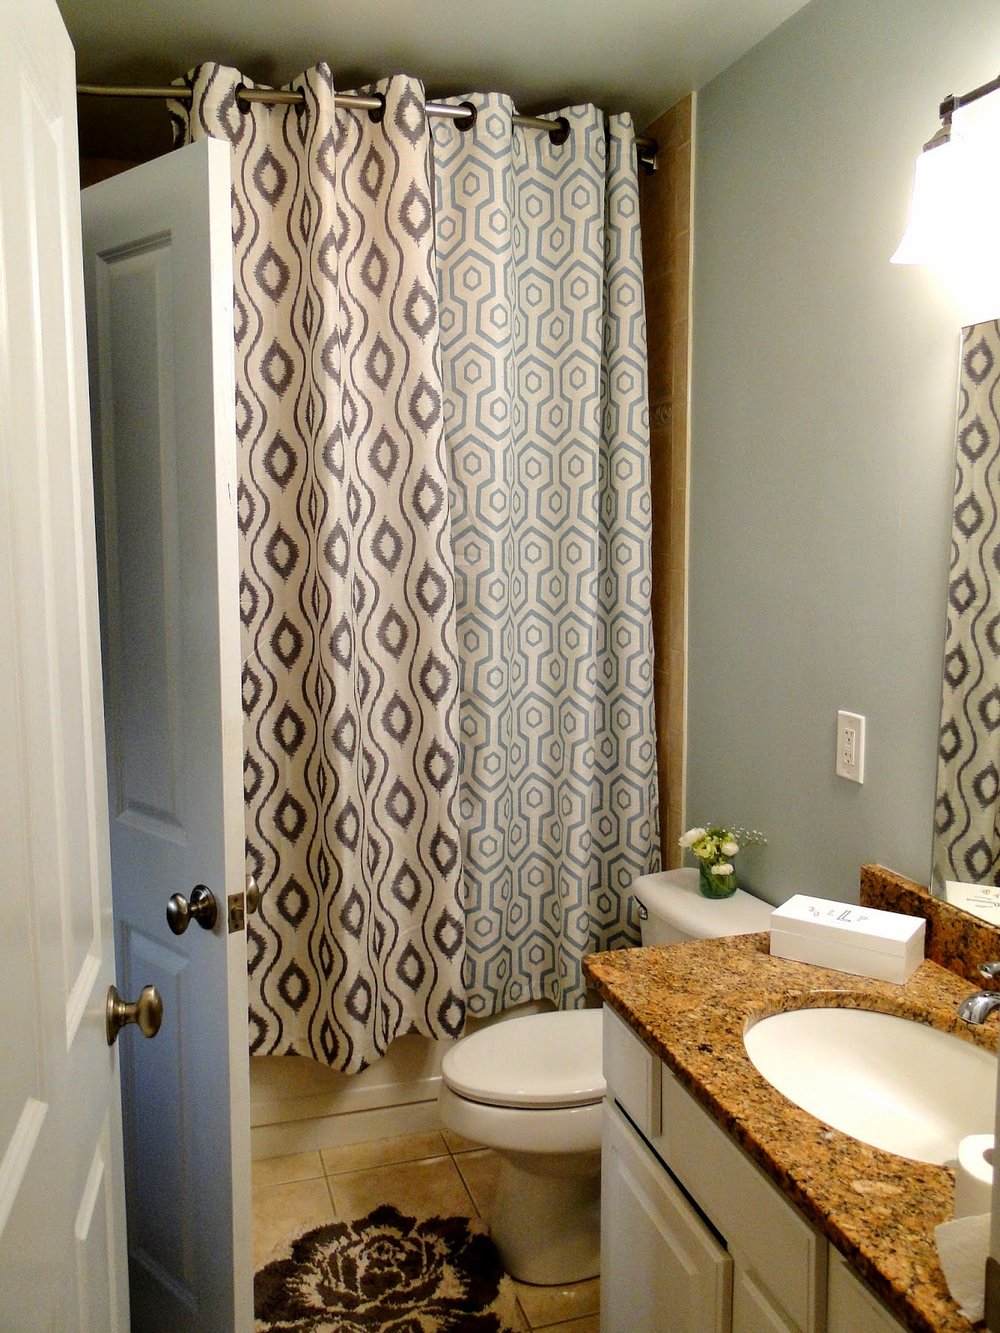
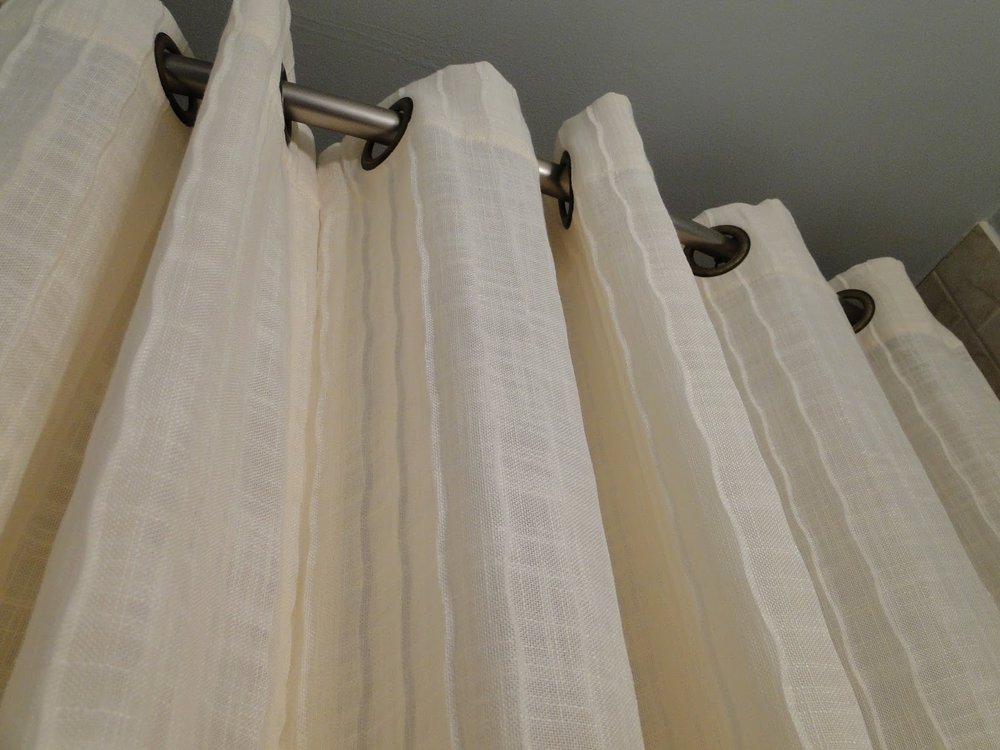
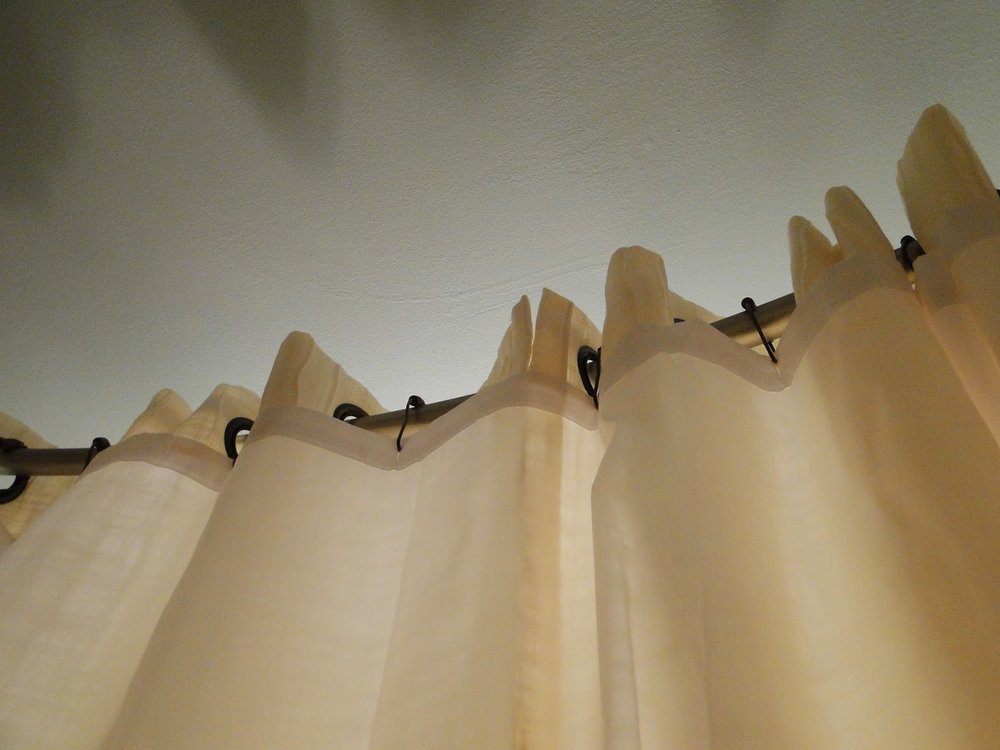
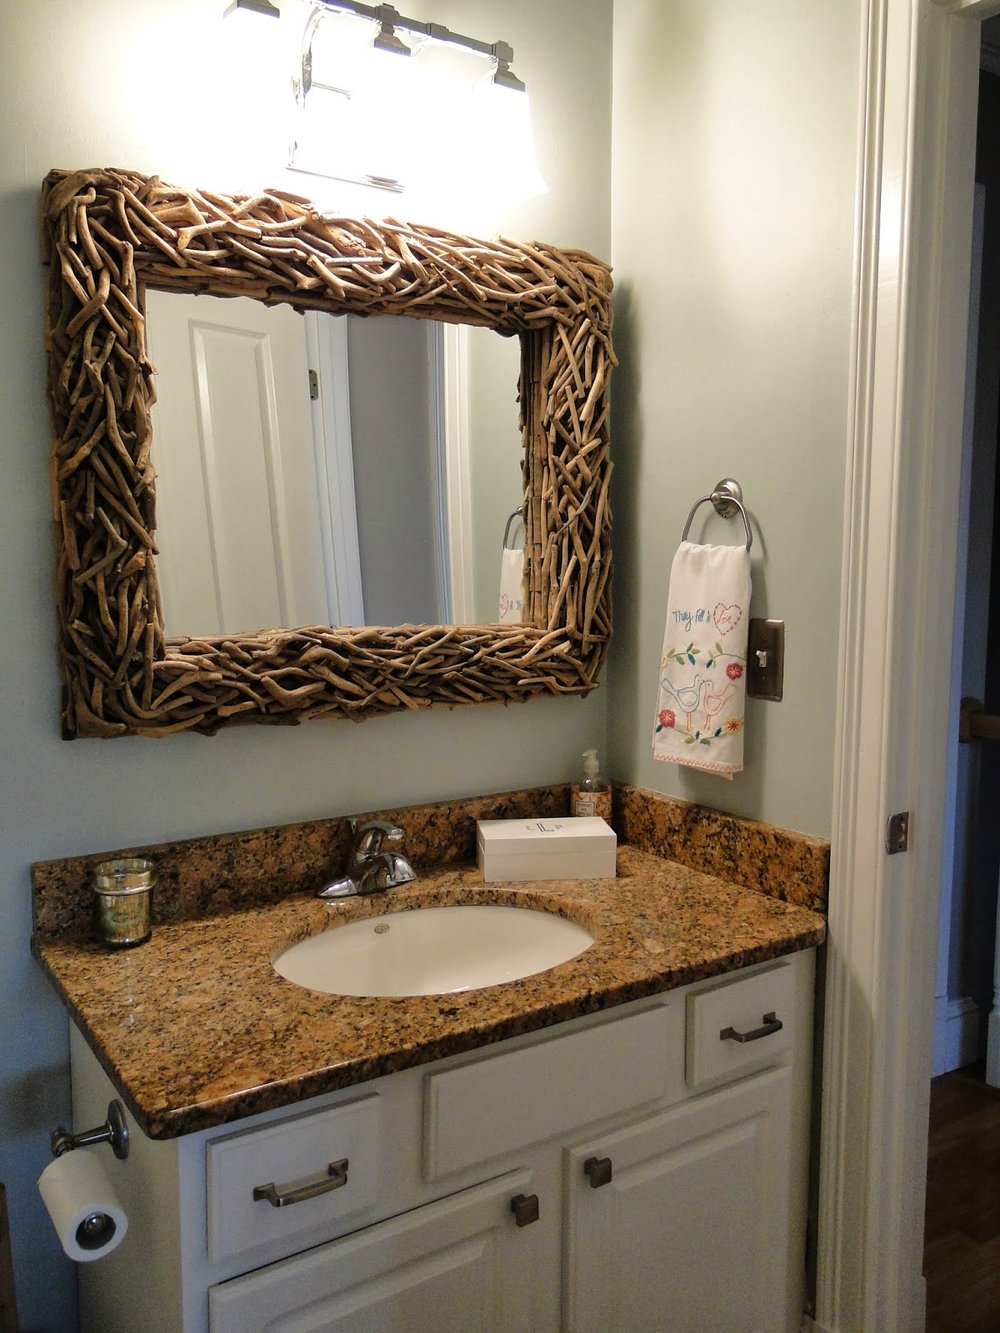
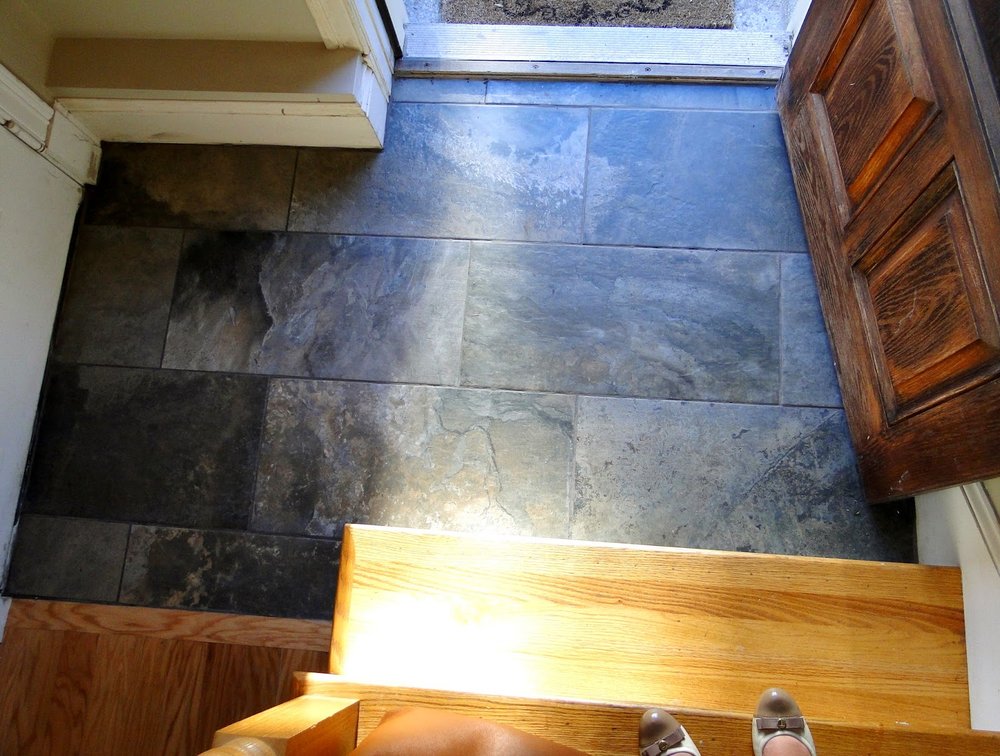
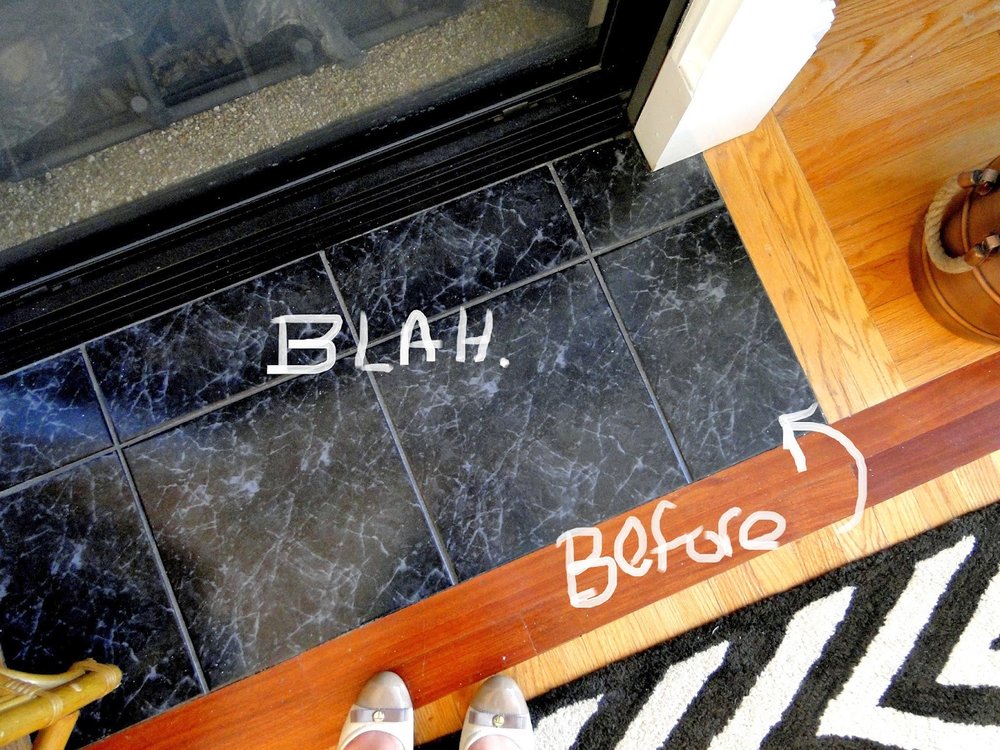
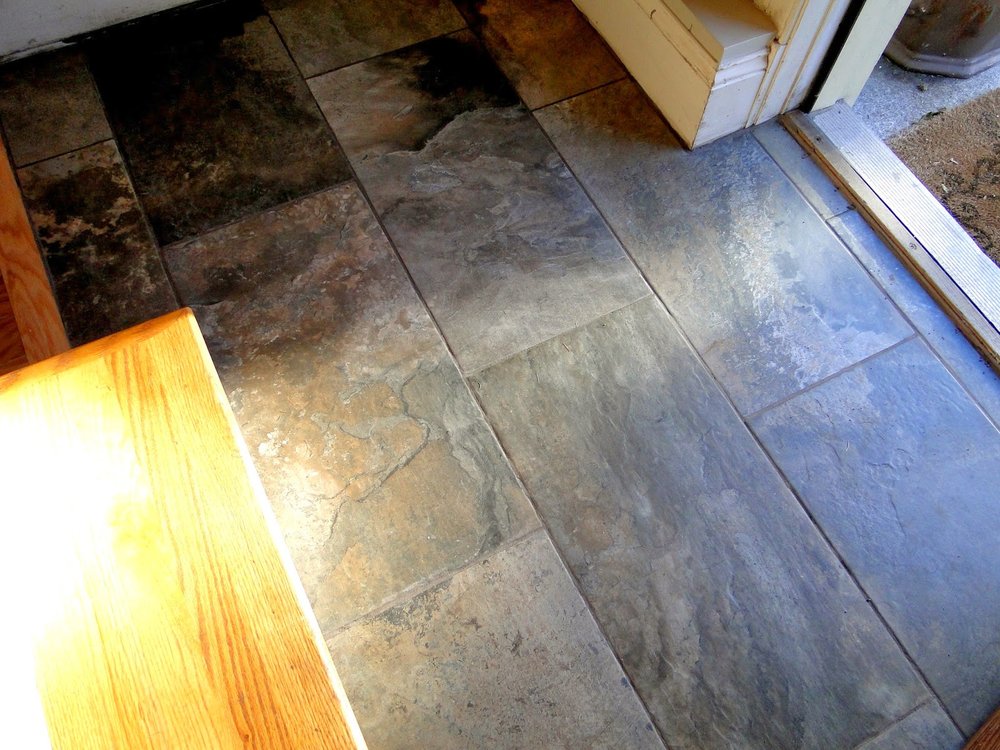
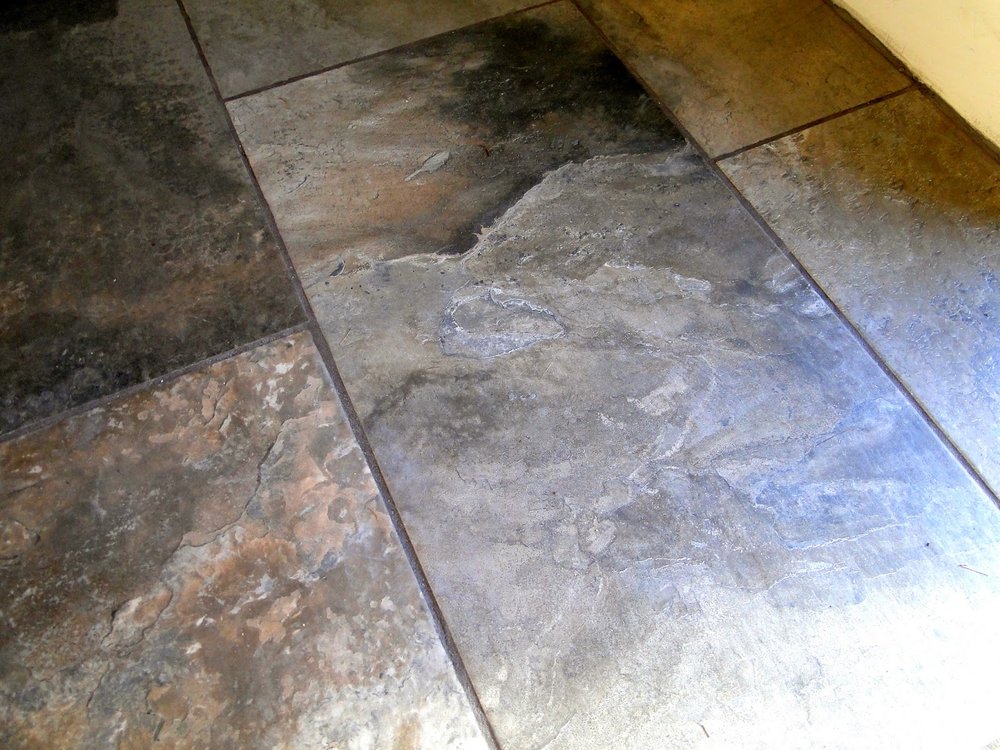
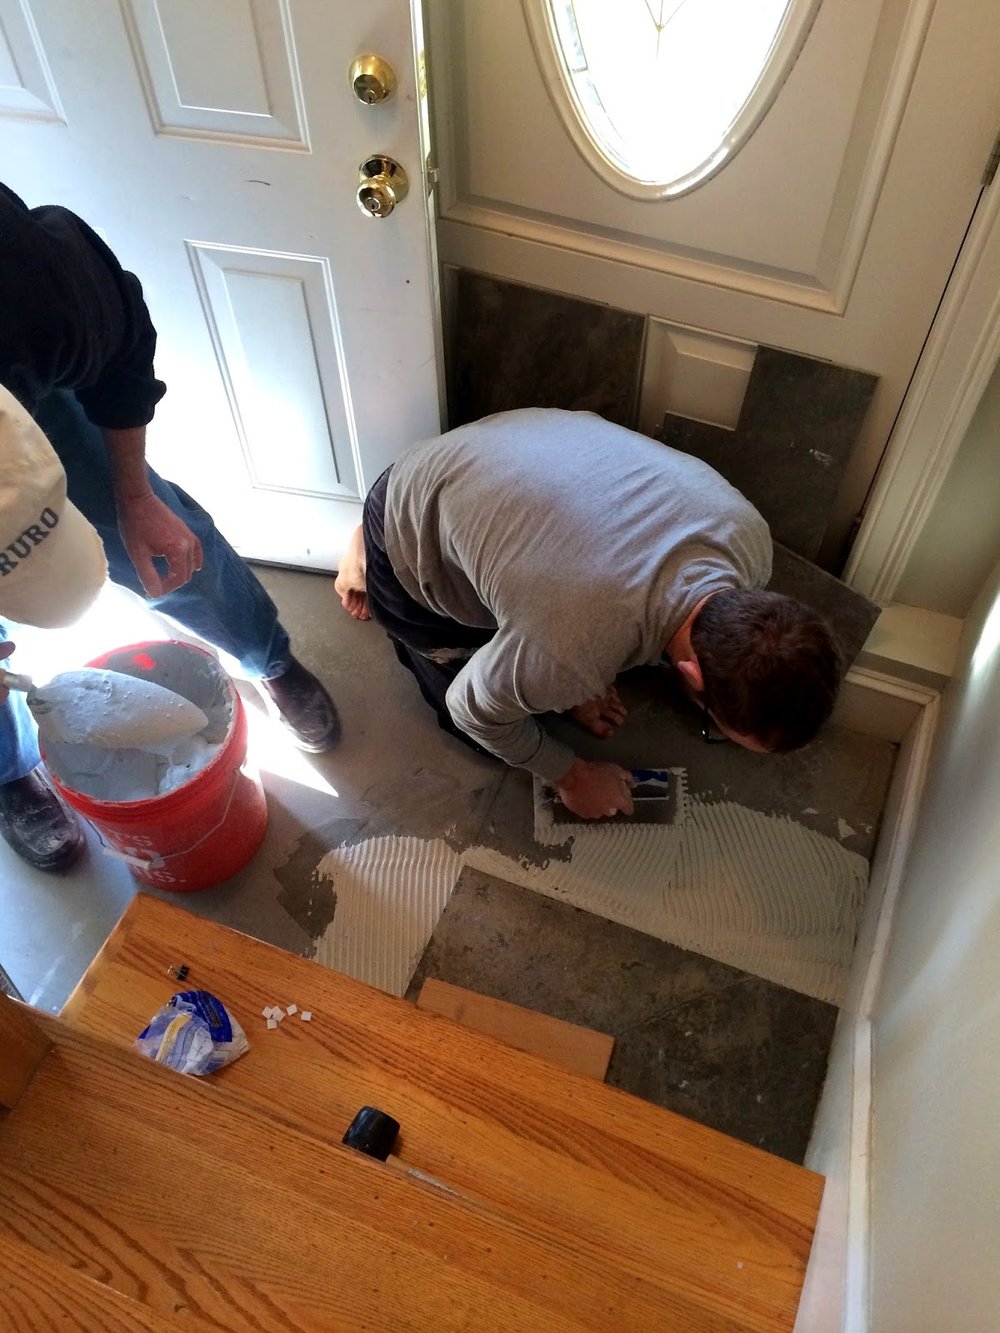
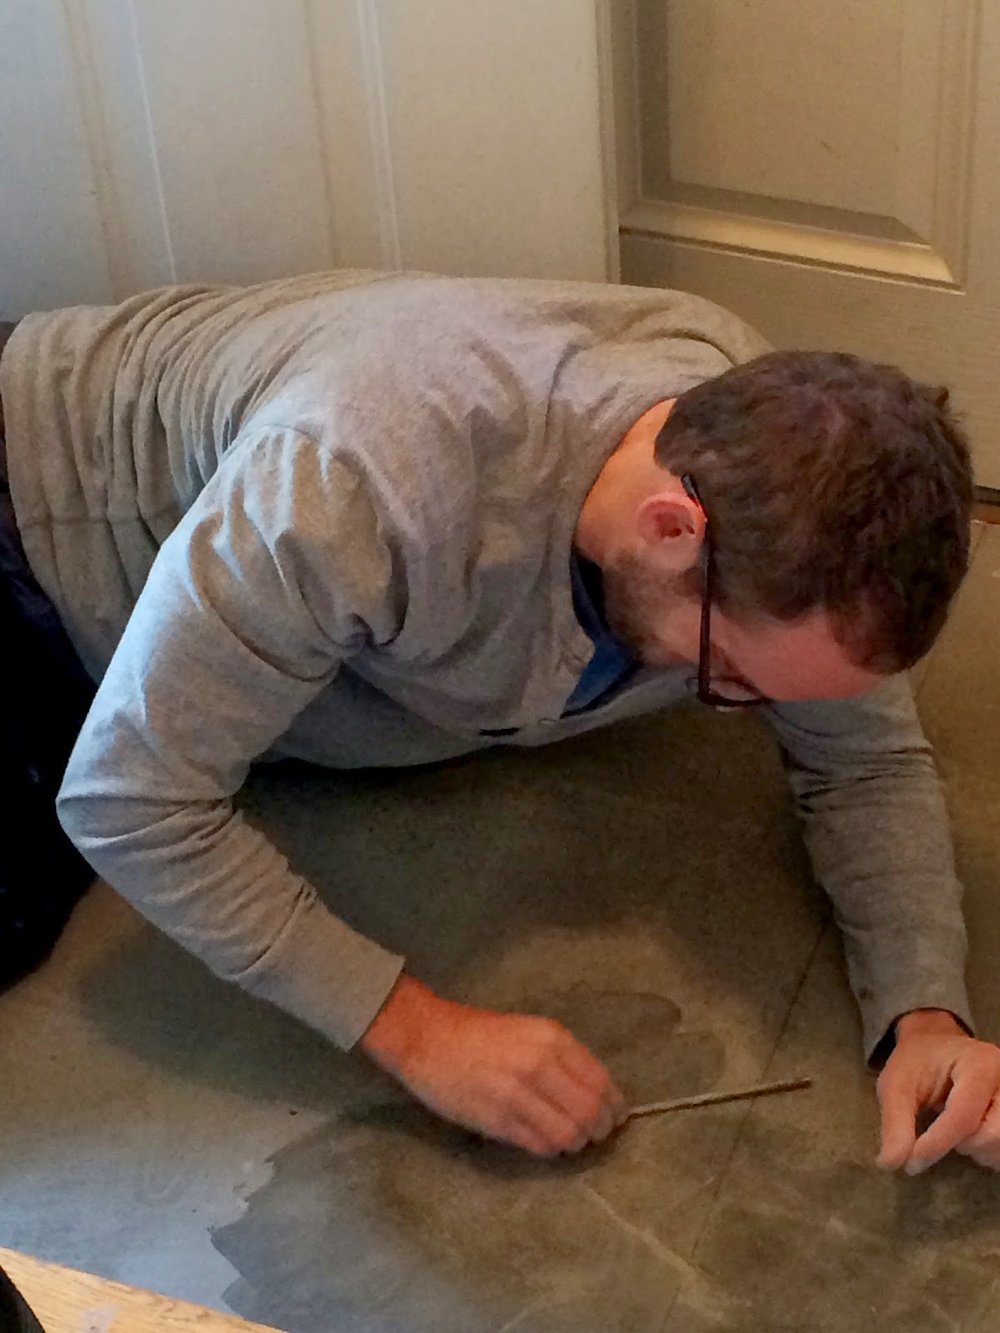
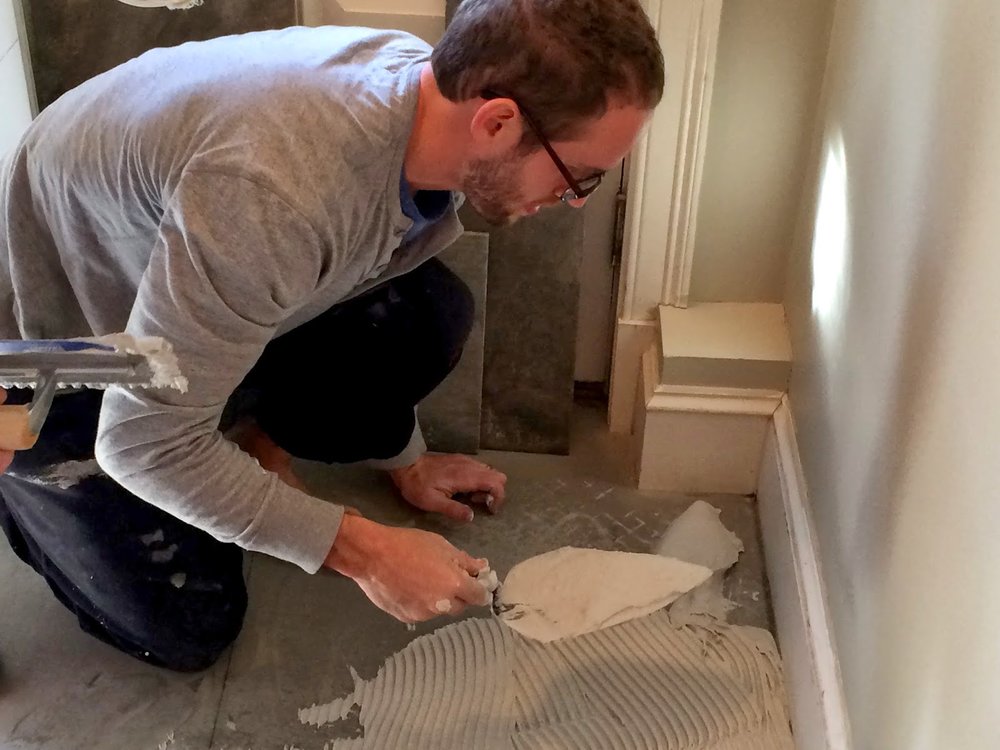
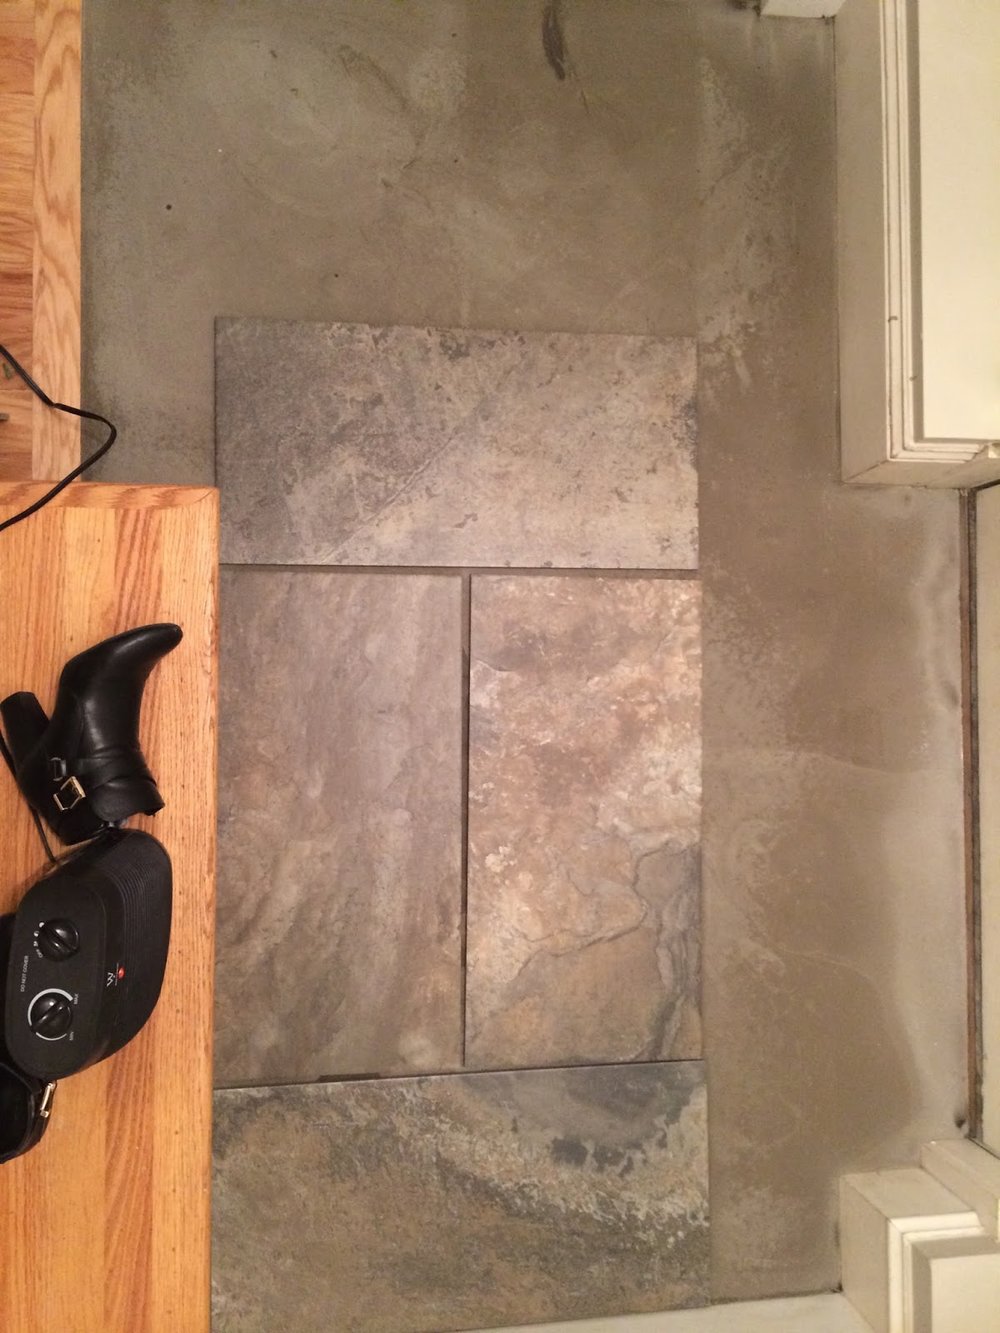
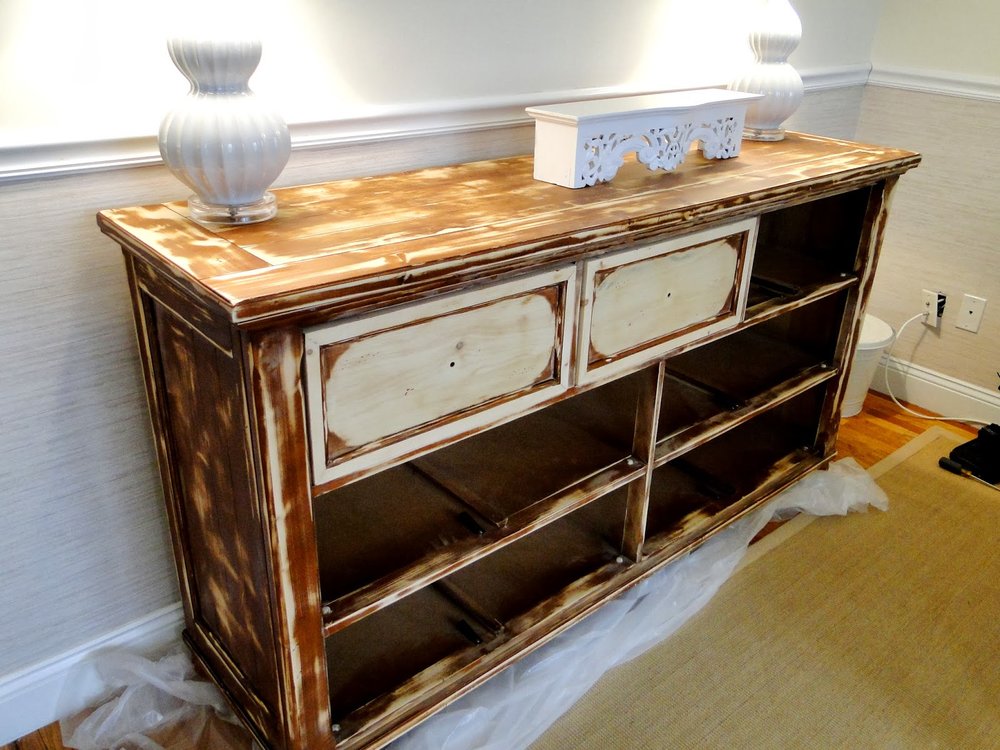
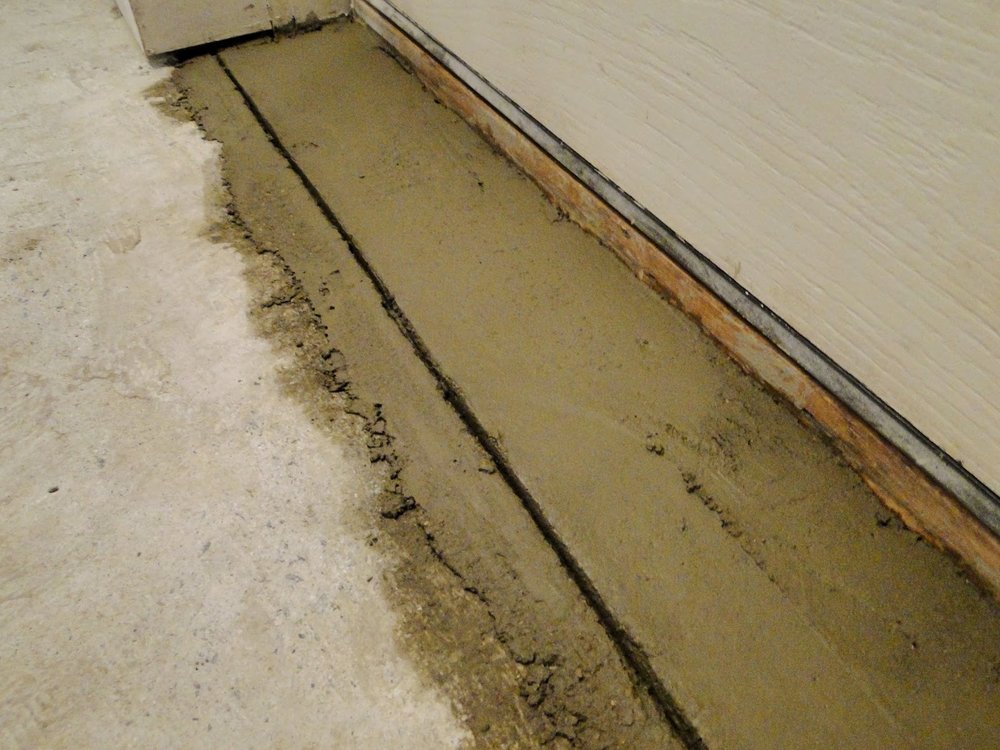
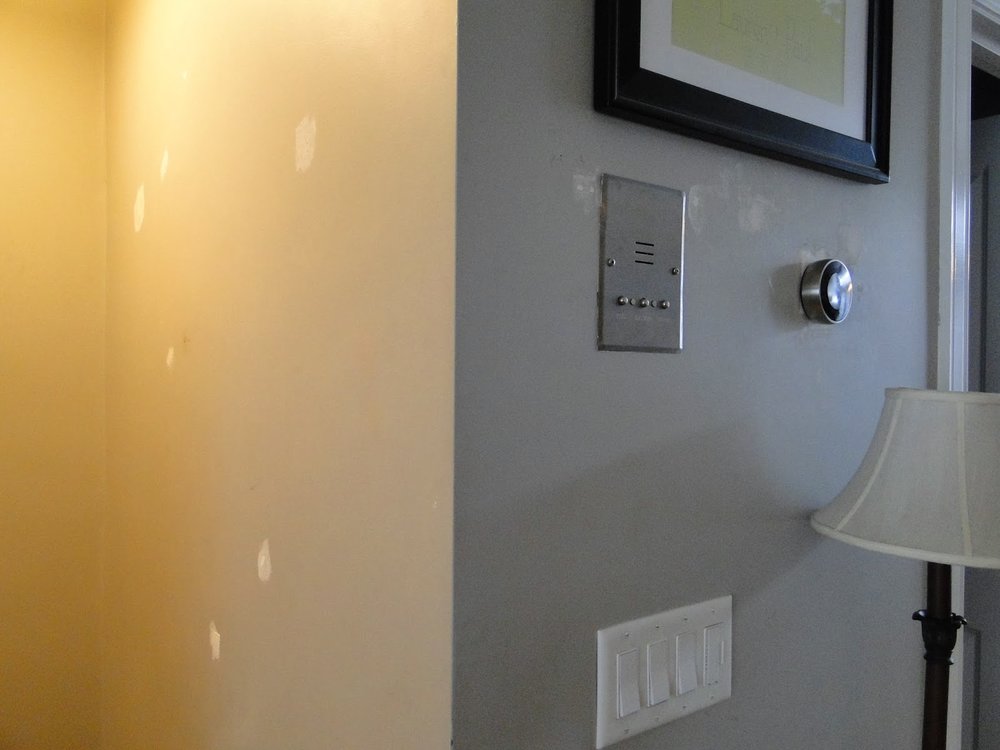
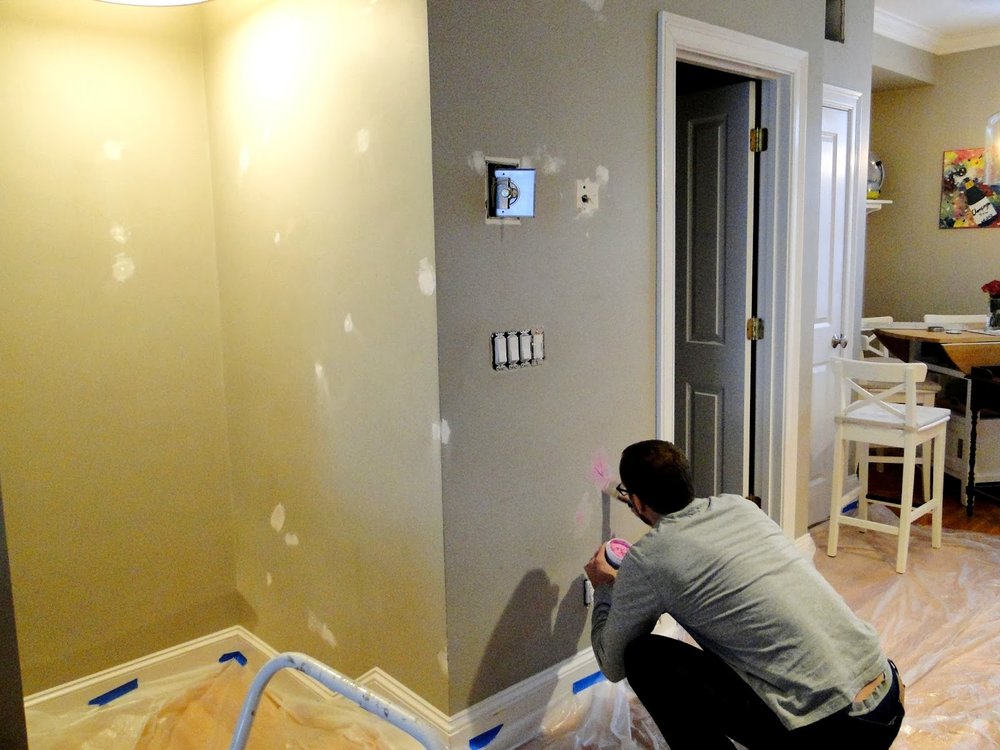
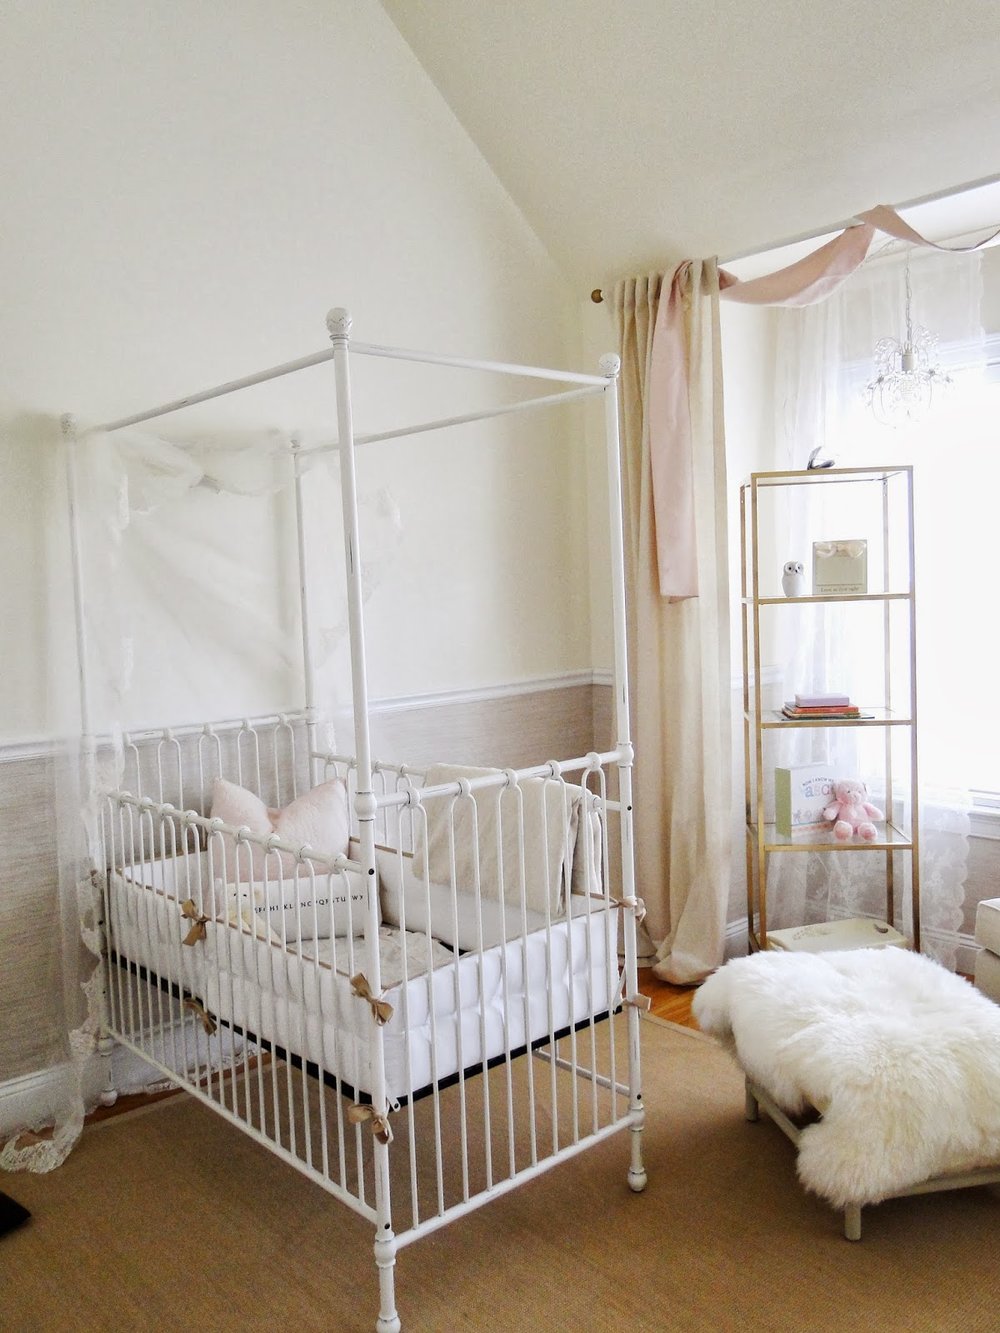
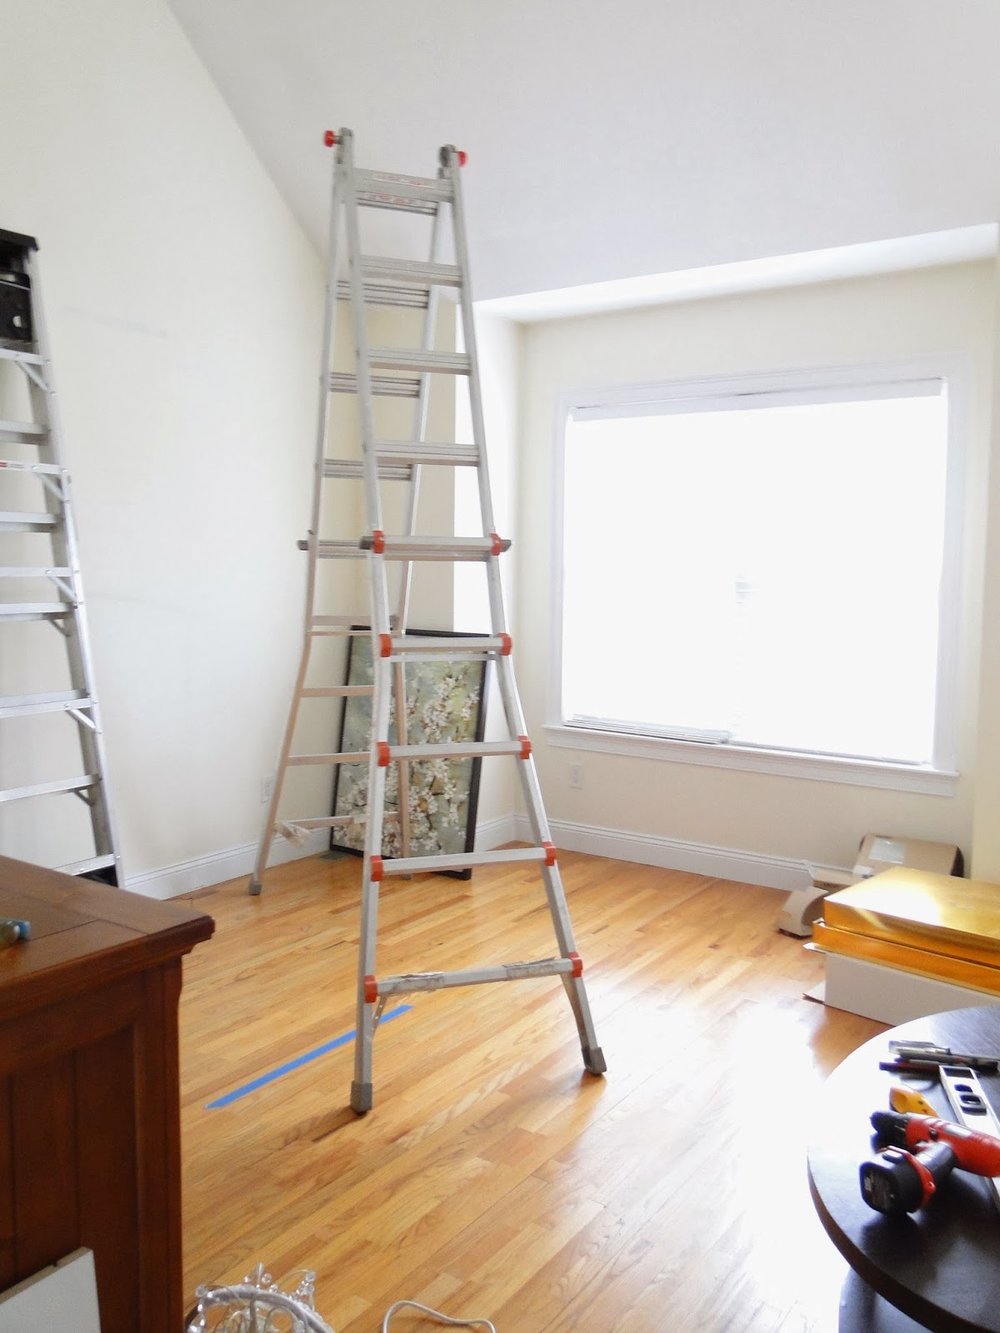
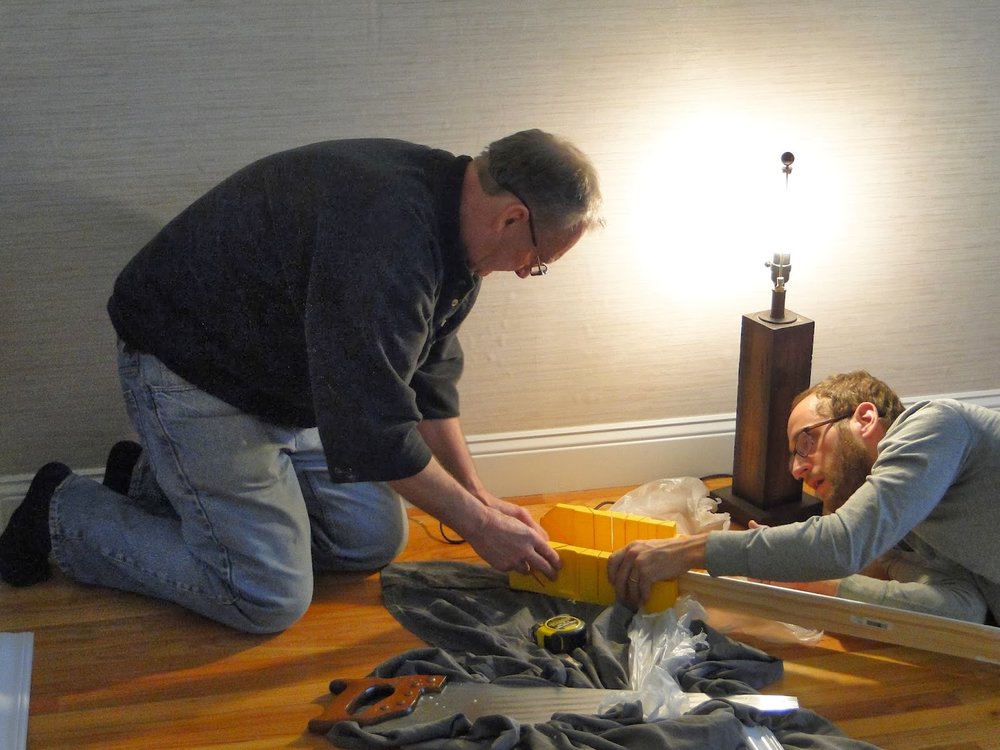
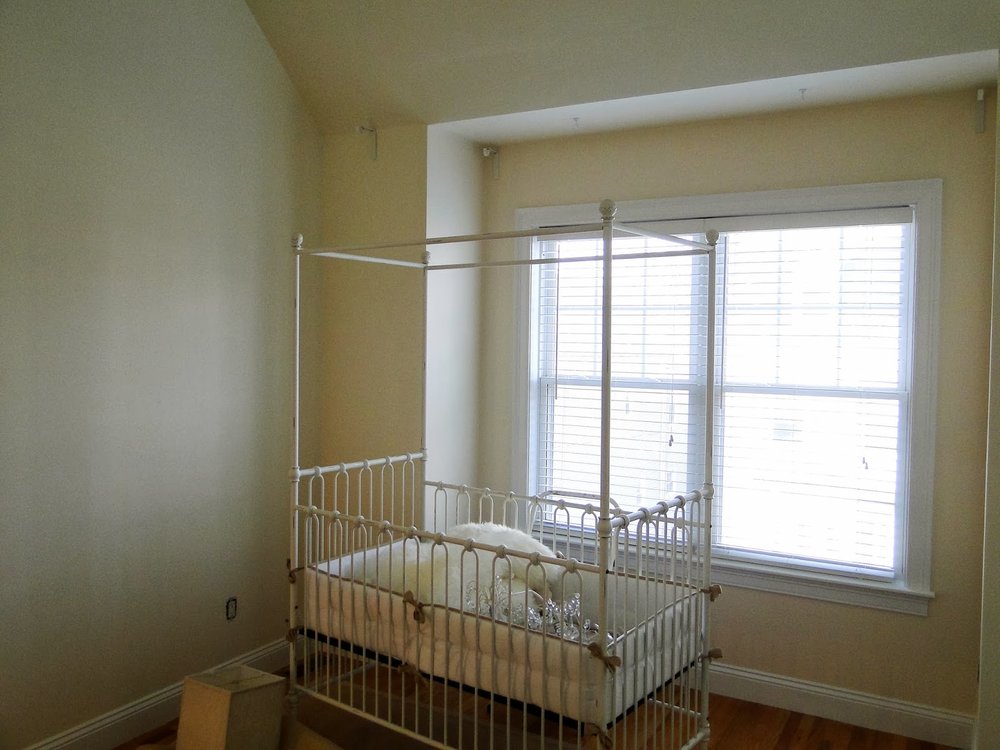
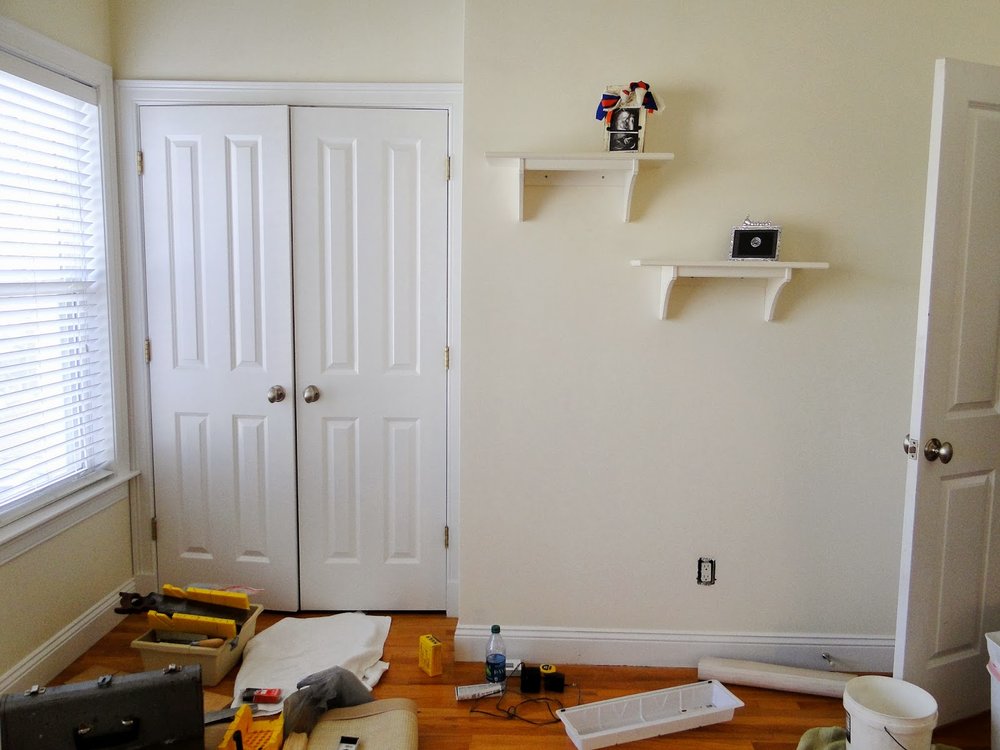
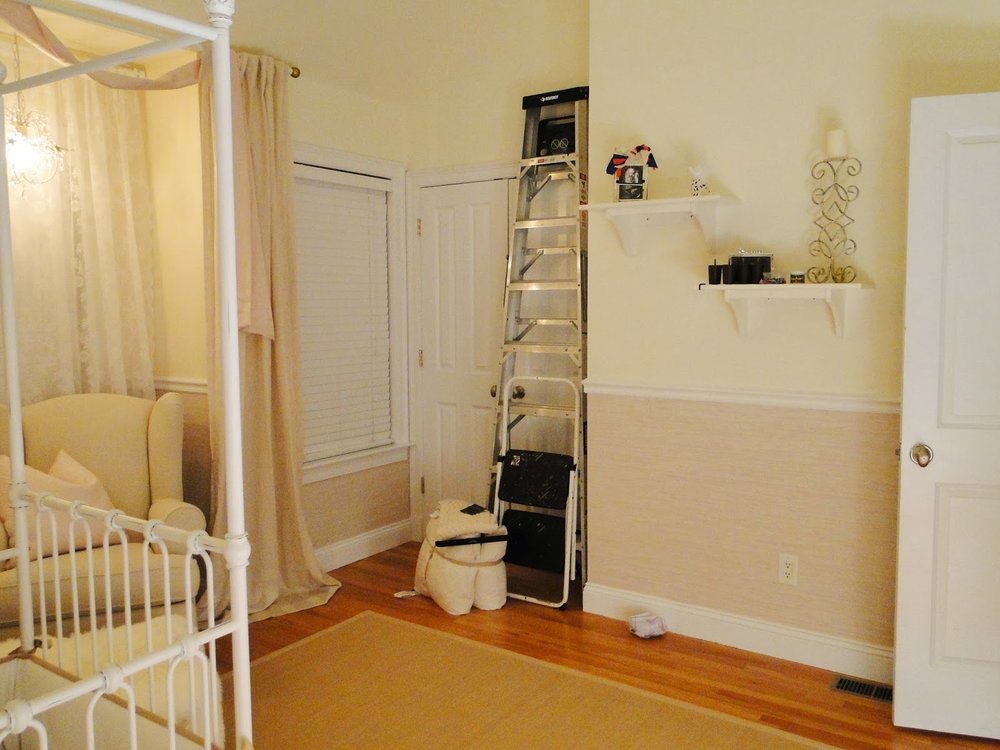
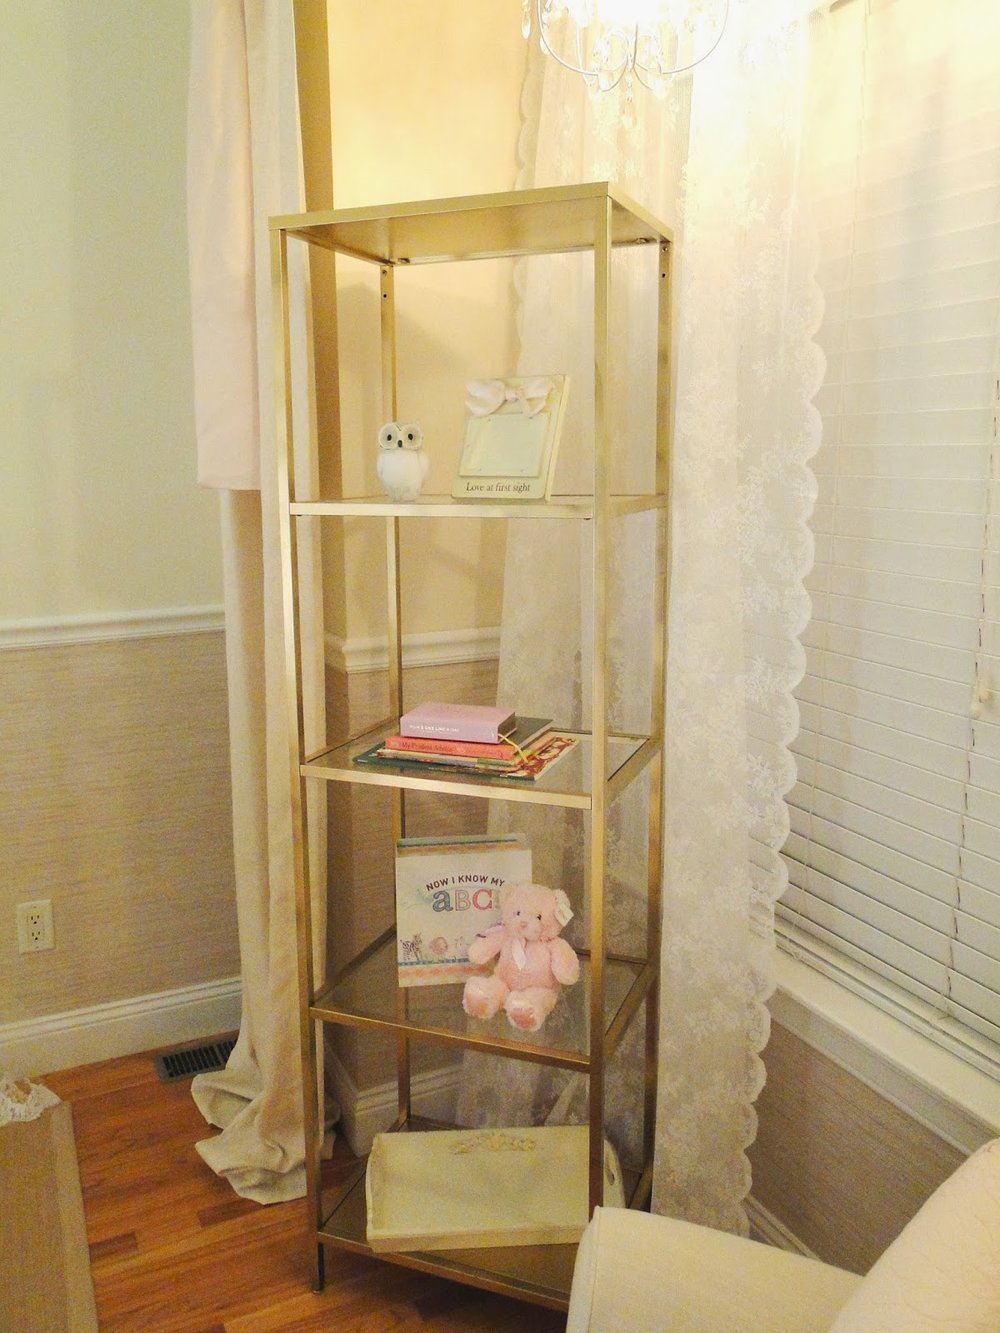
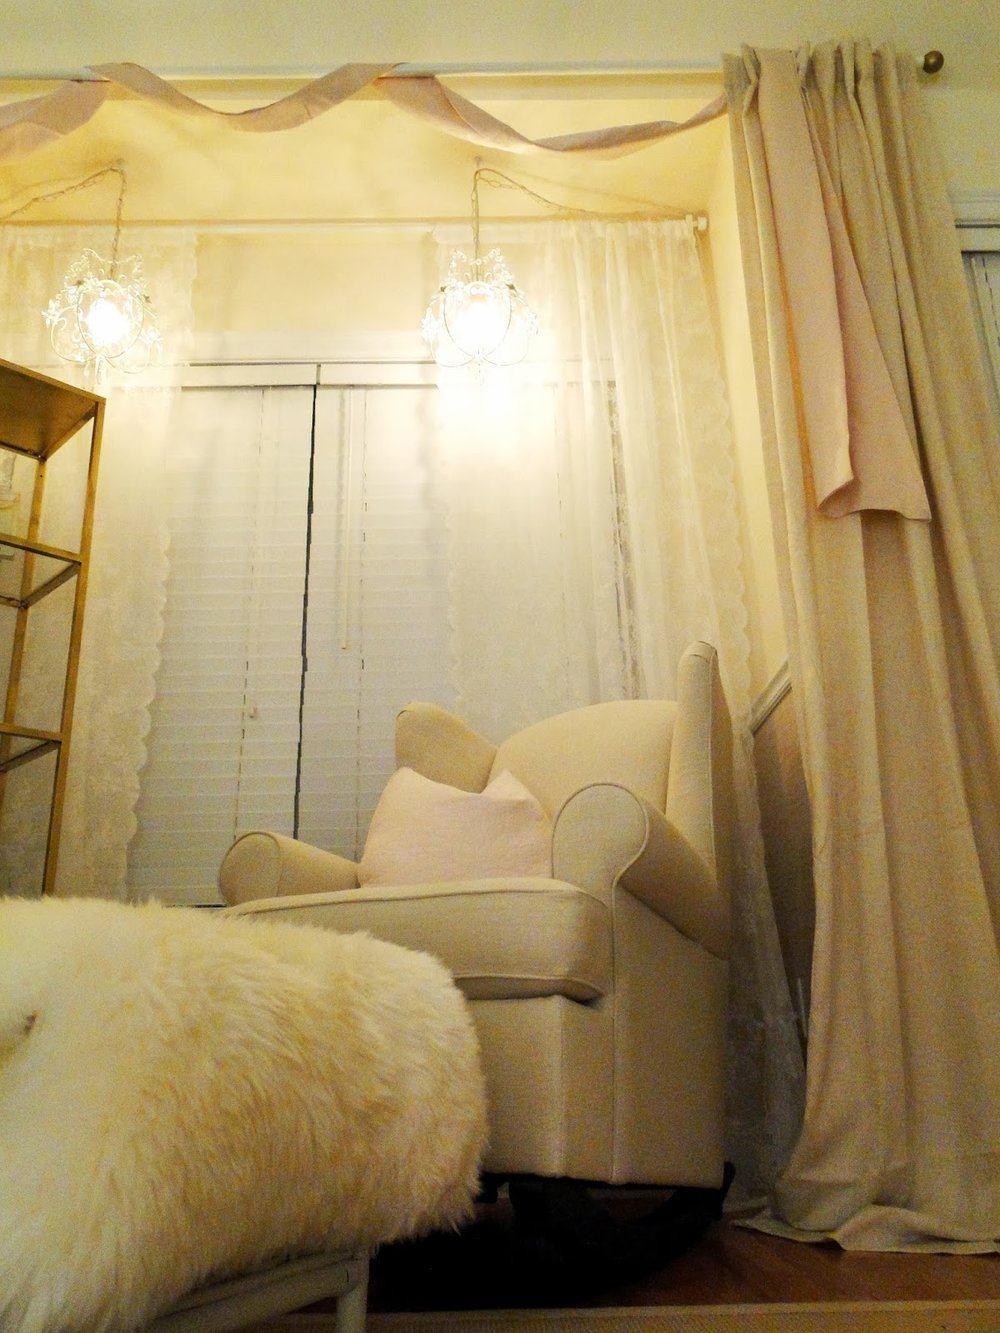
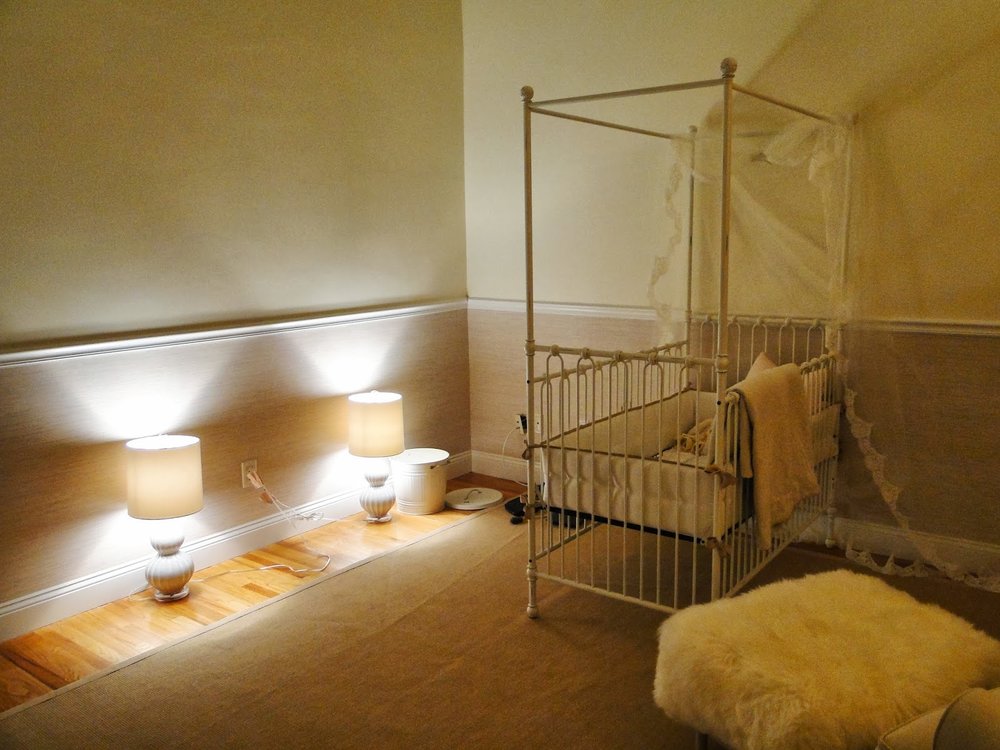
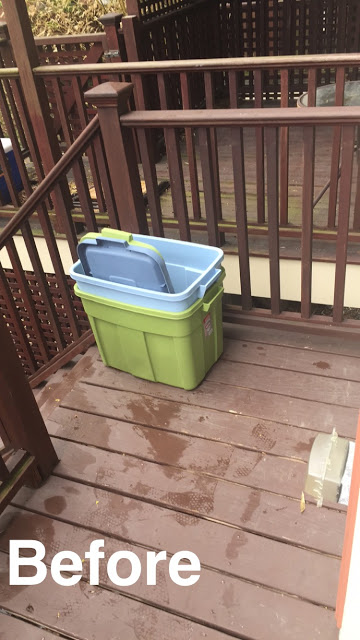
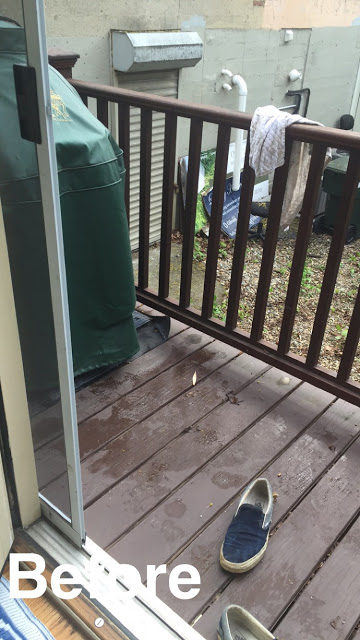
To really appreciate the update, I feel that before pictures are in order.

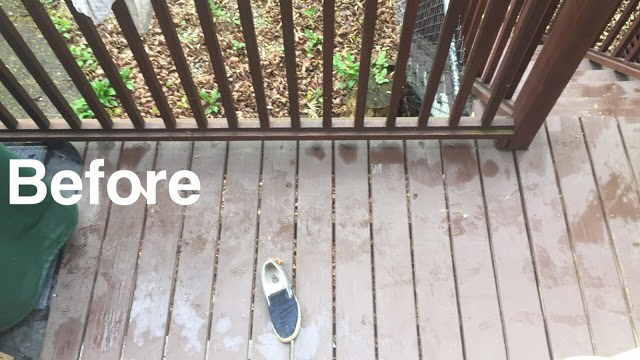
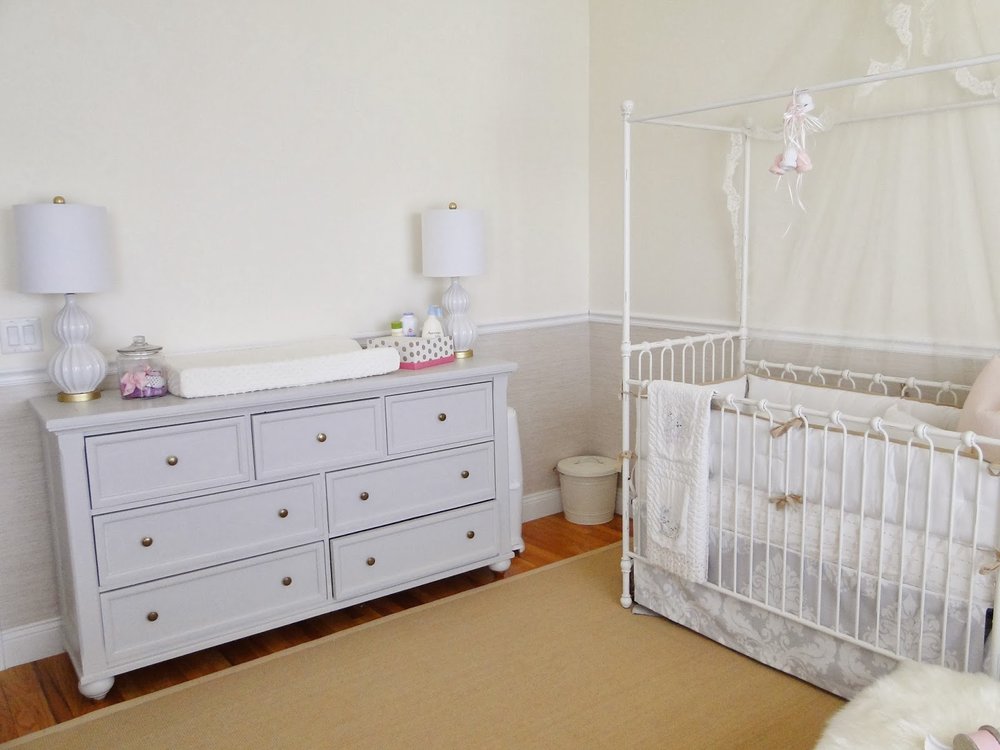
And now onto the details...
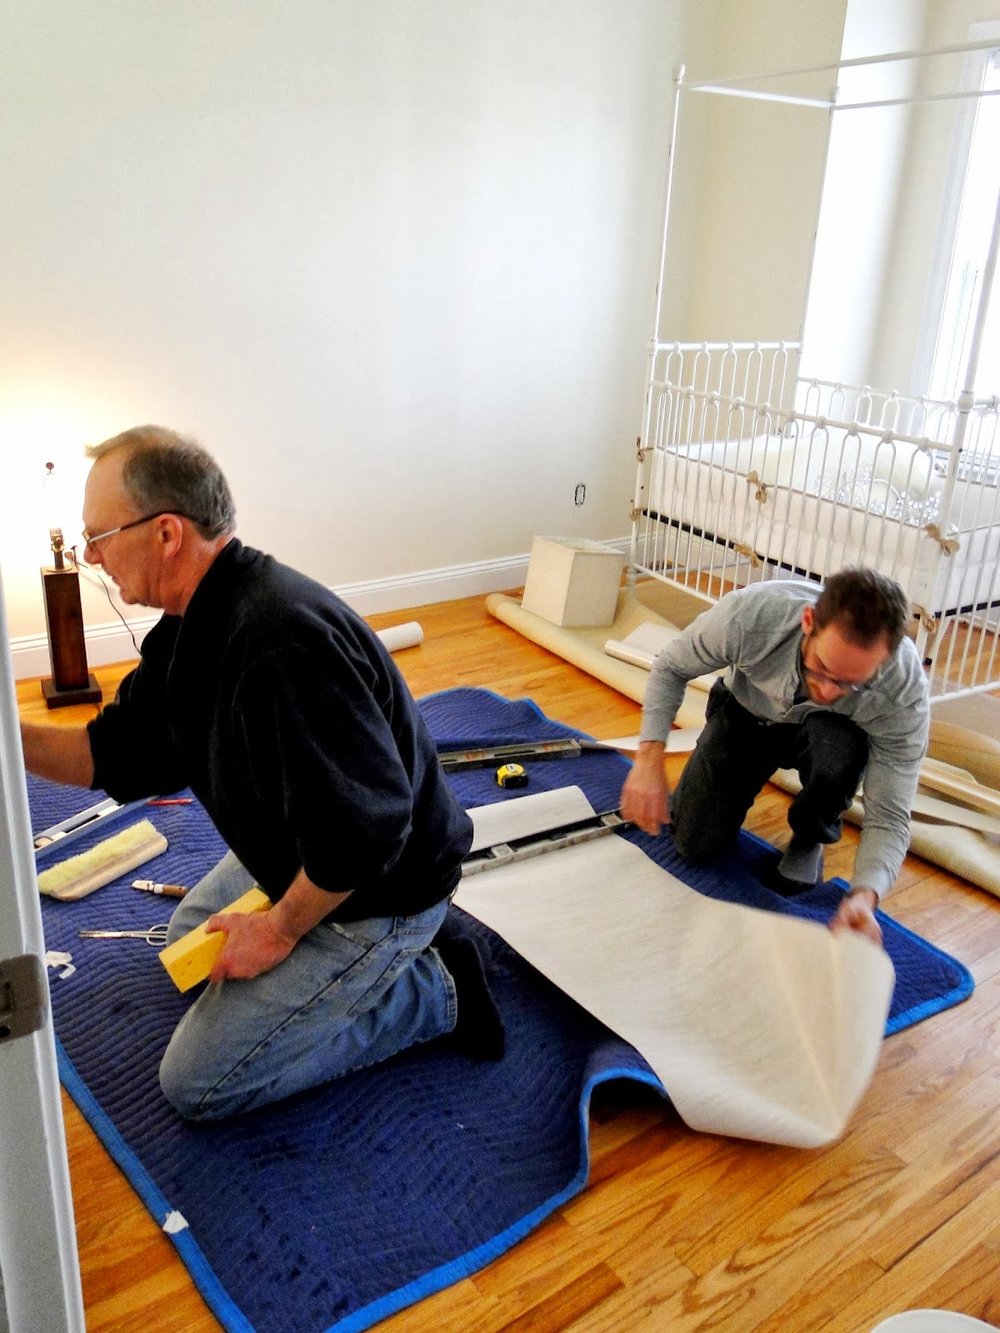
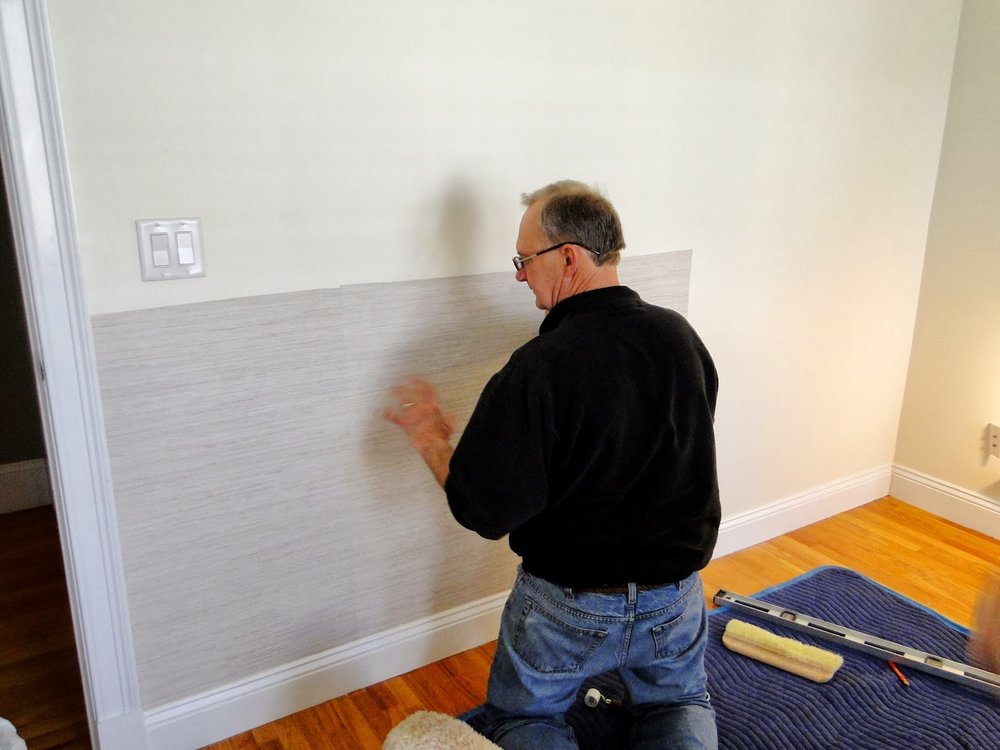
Lucky for me, my mom, who has a wonderful green thumb, was in town to help.  I was clueless!
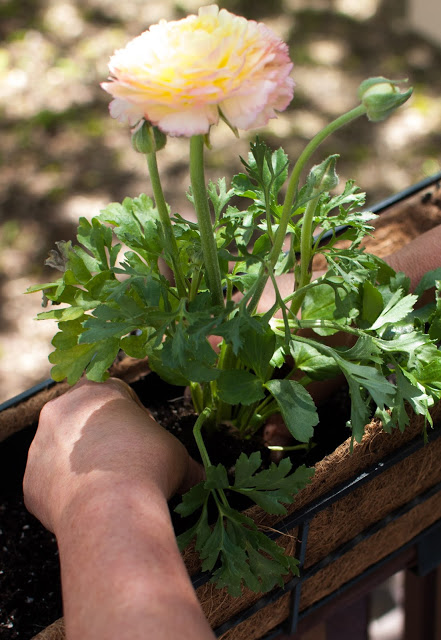
{line any baskets with some strong plastic to help with water absorption. We cut up a large trash bag and it has worked well}

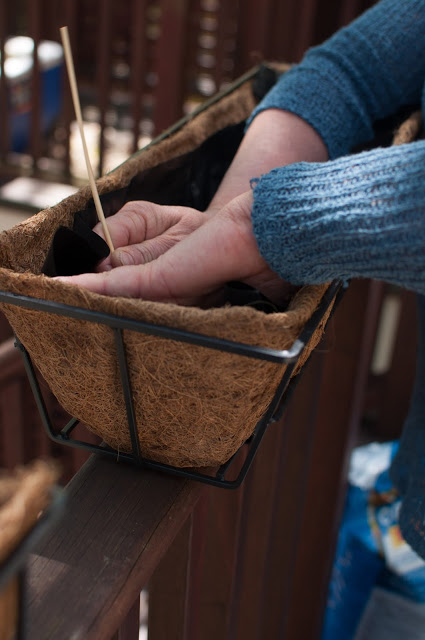
{make sure to poke the lining with skewers or a knife to allow healthy draining}
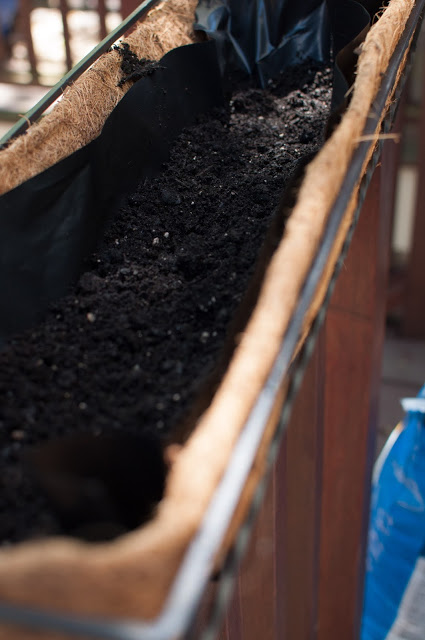
{start with one layer of soil before adding your plants}
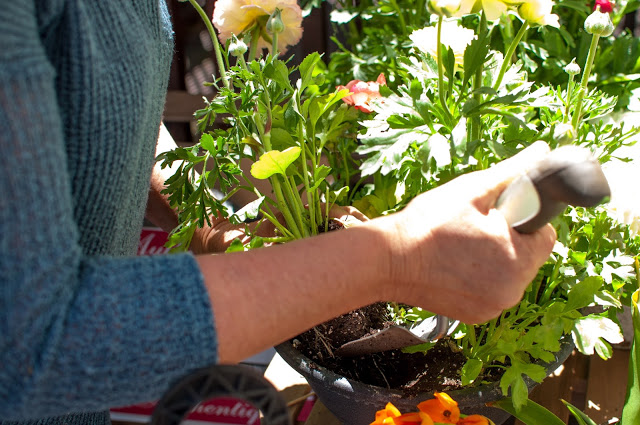
{look outsdie the box and up to hanging baskets! repurposing the flowers to boxes is a great option}
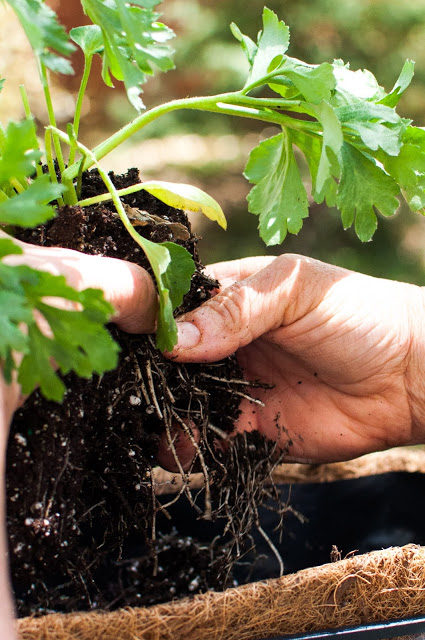
{break up the rooted soil before re-planting}
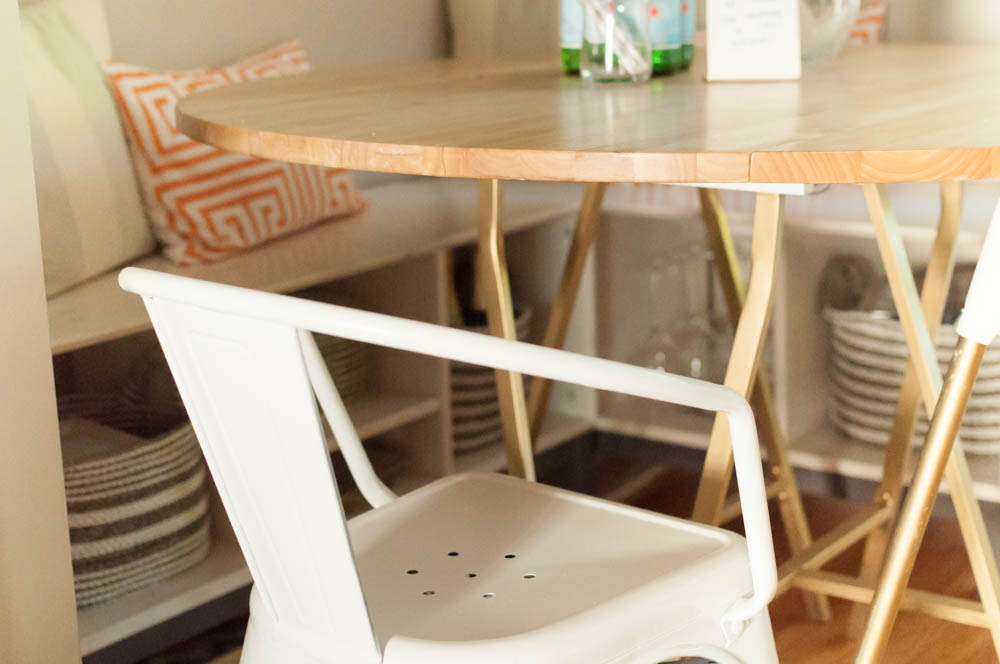
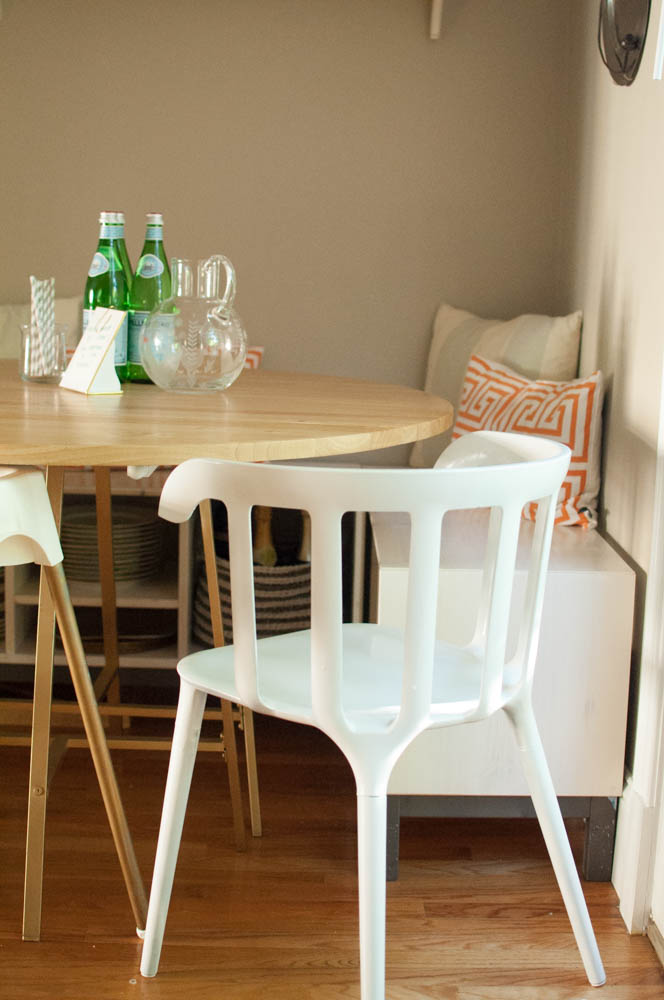
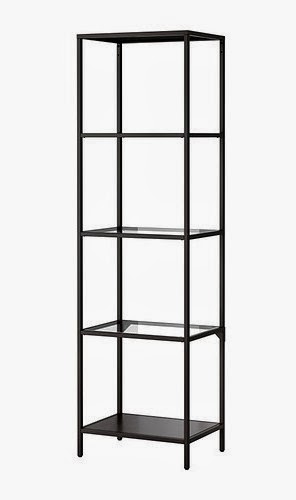
{thank goodness for IKEA when decorating city spaces}


1. Amazon Flower Boxes  (comes with coconut liner)
2. Ikea outdoor rug
3. Ikea Table and Chair set 
4. Potting Soil
5. Miracle Grow Quick Start
6. All flowers were from Home Depot


Kitchen Banquette Update!!


It's really hard for me to share early photos of a home project because I want to explain every detail that is still yet to be finished. However, my friend told me this past weekend that the "process" updates are really important and another friend chipped in "it makes the DIY seem more doable." SO here goes. I'm really excited about how it is shaping up!  

My budget is $1,000 and I'm doing really well so far, the last big purchase is the rug which I will have just over $200 to spend. I have included the details of my budget at the bottom of the post.  

UPDATES TO BE MADE: 
>> Navy Buffalo Check pillows have yet to arrive.
>> Currently searching for a flat woven, fringe-free rug.  Try to decide between a 5x7 or 4x6...
>> I am planning an all white frame wall gallery on the walls.  I will be taking down the shelf and plates. I've been wanting to put up a corner gallery for some time now and I think this is the perfect opportunity. 
>> Planning to spray-paint the high-chair legs white to match the all white seating.  I feel like with the table legs gold, the high-chair legs are too much.  
>> The table top is from our old high-top crate&barrel table!! We attached it to Ikea trestle legs but I think it needs to be 1-2 inches higher for optimal comfort so I'm trying to figure out how to make that happen.

There is a really incredible story behind this chair. I checked online to make sure the IKEA PS 2012 chair was available at my local ikea store and it was "probably in stock." I loaded Roswelle up in the car for the quickest Ikea trip ever - in and out - I now cut through the checkout stations directly to the warehouse. I went straight to the aisle and bin to find an "out of stock" picture.  The next shipment was not scheduled until August 24th.  I was bummed to say the least. I headed out of the store but decided to roam the "as is" clearance section of Ikea.  Low and behold there was the chair, assembled and ready to be taken home with me!! I considered it a sign from up above that this project was a good idea ;) haha.  The best part? it was marked down 41% - means more budget room for the rug!! After some store credits, the chair cost $37 in total. 
{I spray-painted the chair white as soon as I got home}

{the NORNÄS bench has great storage}

{this is a great view of the "nook" I'm working with}

{a weak before/after picture but it's the best I can find right now}

Budget as of 8/17:

Two NORNÄS benches - $400
Two Trestles - $30
Metal Chair from HomeGoods - $34 
IKEA PS 2012 chair - $37
Caitlin Wilson throw pillows - $150 (splurge)
Orange HomeGoods pillows - $60
Spray Paint, White Wood Stain, Hardware - $45
Total spend to date: $756
Rug search budget: $244


DIY: Shell Shadow Box


It all started with a little rock that looked like a whale.  Paul found him one day on a beach in North Truro and I immediately pictured him proudly displayed in a shadow box.  We both started looking for more interesting shells and had quite a collection at the end of just two days.  For now, Mr. Whale lives with his other ocean friends in a shadow box from HomeGoods that was just $12.99. He may get moved around every now and then but he will definitely be our keepsake from the summer of 2015 on the outer cape.

DIYs don't have to be complex or time consuming and art should be a display of something you love or speaks to you.  This collection of shells was free and the box was inexpensive. I started off using push pins to hold up the shells but they all came crashing down when I placed it upright. I then moved to using sticky pads from an old craft box and those seem to be doing the trick.

I'm planning to hang this at the cottage but something similar would also be an interesting add to a wall gallery!
{I had the best helper! - my niece Madelyn Grace #maddielash}
{remnants}

DIY: Repurpose Your Vases for Organization


I want so bad to be that organized person that puts everything back in the same place, and for everything actually to have a place.  I always know where an item may be, however its usually in 1 of 4+ places. For instance this past weekend, I literally had 6 bags for Roswelle and I, and there was no method to the madness.  Diapers were in 3 different bags, my jewelry bag was in Roswelle's diaper bag, the pack'nplay crib sheets were in the bag with the speaker, the "in case of emergency" thermometer was lost in the bottom of my purse?...it's all there, it's just a disaster. My mother-in-law was in the back of our car this weekend and exclaimed "oh Lauren here is an earring!" ... so typical of me!

SO, in an effort to be the person I want to be, I plan to organize small spaces, starting with my bathroom cabinet. I can't believe I'm sharing photos of underneath our bathroom sink!! Anyways, I love reusing candle vases and flower vases and I thought underneath my cabinet would be a good place for them.  They come in all shapes and sizes, as do my toiletries.  

It only took about 20/25 minutes to clean everything out and put it all back together in a prettier, more organized fashion.  Roswelle actually had a lot of fun helping me! She loves taking things out and putting them back in, over and over. I doubt my cabinet will stay like this for more than 48hrs, but here's to hoping! My purse will just forever be a lost cause...

{as soon as a candle is used up, it goes straight to the freezer for a future use}
{run through the dishwasher or under some really hot water to get rid of the wax}
{the awful before}
{helpful little hands}
{I was having trouble storing my large DIY rope vase, so it became a storage place itself!}
{a jar for all those samples}


Banquette Bench

{the detailed slant in the bench is small but makes a dramatic difference}

Since we travel so much in the summer, I have very little time for projects in the home (not complaining).  However, that doesn't mean the idea wheels aren't spinning... This Fall, one of the projects on the drawing board is a banquette bench in our kitchen.  We have the perfect little nook for a bench; it's actually something I've pictured well before I even moved in.  At the moment, we have a high top bar that I think we will move to storage.  I really want Roswelle to start sitting at a table, and I don't know that tall chairs make sense while she is learning.  

In my head it is the simplest project, it's just a bench?! Doesn't even need to be attached to the wall. Plus added storage - I mean no brainer!  We'll see how "easy" it is once we get serious about building it...aka calling my father-in-law Ross! ;) In the meantime, I've shared some pictures of banquets that are both lovely and functional.  Do you have one already?  If so, please share your experience!

{The bench plus shelves is so fun & friendly & smart}
{the is super simplistic but is sometimes all you need}
{benches don't have to be a cozy, cottage look...this one brings the drama}
{I love everything about this little galley kitchen - serious inspiration for me right here}
{a highchair or learning chair slides up so well - confirming my decision that a change needs to be made}

This is our current situation...pretty, just not practical.


A Dual-Purpose Centerpiece


{a table setting for 6 - your kids have everything to help set the table}

A centerpiece can be anything you want it to be; by definition it is a decorative piece or display in the middle of a dining or serving table. Living in the city with a toddler means we have little space for storage or display, causing me to get creative. I recently had to move our stemmed wine glasses from the wine buffet (/tvconsole/toyholder) in our living room to get them out of reach from curious little hands. I wanted to keep them out because I do use them often - everything tastes better in a stemmed glass, even pelligrino - but I had few options in our kitchen. I stuck them on a tray on our kitchen table and left them there until I could find a better place. Well, it's been 2 months and they are still there, and I have actually grown to love it!

It got me thinking, designing a centerpiece on your kitchen table can have dual purpose: storage and style! I came up with 4 other displays of items that you would otherwise have to store in a cabinet or on a shelf.  I hope you feel inspired!

{this is what our kitchen table looks like now, looks like I'm always ready to celebrate!}
{pull those pretty bottle stoppers out of a drawer and display them instead}
{a summer refresher tray, you can literally pick up and take straight to your back patio}
{maybe you are a newlywed with tons of pretty serving items...if you have them out, you'll probably use them more}
{and finally, to show it really can be anything, I gathered up a few of my new favorite things without specific homes and made it a "collection" (date is totally wrong - I may just be a little excited about my upcoming birthday)
p.s. I'm in LOVE with this clock! I spotted it in my mom's storage closet this past week and asked her if I could have it for my house.  It was a wedding gift from one of my dad's best-friends.  I love that it has sentimental value and completely goes with my style!

DIY roped vase


I was recently gifted a beautiful arrangement in a large glass vase.  I loved the arrangement in the purple hue vase, but once the flowers had wilted, the vase became a DIY project waiting to happen.  I purchased 18ft of rope from home depot, pulled out my hot glue gun and in less than 10 minutes I had a vase with texture and color that matched my style and home.  It made me think, what else can I add rope to for a quick enhancement? Perhaps a lamp post or an ugly trash pail.  


An Herbal Arrangement


For Mother's Day this year, Paul gave me a beautiful flower arrangement from Winston Flower's. The florist shop started as a pushcart on Newbury St. in 1944 and is now the "Tiffany's" of floral shops in Boston.  In my arrangement, I noticed Winston had placed mint and rosemary as the greenery - so smart!  The herbs smell fresh and adds natural color and texture.   

I decided to make my own simpler version. I kept it simple to be able to keep it next to the stove for easy access to the herbs.  Fresh is always best, but for this project I grabbed 3 pre-packaged herb packs of Rosemary, Mint, & Sage, from Trader Joe's.  I hope you feel inspired to try as well! 


My Capsule Closet: May 2015


I did it y'all.  I created a capsule closet! I read about it first on the Unfancy blog so I'll give her the credit. A capsule closet is 37 items including tops, bottoms, dresses, jackets and shoes. 37 is not a magic number, it's just the number she decided was best so I followed suit.

The point? For me this is to remove the clutter in efforts to create a more simplistic, stress-free dressing situation/life.  I only have the items I really love and actually want to wear in my closet.  I am donating items like the Banana Republic sweater that was just a little too short so I never wore it. Why was I holding onto it? because it was from Banana Republic? really?  Someone at the local Goodwill is going to be way more excited about it than I was.  Or the jeans I wore in college that just aren't my style anymore but I keep to see if I still fit in them from time to time...who cares? tossed 'em.  

As a beginner, I am not including workout clothes or tennis shoes (sneakers up North) in my capsule.  I'm also only doing this for the month of May to start, which is at the end of a season up here.  I may try to create a 3month summer capsule next for June, July, and August; but I feel like I will enjoy a monthly one more? We'll see!

Is this going to be exciting or boring? easy or actually really hard? Only time will tell and I will let y'all know. Below are more details.  Let me know if you try this!!

{17 tops}

{7 bottoms: I have a lot of neutral tops so I included some color in the bottoms}

{2 classic jackets and 3 dresses: a LBD, a maxi, & daytime dress}

{6 of the 8 shoes}


{I set aside dresses for weddings and showers this month/summer.  If I already have something designated to wear to a special event, I'm less likely to go buy something I don't need}


{I included one graphic T - about as crazy as I get}


{I learned that I really like stripes, like everyones else I suppose}


{It still rains up here often, so I included boots a for wet, chilly days}


{accessories don't count, looks like I'll be using scarves for additional pops of color}

And because everyone loves a good before & after - here is mine!!  Congrats for reading to the bottom.  

{before}

{after - with an empty shelf and everything!}


A Fall Refresher

First - thank you so much for reaching out to me yesterday.  The facebook comments, messages, and texts really impacted me.  It's scary to put feelings out there, especially in a culture that puts on a perfect front, so thank you for making me feel supported. We are all going through something so we might as well come together and hold each others hands through it.  

As promised - a little post on a simple Fall update! I love changing the house to match the seasons.  A few weeks ago, on the first day of Fall, I went up to the attic and grabbed my Fall themed throw pillows (I forgot the blankets!) and started from there.  

The pictures aren't perfect (argghhhh I need to get my camera fixed!!) but they'll do.  Most of this change-up was free.  I switch curtains and lamps around the house, found throw pillows that I had stored from last year and added just a few Fall accessories.  When you have clean, neutral items and colors in a room, it is easy to transform the room with just a smidge of color.

our Fall-ish mantel: 
A brown bolster throw pillow, gold/mercury containers with rope detail and fall colored flowers.  My only plant in the house (still alive!), a ceramic cream pumpkin, and a simple twig wreath.


Above: our living room before I did the Fall refresher


The updated room: 
I switched out the curtains from Roswelle's room.  I was sick of the 2yr old polka dot Ikea ones that didn't reach the floor in our living room.  I switched the lamps from our bedroom.  New pillows to add some fall colors.  And the easiest way to change the feel of a room - a scented candle and coffee table accessories.


I'm debating on whether to fill the leaf dish with candy-corn (a personal favorite) or a healthier option such as pistachios... it's still empty 2 weeks later. 


  Curtain advice from my fav blogger Erin Gates of Elements of Style is to hang curtains as close to the ceiling as possible and to have the hem of the curtain gather slightly on the floor.  It draws the eye up, giving the illusion of taller ceilings and adds some drama.  


Updates All Around


I put this Ikea bookshelf together in literally 10 minutes flat.  It was so easy! and no tools needed! Either this is just an ikea phenomenon or Ikea has stepped it up when it comes to assembly.

The R & G will be painted soon...and I might hang them over her crib instead of scrunching them up on this shelf.  

{I've already made some changes to the wall gallery..}

I bought this heart mirror at Hobby Lobby - knowing I would paint it gold first chance I got.  

I used my fav secret weapon - Gilding Wax

I also bought the above framed art for $8.  I liked the frame and the verse but it was a little plain for me.

{I spruced it up with a black and white stripe folder I had}

ps. I'm lovinggggg black and white stripes right now...trying to find a good place for it besides this.

{tada - although I broke the glass pane in the process :/ }

outtakes:


Roswelle Gray Updates:

{she sleeps on her stomach or side most of the time now}

ps. paul put her jammies on backwards - I feel like every dad needs to make that mistake once, like a milestone, ha!

{she holds her bottle all on her own - finishes it all by herself (with supervision)}

{Paul's favorite thing these days is to get her when she wakes up - she is all smiles}


She's my little peanut!! I take her all over the city with me.  My grandmother, Mammie, says she was born with jets on. :)

s


These pictures are from Tuesday - we went into the city for an early breakfast with girlfriends and then headed up to NH to the closest Hobby Lobby with Jenny and Maddie!  

The three of us are headed to the cape this weekend (again!).  It will be another fun, low-key weekend.  Life is going well.  Even those I am a SAHM (stay at home mom) I'm still working for the weekends when Paul is around.  I have never looked forward to him getting home as much as I do now!  

Have a great weekend, y'all!

House Project: Wall Gallery


I've been working on this project while Roswelle naps during the day, and oddly enough she is napping as I write this The wall gallery was a work in progress for a couple weeks which I started back when my mom was in town.  I went up into our attic and grabbed any frame I could find; some without a glass pane, some with random art (old purchases from HomeGoods) and some from around the house.  


This is how it all started...on my floor.   I spaced out the frames and started tracing them on newspaper.  It seems like an unnecessary step but it only took 10 minutes and helped me visualize the spacing on the wall.


Above is what it looked like for a good week...I was getting comfortable with items on the wall and then started editing and updating which was the fun part. 


I bought a group 3 framed pictures of dresses for my apartment back when I was 22 and living alone in Atlanta.  They don't fit into my house aesthetic now so I deconstructed them and replaced them with personal items: a recent photo, our wedding invitation and the number 10 which is part of our address now.  I used a lot of scrapbooking items during this whole process - cheap and easy! A 10x10 piece of scrapbook photo fit perfectly in the frame and worked well as a backdrop.


I have always loved this gift bag (from my stylish friend Marcia) and I've been saving it to use as a matte in a frame.  I had the frame pictured below which doesn't have a glass insert (yet) so I cut up the bag and left the handle.  I think it's a fun fit for now.  


The frame above has come a long way.  I purchased it from Marshalls yearsssss ago.  It didn't have a glass pane and had a random photo of a green flower.  I bought an ugly old picture from a thrift store for $1 that was the same size as this frame.  I used the glass from the thrift store purchase and put scrapbook paper as a filler for now.  Does that make sense? I actually love it.


Above is another thrift store find.  It was a great frame for $1 but the cutout is an odd shape - long and slim.  A page from my calendar was the perfect fit.  To make it personal I chose the month of March and drew a heart the 21st with a pink sharpie which signifies Roswelle's birthday.  


I'm really happy with how it looks right now.  I'm not sure if I will go all the way up the wall to the top of the stairs.  I'm sure pictures will change and new frames will be put up. That's the great thing about spackle and paint, you can always change it up!

House Update: The Bathroom


Our bathroom got a facelift last month.  
A gallon of paint (Benj Moore Woodlawn Blue) + new curtain rod/curtain + mirror = new and improved.


Where we started:

One of the smallest changes with the biggest impact was raising the shower curtain rod.  All the curtains in our house are hung as close to the ceiling as possible - no matter how high the windows are.  It draws your eye up and creates the illusion of a taller, larger room.  I ordered a curved rod from online (the same ones that are in basically every hampton inn these days) and it definitely gives the feeling of more space when you are actually in the shower.  


Next up was finding a shower curtain that would actually be long enough from the ceiling to the floor now that I had raised everything a by at least a foot.  It's not really my thing to go to the fabric store and have one made so instead I looked at the possibility of using real curtains as a shower curtain.  

I found grommet style curtains at tjmaxx which were too short (pictured above).  However, once I realized I could use these style curtains easily with the shower curtain liner & rod, all I had to do was look online for 95" grommet curtains (product link) - found them online at bed, bath & beyond for $40 bucks (this length is not sold in stores).  BB&B is always doing 20% coupons and free shipping deals which helped the budget as well.  I ordered a linen fabric in ivory, the bathroom is so small I decided not to overwhelm the space with a pattern.  


{I was able to hang the liner in between the grommet hooks - seen above}


{I had to order two panels to fit the width and my grandmother was able to stitch them together for me during her visit in February}


{We bought this driftwood mirror on sale from pottery barn 2 years ago with gift cards...and now it finally has a home!}


Entryway Update!


Our entryway is finished! 
well...almost.  Like everything else there are always little things we need to touch up...aka paint the trim, fix the doorbell, etc (this weekend perhaps?).

BUT the big projects are officially out of the way.  Paul really stepped it up the past month so I can't help but give him all the credit. Over the past 2 months we tore up the old tile, had hardwood installed throughout the lower level and laid new tile down in the entryway landing. You can see just a little bit of the hardwood that leads down a hallway and into the guest bedroom...which we have been unofficially calling my mom's room these days since she will be staying with us for 3-4wks after sweet pea's arrival.  

Below is a picture of what was there before - this is in front of our fireplace (hopefully changing one day as well).  I unfortunately didn't get a before picture of our entryway.....ahhhhh.  But it was a dark emerald green 12x12 tile that I never liked.  It made the bottom floor feel dark and cold - which is the exact opposite of what I want in our home with the winters we face up here.


We picked a porcelain tile with a slate look.  The name is Cerim New England Slate and we ordered from Tyles by Perfection in Quincy.  They were super helpful and had a ton of selections.


{above is my favorite one}


Like I said, Paul really stepped it up.  When we pulled up the old tile the concrete below was a crumbling mess.  He laid down new cement (a few weeks prior), a self leveling compound during the week, a thin-set layer on Friday night, and then finally he and his dad cut and placed the tile on Saturday.  Paul finished it all with the grout on Sunday.  We still may coat it with a sealer.  He researched a ton and it really paid off. I couldn't be a happier wife! 


We tried a bunch of different layouts pictured below and placed our favorite tiles in the most visible spots...  We didn't get too creative - trying avoid too much cutting and possible mess-ups on his first attempt


{ta-da}


on a personal note....it's been a long sh*!!y week.  End of pregnancy is no joke...especially the first time around.  Some days I feel great but some days are ended with a teary-eyed tub soak. I try to stay positive but every now and then things get the best of me and I crumble. Work has been busy, the weather has been crap (19 degrees this morning and snowed yesterday), and the T was a mess this AM making my commute almost an hour...just to end this week on a low note.  March in Boston is literally my least favorite thing EVER.  Only thing getting me through is spending my Saturdays washing baby clothes and getting ready for her arrival :)  I'm really looking forward to a weekend of yoga, eating healthy, and relaxing with Paulliee! anywho...TGIFFFFFFFFFFF. ha!  

A Lashway Baby Brunch

{cutest party favors from kristenskandybuffets.com; the theme was bow&arrow}

Last weekend Jenny and I had a dual baby brunch shower. Did y'all know? She and Rob are expecting a baby 7 weeks after Paul and me! :) ...so we decided to throw each other a baby shower. She threw it for me, I threw it for her...and our friend Mel threw in the party favors and donuts! It was actually a ton of fun planning our own shower (esp since the both of us like control)...we made the crafts, planned the seating and selected items for the menu...so we were really happy with the outcome naturally.

We decided to separate our showers between family and girlfriends.  Paul & Rob's mom, Sandy, threw Jenny and I a beautiful shower in February for family.  Jenny and I really wanted to host a brunch with our closest girlfriends in the city - only around 20 of us total.  

Mel ordered the party favors and donuts (from Union Square Donuts) which really added to the festive feel.  Since, Jenny isn't finding out the sex (which is torturing Paul) the colors were a mix bright pink, blue and teal.


{small plastic pacifiers, spray painted gold, to sprinkle on the table}

Only disappointing thing about the room we reserved @ Sonsie on Newbury, was that it was in the wine room of the restaurant...in the basement...which meant no natural lighting.  I tried my best to get good pictures but my wheelhouse for picture taking is of still objects with natural light.  And I can't stand taking pictures with a flash.  oh well....#whattayagonnadooo

{we had seen these place cards on few blogs and they were actually really easy to make}


{festive coffee & donuts corner - there was also a mimosa bar not pictured}


To save the budget, I went to Trader Joe's the Friday night before and threw together the flower arrangements.


{35 weeks & 28 weeks}

{more preggos...38weeks, 35weeks, and 28weeks}


A few of the girls went in together to give the moses basket....I'm obsessed...so much so that I pranced around with it when I got home (that is...after I IMMEDIATELY switched into a t-shirt and sweats...basically all clothing is MIZ when 8 months pregnant)


{sweet books from Tara L}


{and I'll leave you with this...an accidental picture but I like it!} 

Dresser Re-do


I mentioned in my last post that my Mom would be staying for an entire week to help me with the nursery/house.  We did other things as well including going to spin classes together, dinner at Sweet Green (my fav), she was able to meet my midwife, and also attend the bible study that Paul and I go to every week.  I'm always telling her what I'm up to ...but it was nice for her to actually get to experience some of it with me.

She also got a lot done around the house...including painting the dresser that will serve as the changing table.  Paul bought it 10 years ago from Jordan's Furniture (a local furniture store) when he moved into the townhouse...and it is actually a great piece of furniture so I am glad we were able to repurpose it. 

I had a lot of cream and white going on in the room, so I decided to paint it a soft gray. It goes well with the crib skirt and kind of cools off the room a little bit.

{before - and if you remember I also repainted that mirror seen here}

{during - Paul spent countless hours making sure it was well-prepped}


{We used Benjamin Moore Harbor Gray in a Pearl finish}


{$1.37 brass-like knobs from home depot}

{my mom also washed all the baby clothes, blankets, sheets, etc}

{a repurposed gift box from Target}


One of the last things to go up in the nursery is the mirror above the dresser.  My mom found one from Pottery Barn outlet in Dawsonville, GA which looks very similar to the one pictured below (from insideavenue.com).  It was too big to bring up with her on her flight so it is being shipped.


Other updates:

Paint: Paul has become a painting PRO! he has literally repainted 85% of our house on his own.  And it looks SO GOOD.  I have to go back and paint the baseboards a fresh coat of white but that is easy enough for me.  I'll post some before and after pictures.  He seriously amazed me with how much he got painted this past week - and my mom was a witness!

Entryway tile: We ordered the tile and it is set to arrive next Thursday which hopefully means it will be going down next weekend.

Light Fixtures: They have ALL been replaced!  I'll do a recap/before&after post on all of them.  I'm so glad to have that behind us! 

We have little things here and there left to do but we are pretty much ready for her arrival!  The work was hard and definitely created tense moments in our house but it was all worth it and we are so proud of what we were able to finish since January. 


Keep on keepin' on....

Project are in process...

Paul and I have been working nonstop on the house - our deadline is quickly approaching!  Below are some pictures of current projects/updates that have been happening in the Lashway household.  
Paul spent a good 10 hours total sanding the dresser (he's had for years) and fixing the drawer tracks.  It is ready to be painted.  The plan is to find a subtle creamy/gray - probably going to pull a color from the grasscloth wallpaper.  I actually like the way it looks sanded - but doesn't work for the nursery.


We got the Nest!  Paul is in love.  I'm getting used to it.  It thinks it knows me and schedules itself which makes me angry sometimes when it sets itself to 62 while it is below 20 outside.  But we are getting used to each other. :) I do love the fact that we can change the temp while laying in bed and have it warm up before we get home! We were able to get a rebate with our purchase and the nest should heat/cool more efficiently and save us money in the end.


Paul is becoming a spray painting pro.  I'm going through a golllllllldddddd phase this year but instead of making any big gold purchases for the house...I'm instead spray painting a bunch of little things in the house that I didn't love before, but I love now that they are gold.  Below is a little table to go by the rocker in the nursery.  


We had the basement floors replaced with hardwood but are keeping tile in the little entry space we have.  With New England winters it just wouldn't make sense to put hardwood there.  BUT with all projects, there was a little bit of a delay, we ripped up the tile and found that the concrete had disintegrated near the door.  Paul tore up the adhesive/old concrete and replaced concrete with a new stronger patch.  Once this cures - he will be laying down new tile.  


{becoming quite the handyman}


We have these white spackle spots ALL over our house....


Sunday night we painted this section...Monday night we painted the basement hallway...little by little, wall by wall, this house will be completely repainted.  Plan is to be done by March 2nd!


Sidenote -->  Paul and I are big on "squatting" in our house whenever we can (as seen above).  Painting, folding laundry, watching tv.  It's a position that should be natural to us but because we have become a culture that sits insteads of squats...it has become really difficult for most people to hold for over a minute.  I also haven't talked much about my pregnancy/birth plan on the blog...but I am really, really hoping for an all natural birth.  I've been preparing as much as I can with yoga, exercise and practicing my squat.  Your pelvis is open 30% more in the squat position....I'll just leave it at that.  :)  If you are interested in learning more about a squat challenge that you can do at home click here: https://www.facebook.com/portal.ido?filter=3


Projects that have been completed: Both bathrooms have been repainted/redecorated.  Guest bedroom completely redone.  2 light fixtures are left to be delivered and then all light fixtures in the house will have been replaced! Posts on all that fun stuff coming up.  

My Mom, Mammie, Carson and his friend Jeff are arriving tomorrow for the weekend!!  We are excited to have a house full of family :)  My mom is actually staying through next Saturday to help me with the house/nursery/anything and everything in between.  Very excited to have them here!

Progress Report: Nursery!


First off - it's really hard for me to blog about the nursery today since it's not DONE.  There are so many things that I want to say..."a painting is going here" "this isn't staying like this" "the needs to be hung" etc... but I'm gonna go ahead and show the progress we made in just 1 month! I started ordering/researching items at the beginning of January, we had the room painted 2 wkds ago and the wallpaper was hung this past weekend!

There are so many people that helped with the nursery...Jenny found the crib on craigslist (she is such a deal finder! amazing), my mom gifted the rocker, and my father-in-law Ross spent 12 hours on Saturday hanging wallpaper and trim for his little granddaughter! Paul and I couldn't have made this room come together without everyone's help - many many thanks!

**alsooooo.  I know, I know, I KNOW some elements of this nursery are not realistic when she is a toddler.  I get it.  Just let me live in my dream-like, ignorant, kid-less state for now.  :) 


The grasscloth wallpaper was an inexpensive project (albeit labor intesive) that made a huge impact on the room. I found the wallpaper on americanblinds.com (exact product link), ordered samples, and then made the decision.  We bought the trim at home depot and cut to size.  In total it was a $150 project that was worth every penny.  The ceilings/walls are so tall that the furniture was almost floating in a big space of cream paint before the grounding border went up.


{before}

{after}


{before}


{after}

Some other nursery details....


Two PBkids chandeliers my mom found at the outlets years ago for my wedding reception...seen below: 

The ceilings are too tall and room is too large for these small chandeliers but I knew I wanted use them....at first I deconstructed an Ikea standing lamp and hung from there...so I could just plug into the wall. Then Paul actually had the grand idea of just removing the cord from the lamp and hanging from a hook in the little nook we created...genius! and so obvious? couldn't believe I didn't think of it!


Paul and I have become 'electricians' in the past month...I use that term loosely...BUT we have hung countless light fixtures...and I have 'spliced' (is that the right term?) or connected outlet cords to a chandelier fixtures.  There was a little scare - I was sitting on the couch attaching the cords, plugged it in, turned it on, and POW an explosion right in my lap...I was fine but scared and the pillows might have a few burn marks on them.  I learned my lesson tho! back awayyyy when testing your electrical work.  Once you connect a chandelier to an outlet cord, the possibilities of where it can go are endless! And don't worry, we used plastic connectors, electrical tape and then covered in white duct tape - it's safe. 

{where they hang now}

Another cheap, cheap project is spray painting this Ikea shelf gold.  $40 shelf unit + $3can of spray paint. done. 


Since our baby is going to be a girl (at least that is what we are expecting), I am able to use my wedding veil and pink sash in the nursery.  


The wedding veil is being hung over the crib and the sash is draped along the curtain rod.  So happy to be able to reuse these precious pieces! 

and....to show you there is still a lot left to do...here is the other corner of the room.  The dresser is down in the garage getting prepped for paint.  Mirror is on it's way and paintings are in the works...
I'll be updating again soon - the plan is to have everything done by Sunday March 2nd!

also - I will list out where everything is from in the end, but most things are from wayfair, overstock, ikea, homegoods and craigslist. 

Wall Gallery

{sand dollars are ones that Paul and I found on our beach bike ride on on Jekyll Island two days after our wedding}

One of the things I find hardest to do in a home is create an appealing, well-balanced, interesting wall gallery.  I attempted one before in our guest room and after a week I was sick of it.  The trick is for the frames and items to go together, but in an unexpected way, which is what I find the hardest.  

I've attempted another gallery in our bedroom above my mirrored dresser (a find from homegoods).  I don't know how I managed to get my own wall in our shared master bedroom....I guess I just didn't even ask ;) every girl needs her "space" and since we currently share a sink, this is my space for all my pretty, favorite things. 


I currently have pictures of my girlfriends up (from MA and GA!)...but I hate to tell you girls...I have a feeling in 10 weeks you will be replaced with pictures a new precious little girl.  eek!


{I like the mix of gold, silver, black, white, etc that is going on}

{my very talented and creative friend Sue gave all of her girlfriends a plate with a quote that reminded her of them for Christmas.  Very personal, very crafty, and means so much!}

{These jewelry holders were a gift from my mother-in-law and should be polished - but I almost like the tarnished look better? either that or I'm lazy}


{a night time view - always amazes me how different things look from day to night}

We'll see how long this one lasts before I change it. :)