Paleo Dark Chocolate Coconut Macaroons

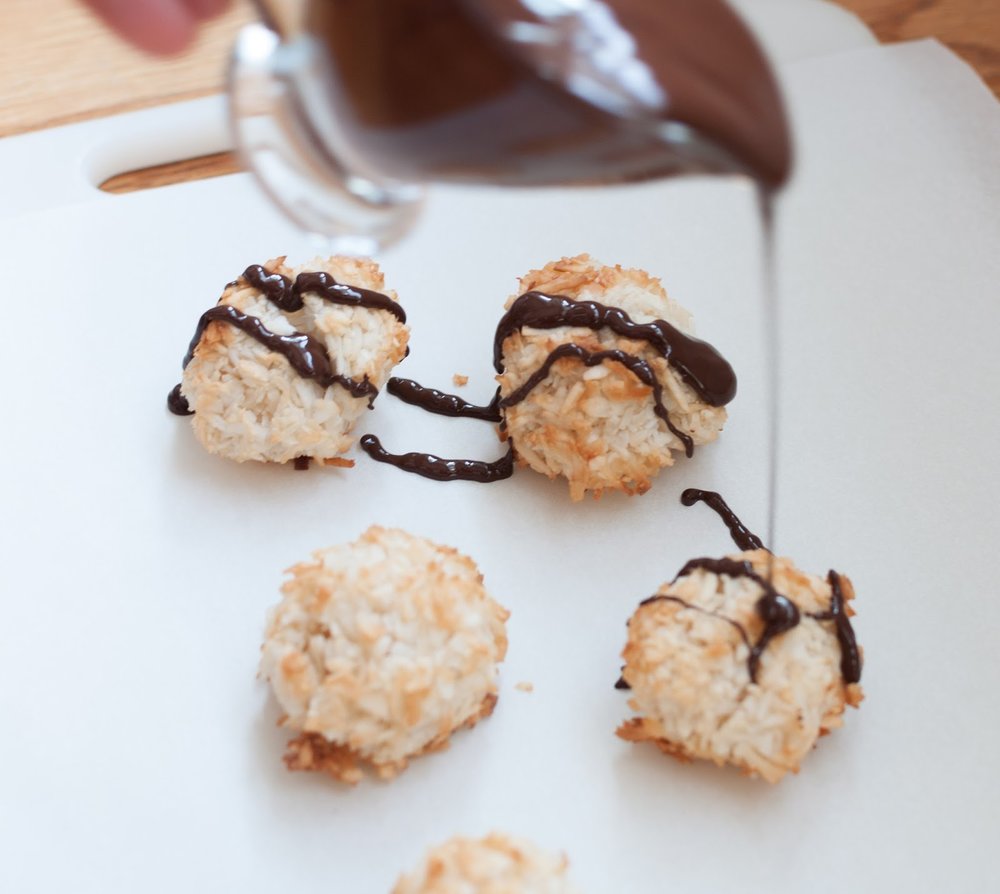
I recently discovered Trader Joe's dark chocolate macaroons which met my gluten free/dairy free restrictions and was everything I had been missing in a dessert. However, the long list of ingredients and excessive refined sugar content did not sit well with me. So, I ventured out into the world wide web on a search for a simpler recipe which means I googled "dairy free gluten free coconut macaroons." 

I found several recipes with varying complexities and ingredients. I pulled from a few and tried my own method on a whim and it turned out remarkably well! With only 7 ingredients, I'm happy to have the quick, healthy crowd pleaser in my back pocket. Recipe is at the end of the post.


Recipe //

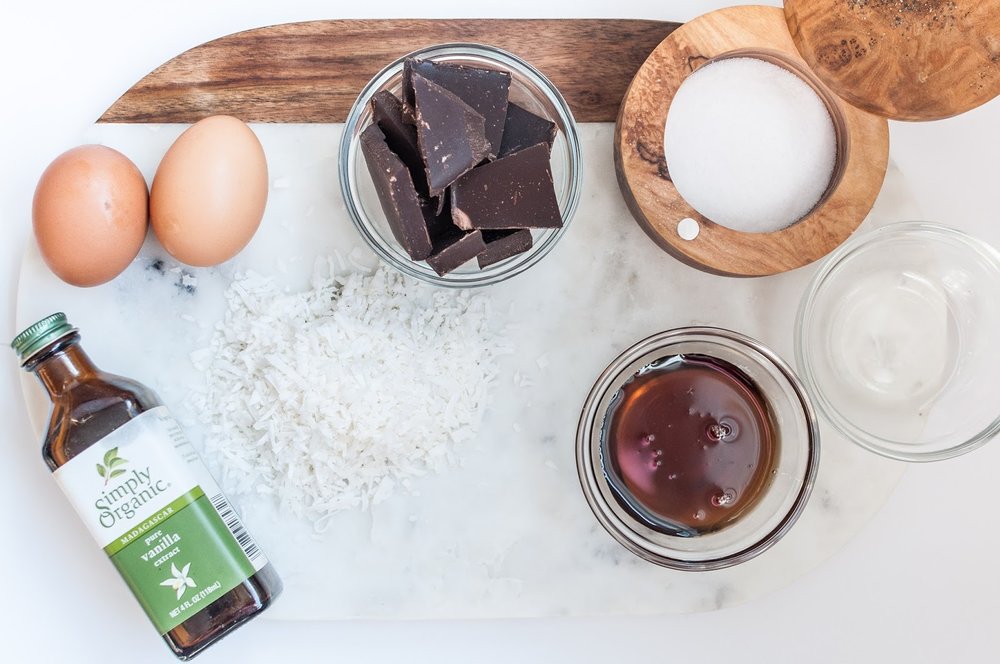
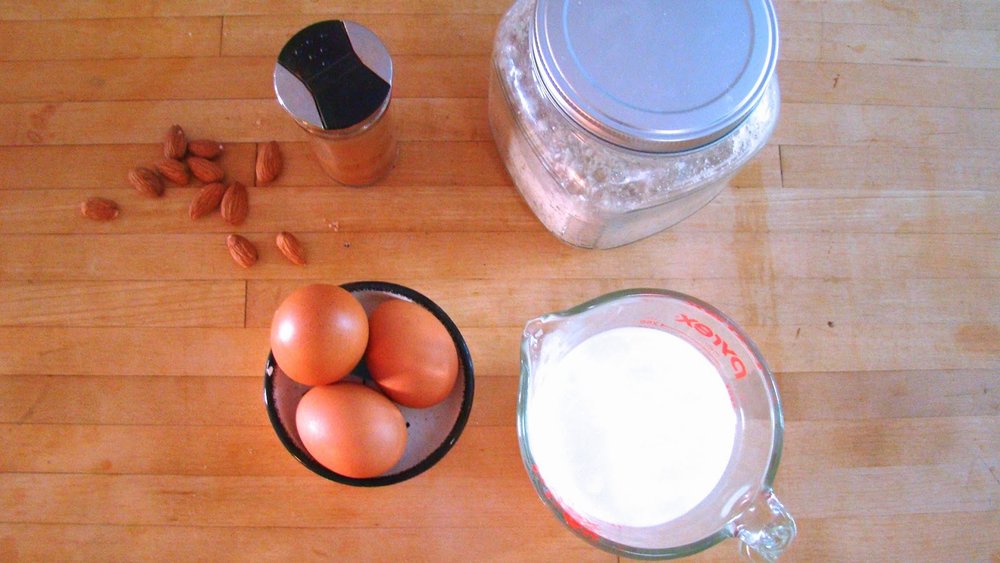
3 cups shredded coconut
2 tbsp maple syrup
1/4 tsp vanilla extract
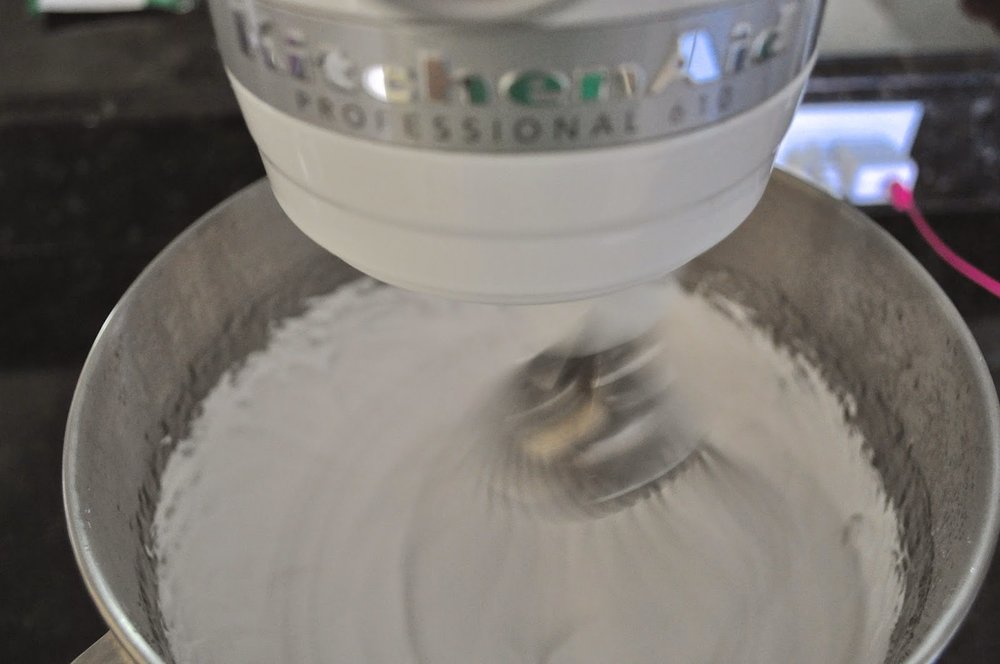
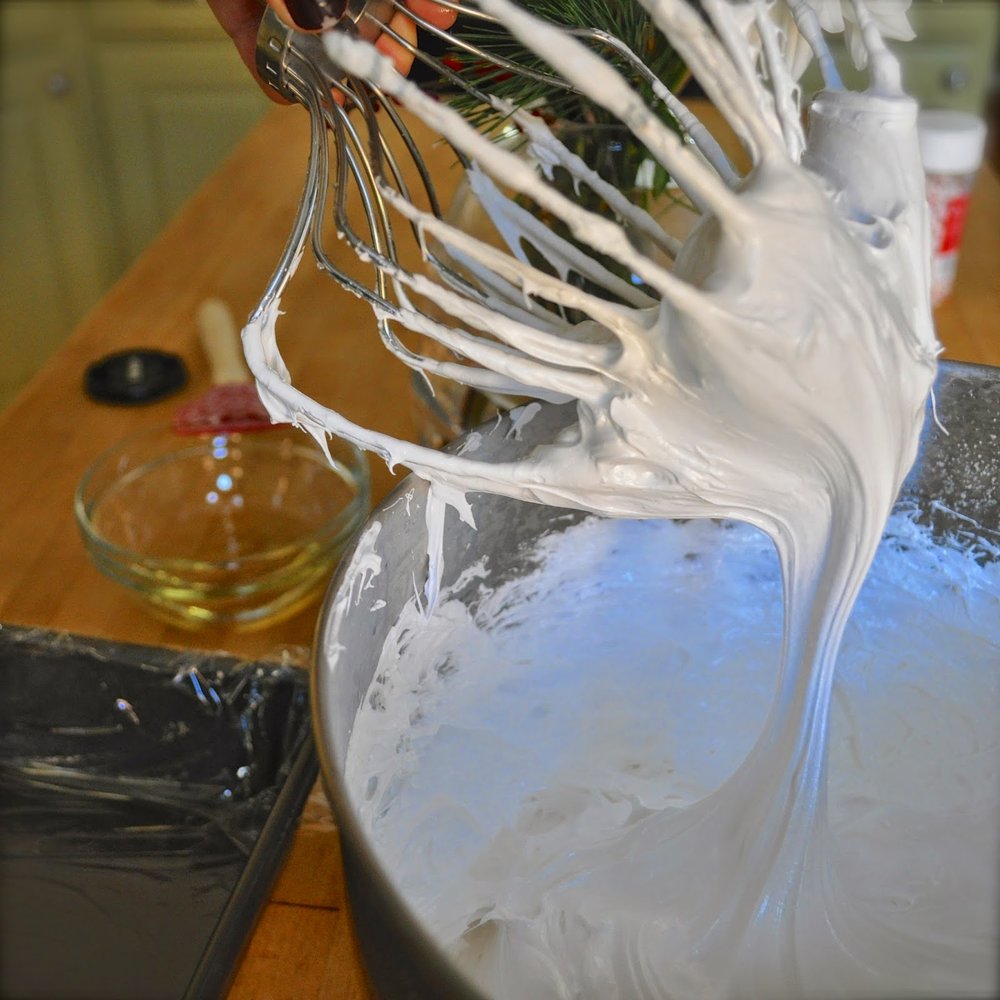
2 egg whites
pinch of sugar
1 tbsp coconut oil (melted)
72% (or higher) dark chocolate bar (dairy free)

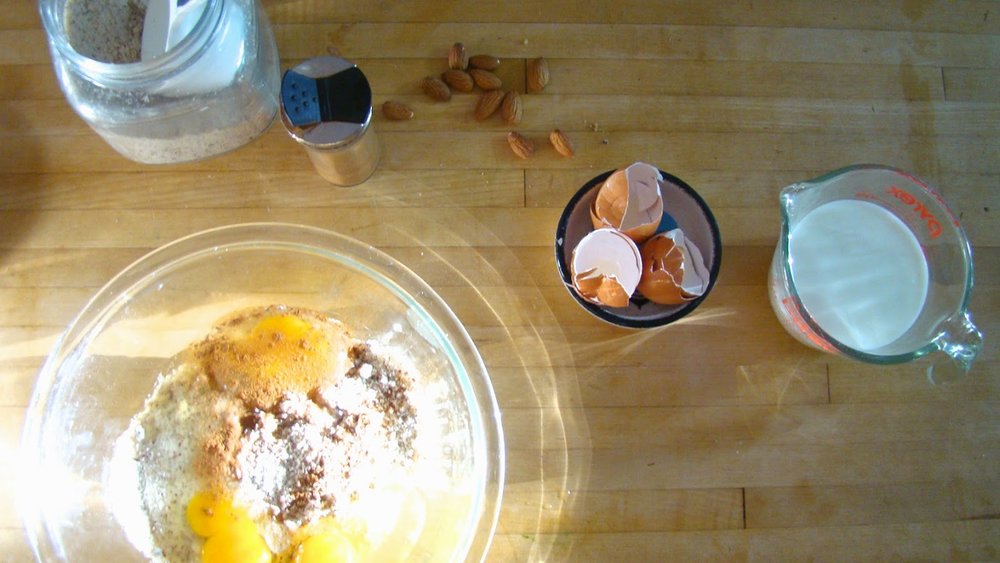
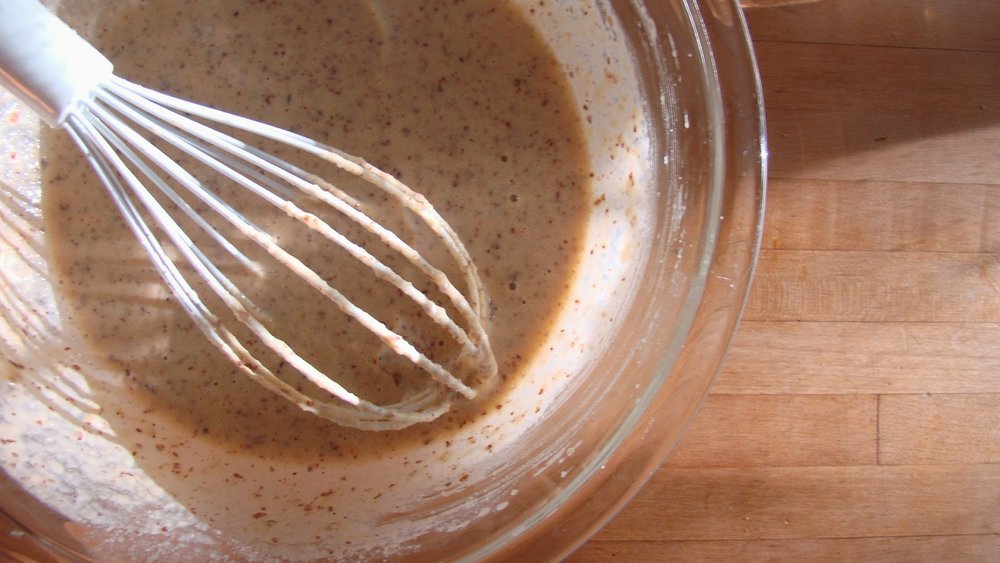
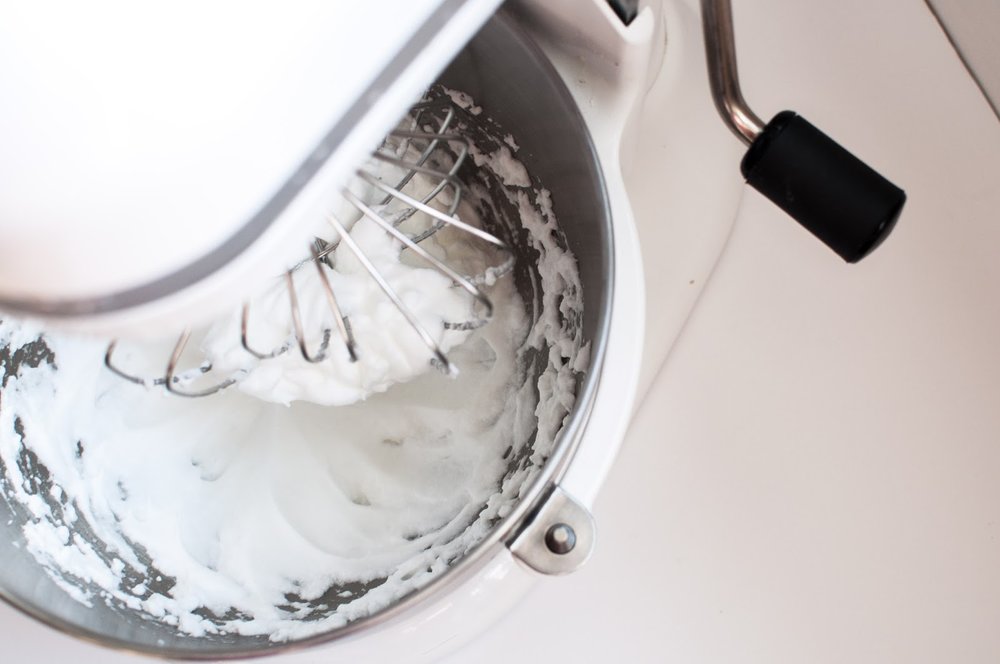
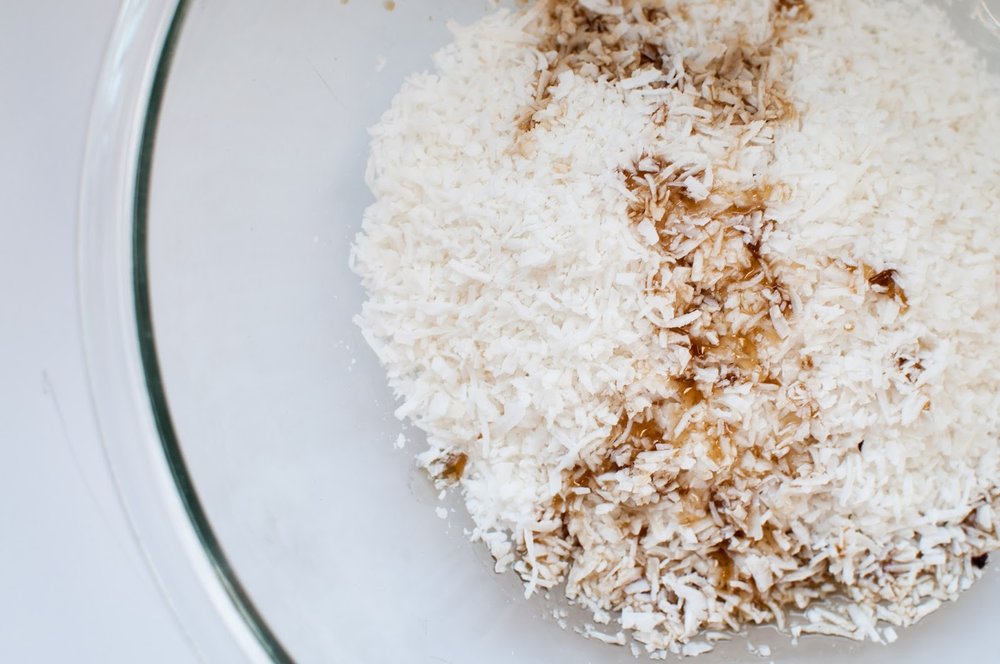
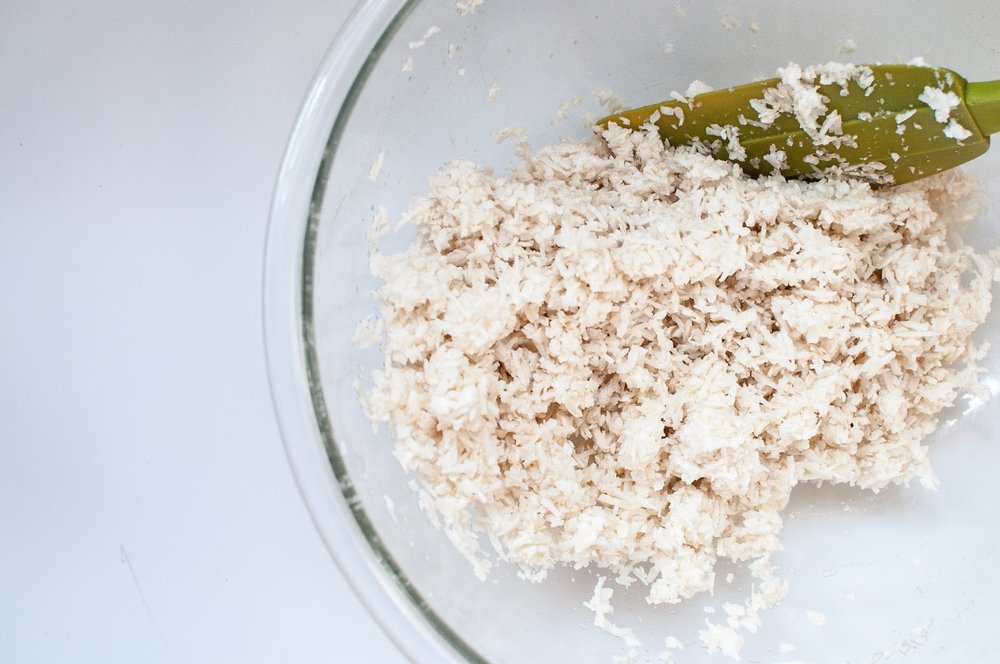
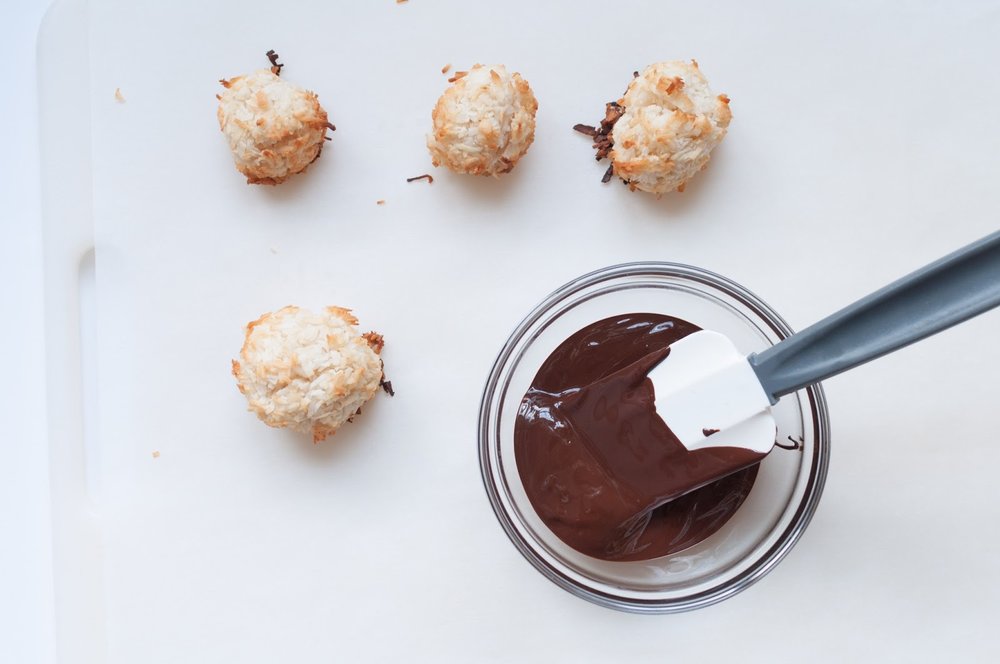
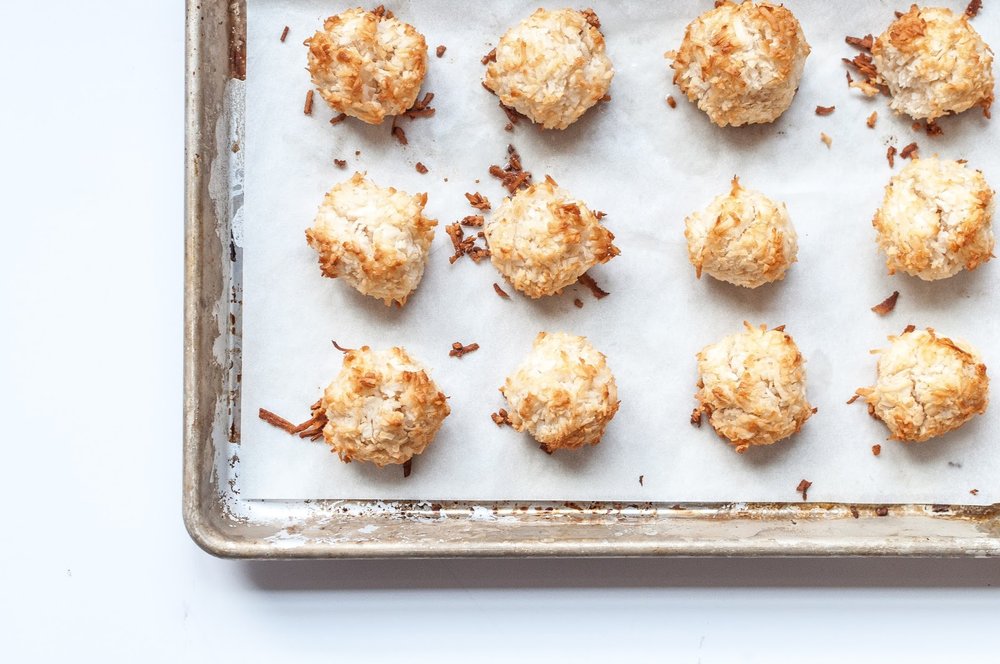
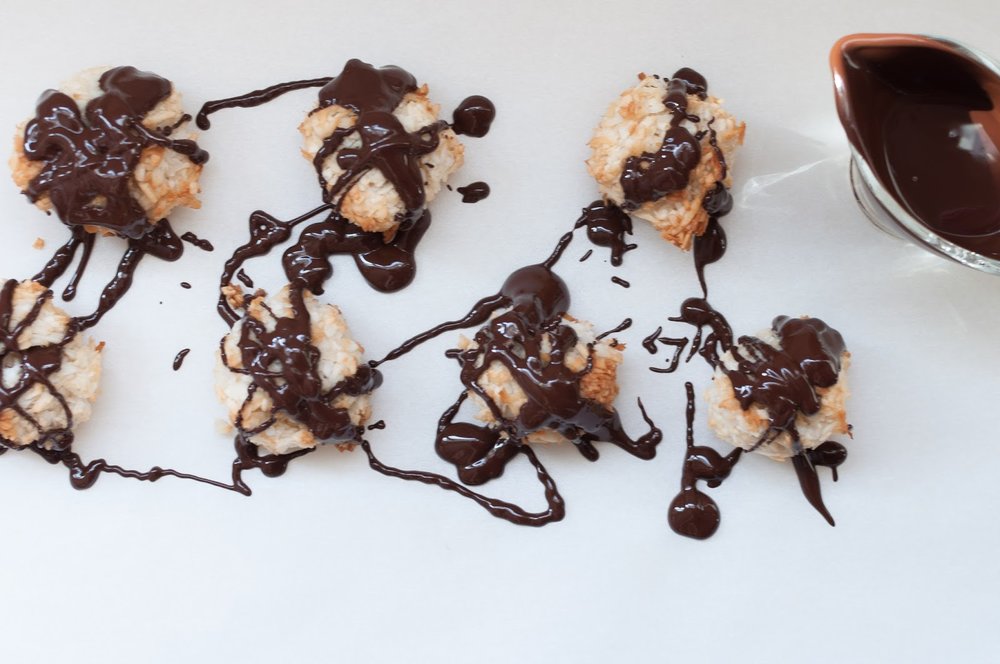
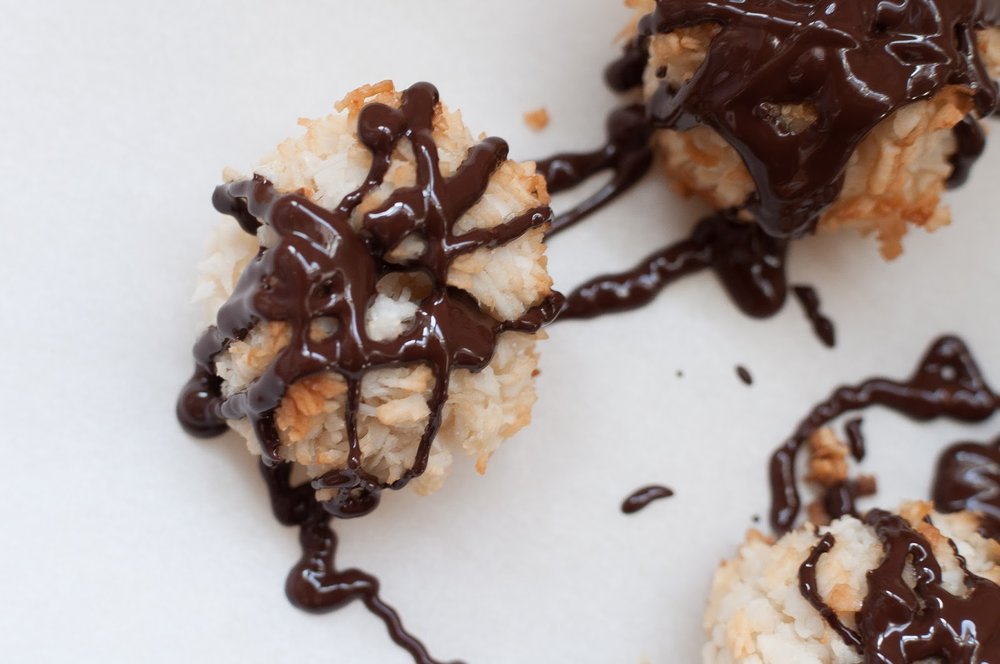
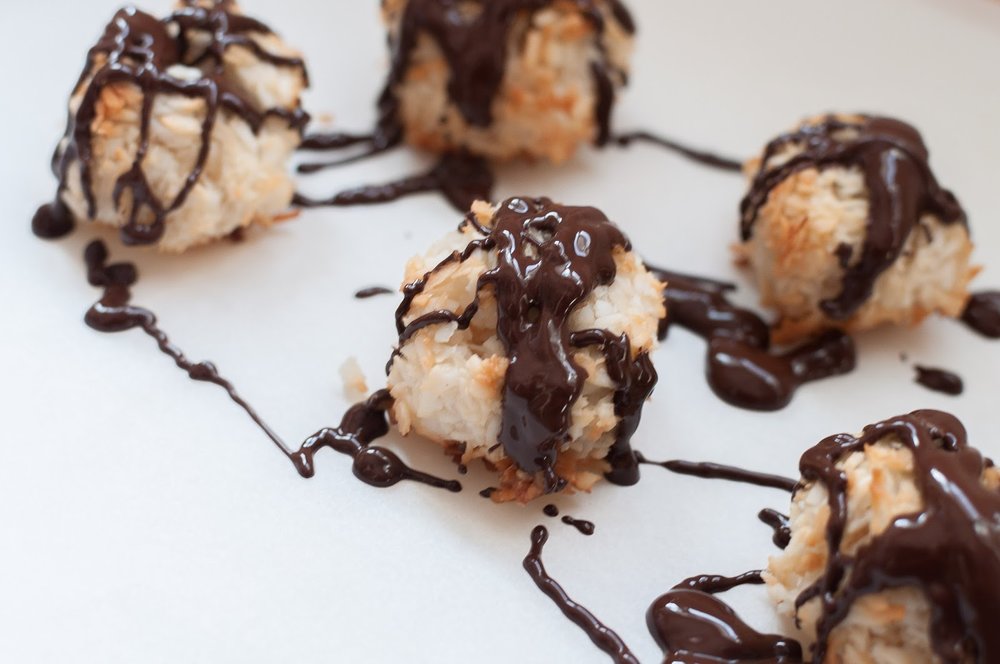
Turn oven on to 350º. Blend 1 1/2 cups of  shredded coconut in food processor until grainy. Add with rest of shredded coconut. Add maple syrup, vanilla extract, and mix well. Whip 2 egg whites and a pinch of salt (absolutely no yolk!!) until peaks form. Gently fold the egg whites into the coconut mixture. Use ice-cream scooper to gather 1 1/2 tbsp of mixture into hand and roll little balls. Place on pan lined with parchment paper (necessary when baking something like this). Drizzle or brush melted coconut oil onto top of macaroons. Place in oven for 20ish minutes - until golden brown on top and sides. While they are out of the oven, cooling, slowing melt broken up chocolate bar in a sauce pan over low heat while continuously stirring (only takes 3-5 minutes). Move melted chocolate into a small bow with a pouring tip and slowly drizzle chocolate onto macaroons (they can still be in the pan a this point)! Let cool completely and enjoy!


**full disclosure: with so little ingredients there needs to be an agent to keep the little macaroons together post baking. I suggest blending up half of the coconut flakes in a mini food processor until a smoother texture is achieved. I skipped that step with this batch pictured and regretted it. They looked and tasted perfect until we bit into them causing them to crumble in your fingers. They were still delicious but you look a mess eating them. The drizzled chocolate on top helped but not quite enough. If you don't have a small food processor, another option would to be adding a tablespoon of coconut flour to the recipe.

A Simple Butternut Squash Soup


This butternut squash soup is everything you want it to be: smooth, sweet, savory, and simple. I know a lot of you are excited to break out your crockpot - well here is a recipe to add to your fall line-up!

I couldn't believe how fast the squash was ready - only 2 1/2 hours (on high) and no peeling, chopping, or prepping involved!! My guess is that it would take ~6 hours on a low setting, if you decided to prep this during the work day. Once cooked, the squash is immediately ready to be pureed in a blender. In the original recipe an immersion blender was used, although I used my regular blender and it worked very well. Don't be intimidated by recipes if you don't have all the ingredients or tools - in my experience, improvising usually ends well.

I've included self-explanatory pictures that illustrate the detailed steps listed in the link below. The only difference in my approach was using full fat coconut milk. In our house, we love all the fat we can get, especially the healthy kind. I also tripled the recipe which could easily serve 6-8 people.

I served it last night to our weekly community group and it was a hit! I set out a garnishing tray with chopped chives, black pepper, more coconut milk, nutmeg, and italian breadsticks. 

This was the very first time I made this meal and I was pleasantly surprised - I highly recommend!

Original Recipe: http://www.skinnytaste.com/slow-cooker-blissful-butternut-squash/ (thank you Emily B. for sending along!)


Home-made Cold Brew


Cold brew is brand new to some of us and old news to others - I'm in the middle.  This is the first summer I've been enjoying an afternoon iced-coffee on a regular basis so I decided it was time I learn how to make my own batch.  Yesterday was the first time I have ever made cold brew coffee so of course I documented it for the blog! My Northern friends drink iced coffee year round (?!?!?!?!?!??!) and have been making their own batches for some time now.  But for the rest of us, this new coffee option is quite life changing in the hot summer!

The recipe is super simple: find a coffee bean/brand that you love, grind it on the coarsest setting (to avoid grounds getting in your cup), pour grounds and coffee in one large mason jar or container that can be secured tightly (1 cup of grounds for every 3 cups of cold water - I doubled this to be 2 cups coffee & 6 cups water). Now you will let the brew steep/soak, which is the most important part of a cold-brew, the longer it soaks the stronger and more concentrated your brew. I left this batch in the fridge for 14hours but some people recommend 24-36 hours for an extra powerful batch! Once steeping time is done, secure a fine cloth or sieve over a second pitcher, and pour (do not pour the grinds in, just the liquid). Voila! - You have your very own batch of cold-brew coffee waiting to be enjoyed :) Do you have any other tips for an extra special batch of cold brew?


My Version of Shake'nBake Chicken


Last night, I made my own version of "shake'nbake" chicken for dinner.  It's super easy to make, bake, and cleanup --> winner, winner, chicken dinner!! Doing my own shake'nbake allows me to use all wholesome, organic, fresh ingredients ('cuz you know this won't fly in our house). The idea is simple: pound, season, and bread your chicken all in one bag and then move chicken to the cooking surface.  Last night, I fried one piece on the stove-top and baked the other in the oven, just to see which I like better.  Personally, I lovedddd the fried version! It fell apart just a smidge but it was packed with so much flavor and did not dry out.  

The full recipe and instructions are at the bottom of the post.  Let me know if you try it!

{While I was making dinner, she was eating hers! she still won't touch chicken}
{the very home-made, fried version - don't judge by the looks of it, it was so good}
{These are currently on my kitchen island and I just love them}

//Recipe//

1 Large Ziplock Bag
2 Chicken Breast
1 Lemon
1 tbsp of Avocado Oil 
1 cup Almond Flour
Dash of Salt & Pepper

If baking:
Turn oven to 350 degrees.  Place chicken breast into bag and close.  Pound chicken using flat side of tool.  Add lemon juice from 1 lemon and avocado oil.  Close bag and shake so that chicken is evenly covered.  Add almond flour and salt & pepper. Close bag and shake so that chicken is evenly covered.  Take chicken out of bag and place directly onto baking dish.  Add a slice of lemon on top of chicken for garnish.

If frying:
Pour 1-2 tablespoons of avocado oil to large frying pan.  Add chicken and cover, leaving a small opening from lid.  Carefully flip chicken every 3-4 minutes until chicken is well cooked (12-14 minutes).


Three Summertime Mocktails


I've mentioned before that I no longer drink alcohol.  I made the personal decision when I was pregnant with Roswelle to cut it out of my life entirely.  The reasons why? Thats a long conversation for another time.  In short, I struggle with serious anxiety at times, and if I'm being honest - sometimes self-control (resisting the 4th/5th/6th drink), and alcohol was not having a positive impact on my life. When something is no longer improving your life, but making things messier or harder, it's time to reevaluate why it's in your life at all. It took a long time to come to the conclusion that drinking wasn't right for me and it is still hard to not have just one drink. But the peace I have with this decision, that I will not be drinking, is an extremely rewarding feeling. It also helps that my husband, Paul, was never a big drinker to start with and agreed to no longer drink with me going forward. 

I don't miss the next day anxiety, the occasional regret, or overall unhealthy feeling. However, I definitely miss the fancy glass of wine at dinner, a refreshing beer on the back porch and the excitement of a fun summer cocktail!

In an effort to recreate the feeling of having an fancy drink in hand at the end of summer day, I made three mocktails that are healthy, refreshing, and exciting.  Pellegrino has become a staple in my life since cutting out wine, and I was excited to find other ways to enjoy it.  And of course, wine or liquor could be added to all of these if you choose to do so! Just let me know how it tastes as I'll be jealous ;)  


//Watermelon Infused Sparkler//

There was watermelon in the refrigerator and fresh mint in the garden which led me to find this recipe on food network.  It doesn't get much more refreshing than this, or simpler for that matter.


//Rosemary Limeade Mocktail//

I made @mangiapaleo's Rosemary Limeade mocktail.  My favorite feature of this drink...it doesn't used frozen limeade from a can! All fresh, simple ingredients; including a simple syrup of honey and water.


//Peach Fuzz Fizzler//

 My personal favorite is one that I concocted on my own!  Recipe is below:


Recipe//
2 cups of frozen sliced peaches
1 cups of ice
1/2 cup of greek yogurt
splash of water if needed
blueberries for garnish

Paleo Lemon Bars


While trying to decide what festive item to bake for the 4th of July, I googled paleo lemon bars only half expecting to find something worthwhile.  However much to my surprise, I found a recipe that looked very promising on foodfaithfitness.com.  The author/blogger/chef, Taylor, does a wonderful job of making simple recipes with few ingredients.  I felt really good about this one, and my instincts were right.

You can read all about her struggle to create a delicious paleo lemon bar (she attempted 12 times! #dedication) and finally the perfected recipe, here.


{I left the powdered sugar off half of the squares for Paul :)}

kale+quinoa+shrimp salad


It's no secret that I spend most of my Friday nights at Canteen in the summer (see last year's post here). I have recently been loving their Baby Kale & Quinoa salad.  Like anything I love, I try to make my own version.  I changed it up a bit by adding sautéed shrimp and replacing the tahini dressing with my own lemon infused greek yogurt dressing.  It's light, healthy and yet still filling which makes it another wonderful summer salad.  The detailed recipe is at the end of the post!


//recipe//

4 cups of baby kale
1/2 cup of half-sliced grape tomatoes
4-5 thinly sliced radishes
3/4 cup of cooked quinoa
1 cup of sautéed shrimp
red onion is optional
2 tbsp of sunflower seeds

dressing: 2tbsp of nonfat plain greek yogurt (I use fagé), a dash of EVOO, and juice from 1 lemon.

While the quinoa is cooking, slice grape tomatoes (halves) and radishes (thinly). Wash baby kale and place peeled, de-veined shrimp in sauté pan with evoo. Mix kale, quinoa, tomatoes, radishes, sunflower seeds in a medium salad bowl.  After cooking shrimp 3-4 minutes on each side at a medium-high heat, add to bowl.  Dress, mix well, and serve!

Homemade Peppermint Marshmallows

{all you need. target actually has everything, one and done!}

I posted on Instagram last week a preview of my homemade peppermint marshmallows.  I had seen them on another blog and decided it would be fun for the holidays.  I used Martha Stewart's recipe here: link (includes video!).  I have now made it 3 times and have it memorized; it is so simple!  Also since the recipe is just sugar, it cleans up well with water. The recipe is simple but I've included some tips I learned along the way.

As you know by now, I would normally never make something with these ingredients.  I refused to tell Paul what was in them and didn't even bother him to try them.  I am giving them out to friends and using them for a hot cocoa bar I'm putting together (more on that this week!).  I decided to let it go and just have fun with it.  I hope you do too! 

{a hand mixer would work, but a standing mixer is much easier}

{the recipe says to mix for 12 minutes, but I only mixed for 5-6 minutes or until thick & sticky}


{coat your spatula in pam or vegetable oil which will make spreading easier}


{I bought crushed peppermint candy at Target for the topping}


{let sit overnight for best results}


{line the pan with plastic wrap then use pam or oil to ensure the marshmallow will pop out easily}


{you can cut into square or get creative with small cookie cutters}s


{this sweet baby won't be getting close to these treats}


{sorry sweet pea}

Almond Pancakes


Just in time for the weekend...I have an almond pancake recipe for your Saturday morning breakfast! We made these last weekend at the cape on a whim - Paul looked up a recipe and selected based on the ingredients we had at the cottage.  It wound up being delicious and more importantly they looked good too.  I can't tell you how many paleo baking recipes I make and it just doesn't look as appetizing as the regular baked items.  I am someone that definitely eats with my eyes and I appreciate presentation of food just as much as the taste.  Bonus: after eating these health packed little cakes - you don't feel lathargic and in need of a nap.  I went on a run after eating these and felt great.  
If you are more of a waffle person - check out these almond waffles.


The recipe is simple  1 1/2 cups of almond flour, 3 eggs, 1/2 cup of milk, and a sprinkle of cinnamon.  Combine and your done.  This makes 6 pancakes.  I must warn you they are very...nutty. You can definetely tweak the recipe by using almond milk, adding coconut or regular flour for taste, etc.  The thinner the batter the thinner the pancake and vice-versa.  Have fun with it!


To balance the nuttines of the pancake, we make a wild berry compote.  Use frozen organic wild berries (Trader Joe's Fancy Berry medley is my favorite) and local honey.  Warm in the pan until a think sauce consistency. 


The key to the perfect pancake: no butter in the well heated pan and wait to flip until you see the bubbles! (pictured above)

{that's a beautiful stack of health if I do so say so myself}


        Enjoy! I enjoy mine with the berries AND maple syrup - organic obviously (I can feel my brothers rolling there eyes) ;)


Roasted Salmon

A couple weeks ago we bought some frozen Alaskan Salmon from Trader Joes.  Paul pulled it out of the freezer on Friday morning and ask that I cook it for dinner (I was working from home due to the snow - even Boston will close for 12-14").  While working from the couch, I caught an episode of Ina Garten's cooking show Barefoot Contessa.  I generally always love her recipes; they are simple & delicious while using natural ingredients.  Anyways, she happened to be highlighting a roasted fish recipe and I it was so simple that I was able to make it for dinner.  The trick was using parchment paper for the roasting, it keeps in all the flavoring and moisture.  Paul's mom gives us rolls of over 250+ parchment paper sheets at a time...we use it for everything (we even line the refrigerator shelves with it!).

While it's pretty easy to follow, you can read the full recipe here: http://www.foodnetwork.com/recipes/ina-garten/herb-roasted-fish-recipe/index.html


I seasoned both with salt, pepper, and olive oil.  I finished two with lemon juice and thyme (fresh is best but I didn't have any) and seasoned Paul's with lemon juice and soy sauce.  I've been trying to avoid soy in my diet lately...which is hard since it is in everything!!


{to seal the paper, brush edges with a simple egg wash}


{start rolling from one corner and finish on the other end by folding the corner under}


{place in a baking sheet and cook at 400 degrees for 15 minutes}


ta-da!


**and while some people may be skeeved out about eating fish while pregnant, I decided one serving of fish every now and then won't give the baby too much mercury.  And it's way better than feeding the baby processed foods with additives and gmo's...in my humble opinion...ya just gotta do what you think is best!**